
10 Family Adventures for Those Last Two Weeks of Summer
The clock feels like it’s ticking with summer winding down and preparing for a new school year to begin again. But not all is lost! You still have a couple of weeks. Here are some ideas for summertime, close-to-home things to do to soak up that last bit of summer together.
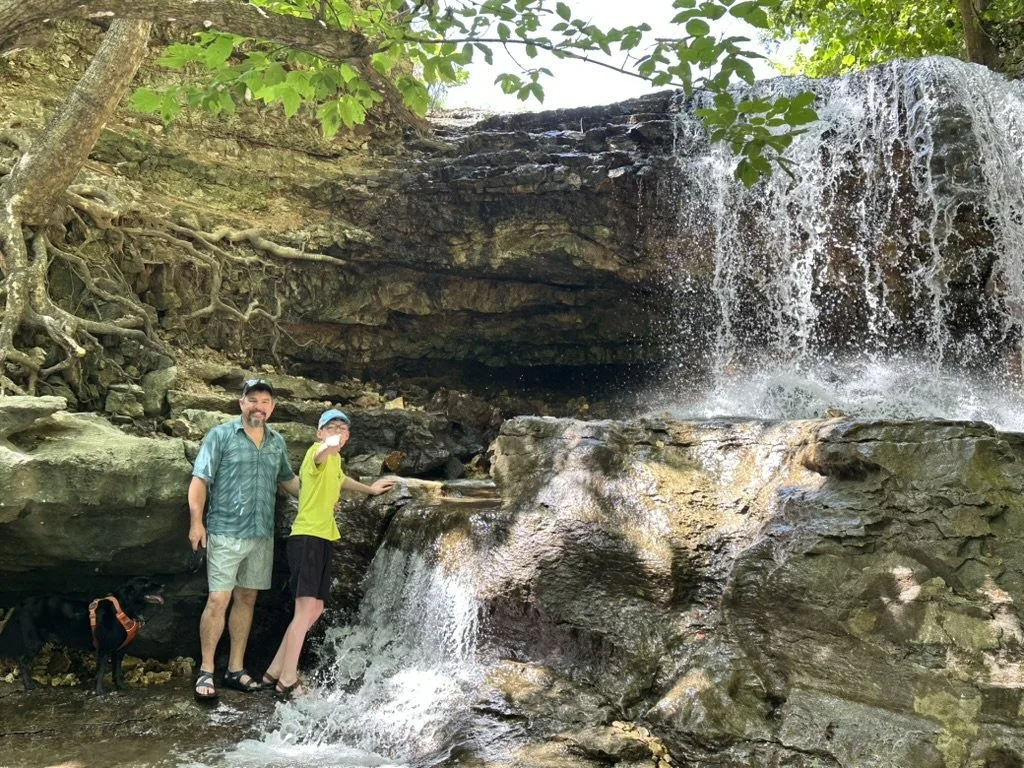
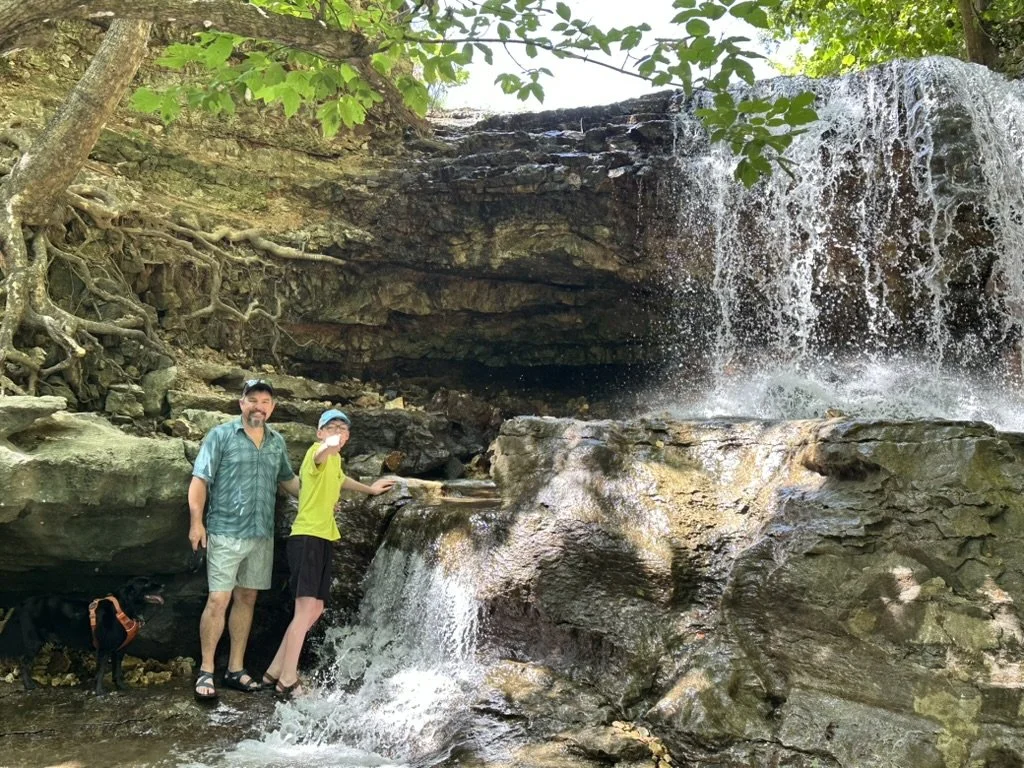
We’ve spent a lot of time in Northwest Arkansas - years! - only to JUST discover the beautiful Tanyard Creek Trail in Bella Vista.
We’re in that late summer vacation window. The hot, lazy days that drag on but we know are so short-lived. School's coming, boredom exists but the time feels short, and a big trip isn't really on the table anymore. This is exactly the window where "adventure is up to the person participating" is important to see. It’s that final hurrah of time when you want to squeeze the last drops of fun that can fit - the ice cream, swimming, memories, and outings - before earlier mornings, tighter schedules, and different responsibilities settle back in.
We put together some ideas for some local-focused fun. None of these require more than a couple hours from home or much of a budget, and every one of them is a real adventure if you or the kids have never done them before.
1. Find a local "first" hike. Not the trail you always do, but a new (even short) one, within about 30-60 minutes of home. New terrain, even nearby, resets a kid's sense of exploration. Bonus points if it has water accessibility along the way for a cool break along the way.
2. Build a backyard or local-park campout. Tent, headlamps, one "camp meal" cooked outside, and if you can swing it, actually sleeping out there. This is a genuinely great trial run before a real camping trip, the preamble to some cooler fall camping trips, and low-stakes with amenities easily reachable.
3. Do a sunrise or sunset outing. Pick a local high point, lake, or open field and go watch the sky do its thing. Kids remember these more than you'd expect, and it costs nothing but a slightly rough wake-up. See if some friends would like to join!
4. Water day, however you can get it. A local river, lake, splash pad, or even a sprinkler-and-water-balloon backyard setup. Late summer heat makes this an easy win. Parents, let this include you.
5. Geocaching or a scavenger hunt hike. Turn a regular trail into a hunt with a free geocaching app, or make your own list of things to find - a certain leaf shape, a bug, a specific color in nature. Purpose changes how kids experience the same trail. We also have the 30-page Keyword Adventure Trail Guide that includes a pre-made scavenger hunt list (among other lightweight games) and other fun intro-to-adventure education for the whole family.
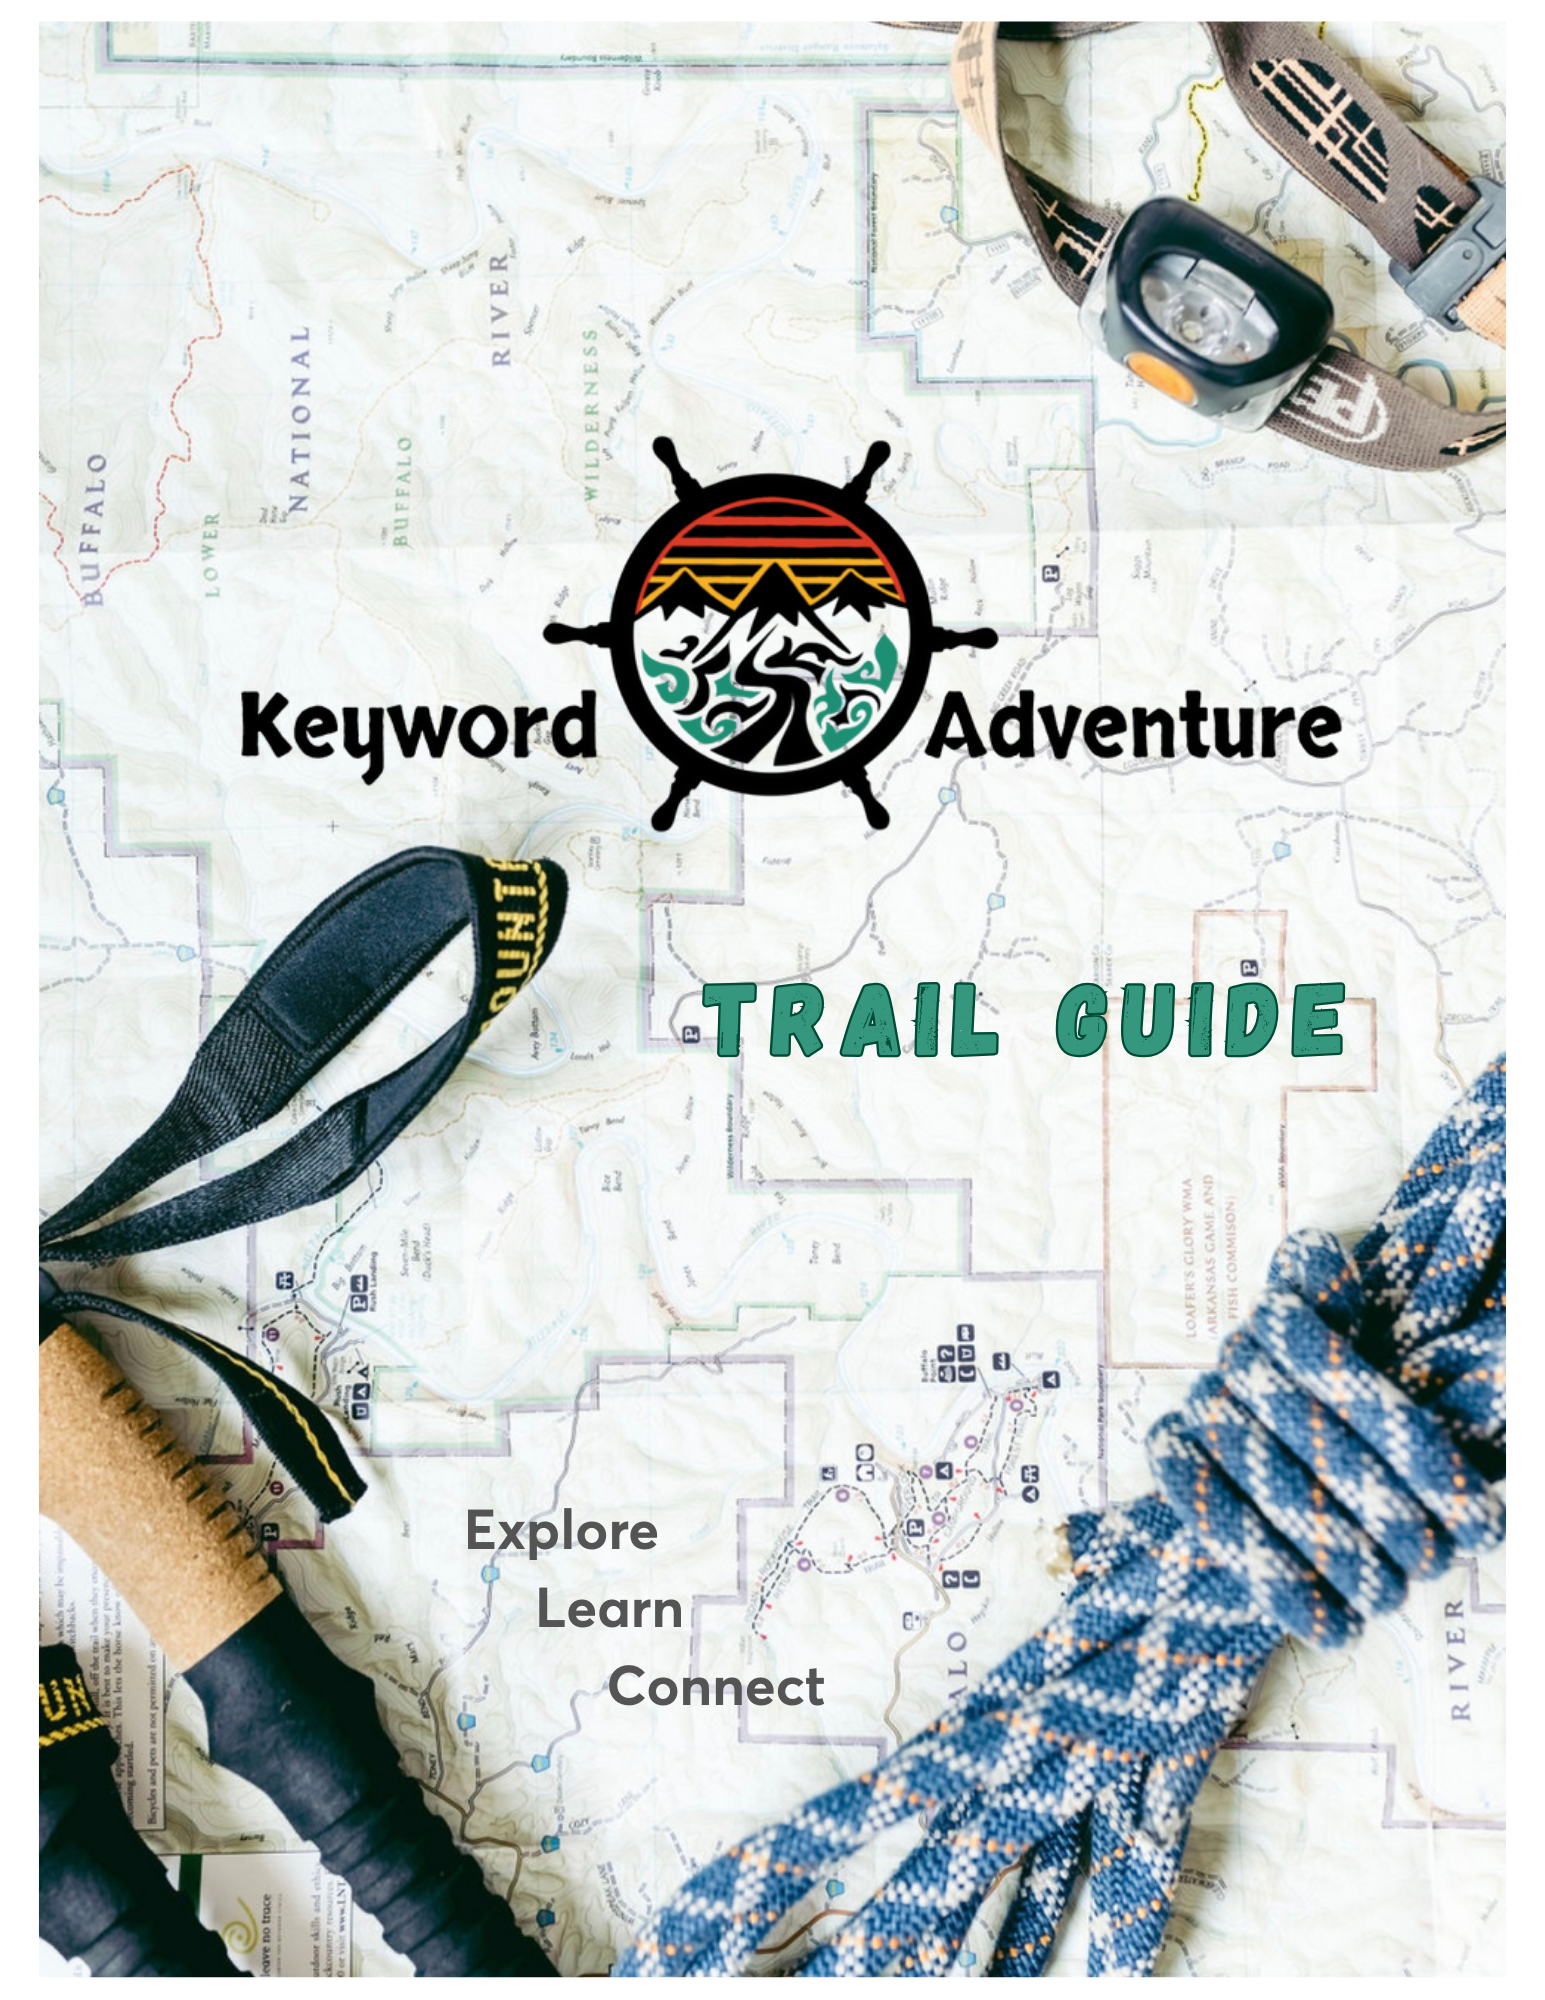
This is our Keyword Adventure Trail Guide ebook! 30 Pages of fun information and facts about adventure activities, terminology, games, knots, and more.
6. Visit a local nature center or small museum you've been meaning to get to. These are chronically underrated by families who live nearby and "can go anytime" which usually means it’s always put off (for us locally, it’s the Missouri Institute of Natural Science with real dinosaur skeletons!). Two weeks left of summer is the perfect deadline that gets it on the calendar.
7. Bike a new-to-you trail or greenway. Even a familiar town looks different from a bike, and a new stretch of trail is an easy half-day adventure. Check out the AllTrails or TrailForks apps if you need trail finders and resources in one place.
8. Plant something and make it a project. Not glamorous, but genuinely great for connecting kids to the idea that nature is something you tend, not just visit. A late-summer planting, a small garden bed, even a pot on the porch. By now, some of our spring-sewn plants have run their course and it frees up space for something new.
9. Do a "no phones" outdoor evening. Fire pit, flashlight tag, stargazing, whatever fits your space. The magic here is less about the activity and more about the uninterrupted attention.
10. Let your kid plan the last adventure of summer themselves. Hand them a map, a short list of nearby options, or just the question "what do you want our last summer adventure to be?" Kids engage differently with a plan they had a hand in building, and it's a nice way to close out the season on their terms. We know we always craved for time on rivers as kids!
Why the "last two weeks" window matters:
There's something about a deadline that makes people actually do the things they meant to do all summer, or maybe reflect on how fast the time passed. No regrets if you didn’t get to the things you had in mind at the beginning of the summer: that’s just life. We treat these last two weeks less like an obligation to cram in fun and more like a chance to slow down and spend good time together… the exact opposite instinct of a packed vacation. Some of our best family memories have come from a random Tuesday afternoon thirty minutes from home. Plus, appreciating that adventures that are close to home gives us the ability and experience to return to them throughout the year.
Happy summer, everyone, and we wish you a great return to the school year and routine!
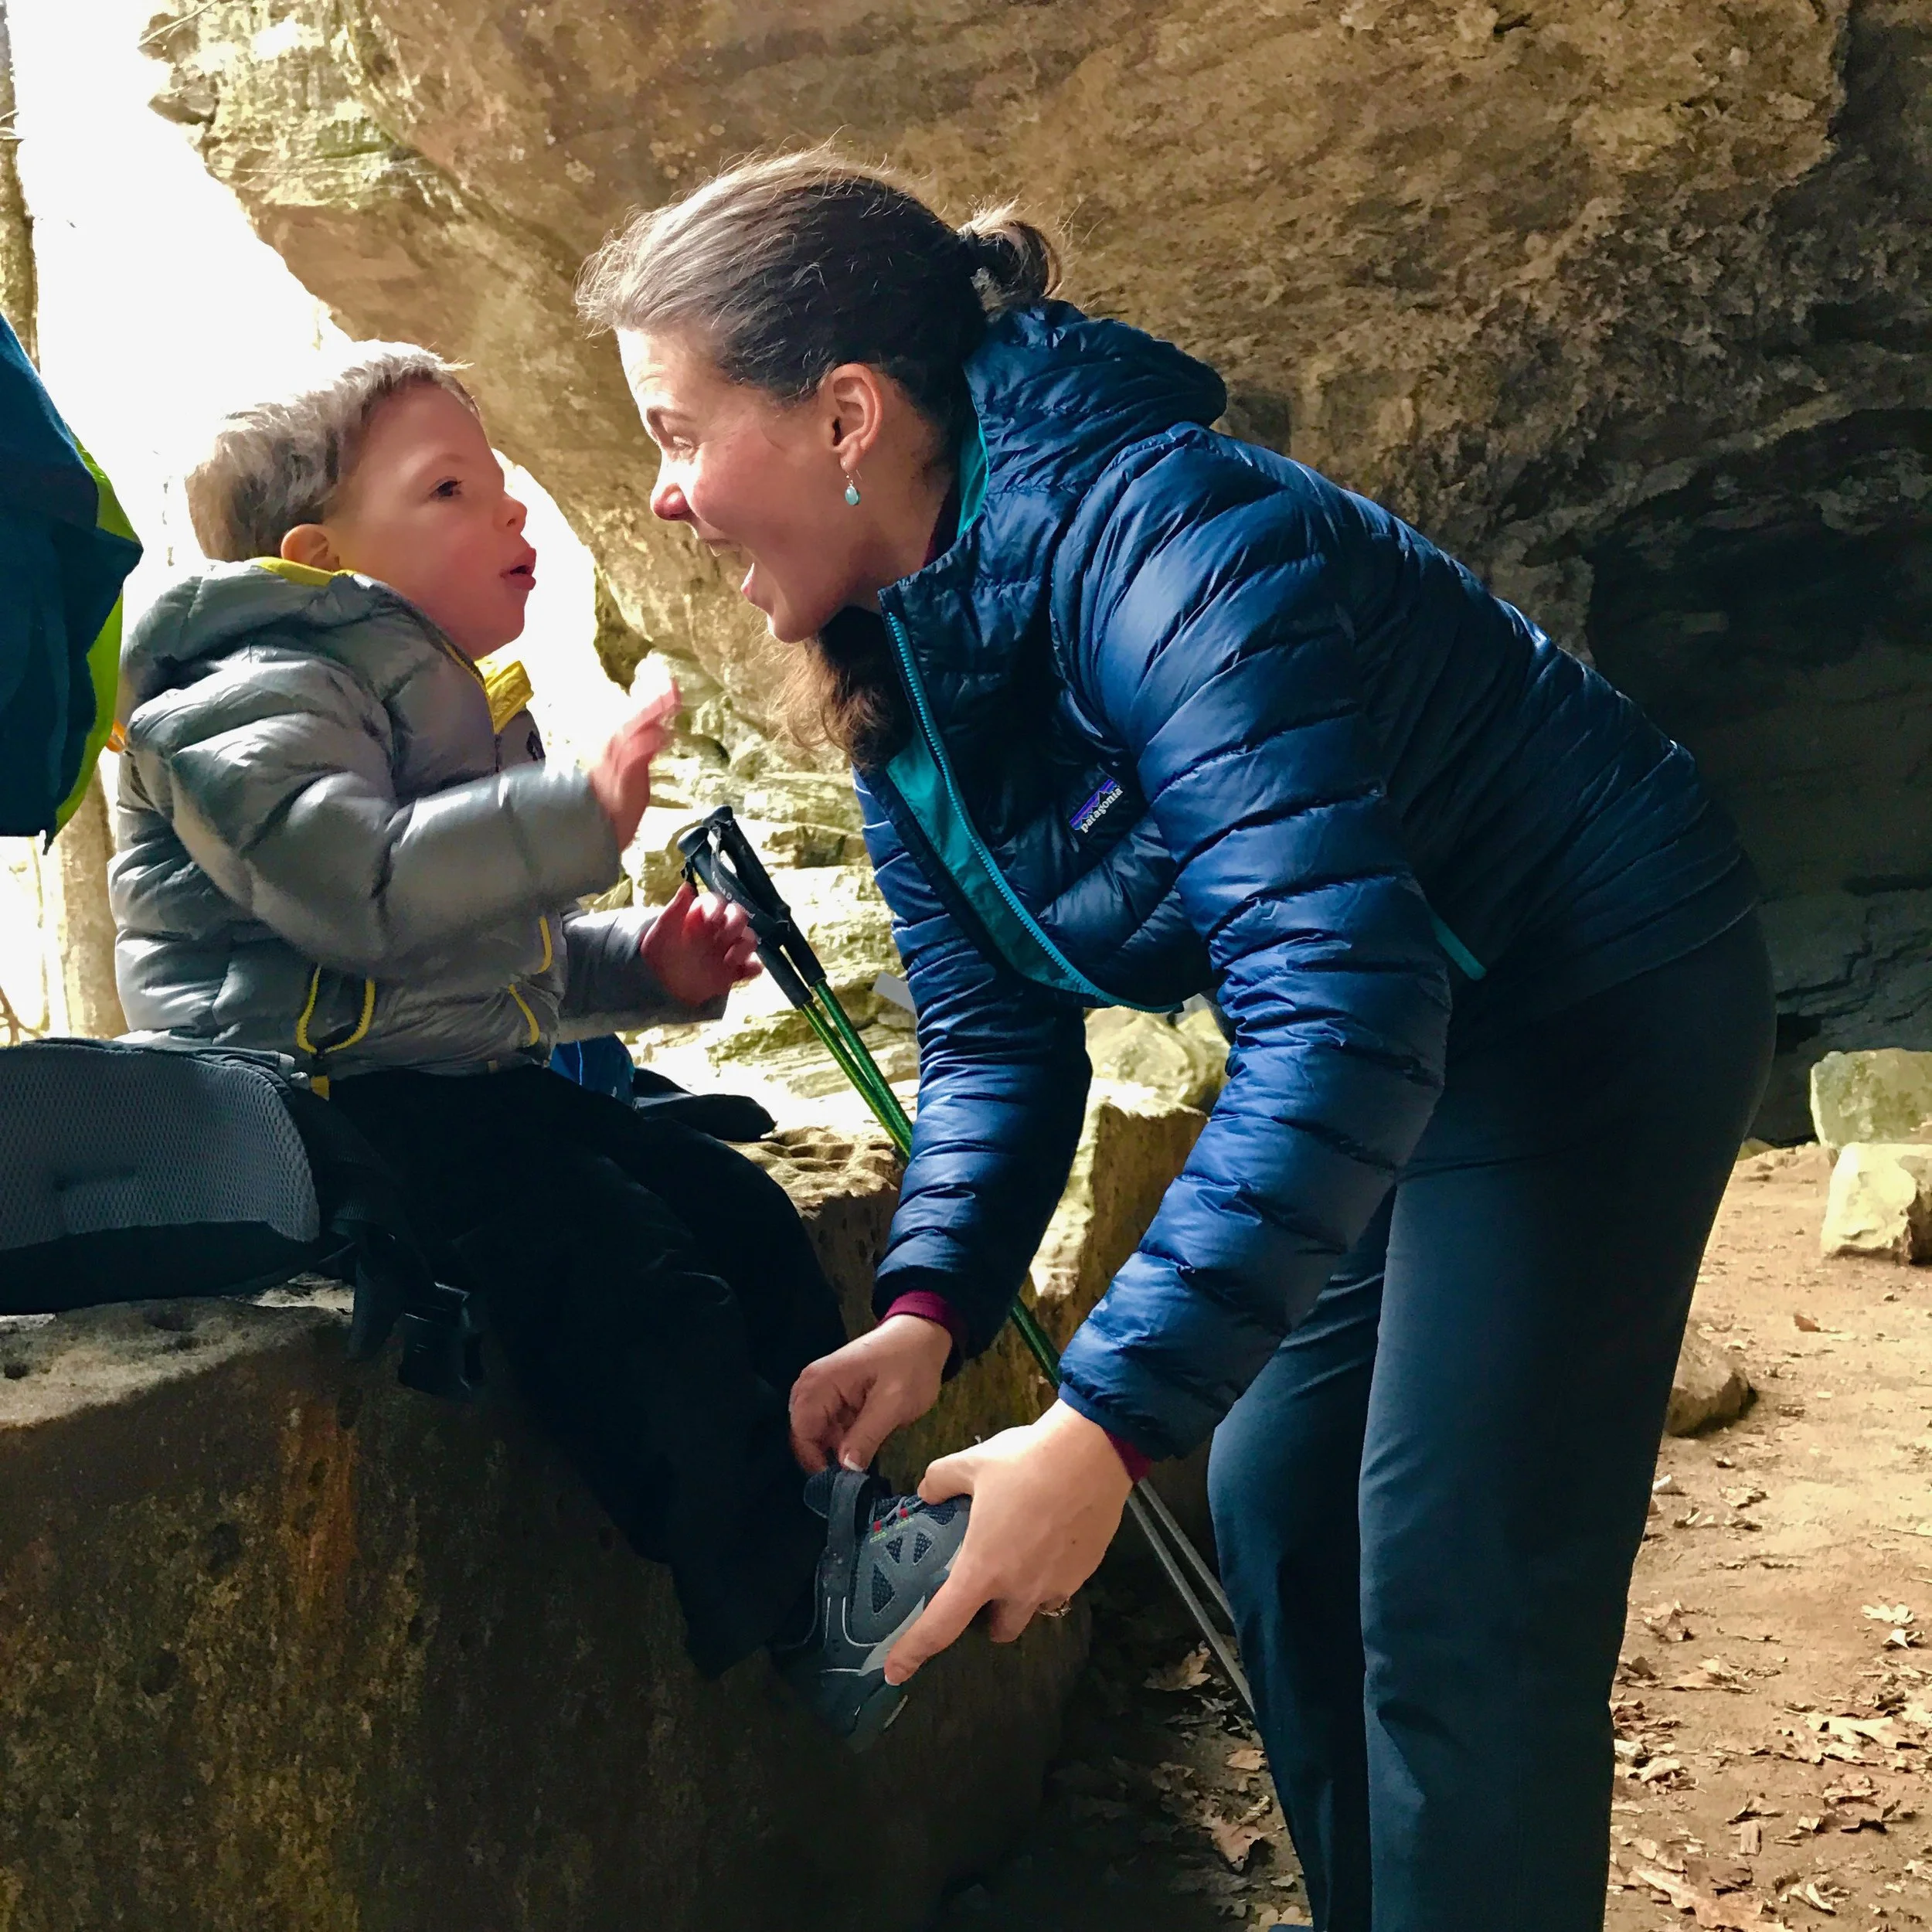
Gear That Just Fits: Sensory-Friendly Outdoor Clothing for Kids and Adults
Helping outdoor adventures feel accessible to everyone starts with making sure they can comfortably join us! While some adventures are as simple as neighborhood park visits or walking in the backyard, others take more preparation and that’s when clothing and gear begins to make a huge difference on the overall experience.
Sensory-friendly clothing and gear exists more than ever - this article covers what to keep in mind while shopping for sport-specific activities and sensory needs. Happy adventuring!
It happened again. I was standing in the kitchen when The Dude came around the corner with scissors in one hand and a vice grip on a tag stitched into the inside of the shirt he was wearing.
“Cut it off, please.” He didn’t even have to say it, though. I knew as soon as I saw the tool in-hand what the request would be. It’s not the first time and it won’t be the last. With a surgical precision and a concerned kid who didn’t want the shirt to be damaged (because he liked it except for that darn tag), it snipped the tag away.

Get the scissors, for the love of all that’s scratchy…!
For a lot of us, the hardest part of getting outside isn’t the trail, the water, or the miles - it’s the getting dressed part. A scratchy tag, a seam pressing across the toes, a helmet strap that pressed around an ear in a weird way, a swimsuit that grips in all the wrong places: any one of these can end an adventure before it begins. And it isn’t only our kids. Plenty of adults quietly skip activities they’d otherwise love, simply because the gear is unbearable against their skin.
Sensory sensitivity shows up often in autistic and ADHD folks and in anyone living with Sensory Processing Disorder, but none of us needs a diagnosis to loathe a bad seam. The good news is that the outdoor and apparel worlds have caught up. There’s a real range of clothing now built to blend in the moment it goes on. Here’s what to look for, along with the brands and specific pieces worth knowing, organized around the activities we love.
What Actually Makes Clothing Sensory-Friendly
Before we get to brand names, it helps to know which features matter. When we can read a product page or feel a garment in a store, these are the green flags:
- Tagless or printed labels. Traditional neck and waistband tags are one of the top offenders. The best pieces print the care information directly onto the fabric so there’s nothing left to itch. If a tag does exist, look for one that’s been heat-pressed flat - or plan on carefully removing it.
- Flat, external, or seamless construction. Raised interior seams rub, especially at the shoulders, underarms, and toes. Sensory-focused brands use flatlock seams, move the seams to the outside of the garment, or knit pieces seamlessly so there’s no seam at all.
- Soft, breathable fabrics. Organic cotton, bamboo, modal, and Tencel are naturally smooth and gentle. Patagonia has Capilene, a silky synthetic fabric. Fine merino wool works beautifully too, and the trick there is fiber diameter. Anything under about 18.5 microns bends on contact with skin instead of poking it, which is why fine merino doesn’t feel like the itchy wool many of us remember from childhood (this still really depends on the person’s sensitivity level, though).
- Simple, gentle closures. Metal buttons, stiff zippers, and tight elastic can all be triggers or even challenges for people with finger dexterity or strength issues. Velcro, magnetic closures, encased soft waistbands, or no closure at all tend to go over much better.
- Solid colors and minimal print. Heavy screen-printed graphics and dye-stiffened patterns can feel rough, or just plain loud. Many sensory-sensitive kids prefer quiet, simple color schemes.
- Compression, when it helps. This one is a bonus rather than a requirement. Snug compression garments provide deep-pressure input that many may find genuinely calming and organizing, and they layer neatly under other outdoor gear. The opposite can also be true - again, it really depends on the person and trying options to see what works.
One note on fit: with swimwear and anything worn wet, buy snug. Suits loosen in the water, and a secure fit often feels safer and less fidgety, not more.
Trail Clothes and Base Layers for Hiking
Hiking is mostly a base-layer-and-socks game, which makes it the easiest activity to solve.
Socks come first and this is a big one. Seams across the toes can cause more discomfort than nearly anything else in the drawer. SmartKnitKIDS seamless socks are knit from the toe up with no seam at all, hug the foot so they don’t bunch, and wick moisture, which matters on a sweaty trail. For the kids (and adults) who genuinely hate socks, FLAT SOCKS take a different approach - a trimmable, no-show insert that sits inside the shoe, so feet feel bare but stay dry and blister-free.
Bamboo-blend sensory socks from CalmCare and Parker & Talia are another soft, moisture-wicking option. For cold-weather hikes, fine merino socks regulate temperature without the itch. Minus33, Darn Tough, and Smartwool all have versions of seamless or “virtually seamless” comfortable wool socks for kids and adults. They also last a long time.
For everyday tagless kids’ clothing, Primary is a fan favorite: solid colors, no logos, no scratchy graphics. Cat & Jack Adaptive at Target offers tagless, flat-seam, soft cotton-blend pieces at approachable prices, and Kickee Pants and Lucky & Me are both beloved for their buttery modal and bamboo blends. We’ve also had luck with Patagonia’s Capilene clothing over the years, though we do end up cutting the tag out of the side seam of the shirts many times.
When we need a little extra regulation on the trail, a compression base layer can take the edge off. Kozie Clothes (designed by a pediatric occupational therapist) and JettProof both make four-way-stretch compression shirts and undervests meant to be worn under a regular hiking shirt, with external stitching and stamped labels so there’s nothing rough on the inside. JettProof’s fabric wicks moisture too, which matters once we’re moving.
Adults, don’t skip yourselves here. Fine merino base layers from Smartwool or Meriwool are soft enough for next-to-skin wear (look for roughly 16.5 to 18.5 micron and OEKO-TEX certification). Tencel and silk are excellent smooth alternatives if wool isn’t your thing, and both JettProof and FLAT SOCKS make adult sizes.
On the Water: Paddling, Swimming, and Beach Days
Water gear is uniquely tricky. Wet fabric grips, mesh liners scratch, and everything feels more intense against the skin.
NoNetz was created by a mom whose son couldn’t tolerate standard swim trunks. Their suits skip the scratchy mesh liner entirely, use anti-chafe fabric inside, and place seams flat or on the outside. They make kids’ and adult sizes, and their designs are tested with the autistic community before they go into production. For sun protection and a feeling of security, a snug long-sleeve UPF rash guard works well - it gives that gentle all-over pressure many kids find reassuring, and it layers nicely under a paddling PFD. Target carries a sensory-friendly swimwear line too, with flat seams, no tags, and adaptive suits with easier closures. We’ve liked the silky liner inside of Eddie Bauer’s kids comfort liner swim shorts.
If our kids resist water on their faces, Frogglez goggles are worth a look. The soft fabric strap slides over the head without pulling hair, which is a common sticking point with traditional silicone straps. Water shoes are worth adding as well, to protect against rough launch sites, creek beds, and hot docks. That transition from land to water is so often where the sensory friction shows up.
Full wetsuits are a bigger ask. If we’re heading into colder paddling, size for a snug-but-not-crushing fit, look for flatlock or glued-and-blind-stitched seams rather than raised overlock seams, and consider a thin sensory-friendly rash guard underneath as a smooth barrier against the neoprene. Especially for kids whose bodies may have a harder time regulating temperature, a “shortie” wetsuit might be something to consider.
As a side note for days in the sun, a long-sleeved synthetic shirt or rash guard and a wide-brimmed hat can help reduce the amount of skin that requires sunscreen (if that’s an issue for you or your family member).
On Two Wheels
Biking adds a couple of wrinkles: the helmet and the seat.
The helmet can be a battle for some. A good sensory fit is snug enough that it doesn’t rock forward, back, or side to side, with a chin strap that holds without digging. Nutcase and Lazer both come up often for softer padding, adjustable systems, and smoother interiors. The removable pads inside most helmets are our friend here - we can swap or adjust them to fine-tune both the fit and the feel, and wash out the sweat that makes them scratchy over time. One classic occupational therapy trick for helmet resistance: desensitize the head first with gentle massage or vibration before the helmet goes on, and build up wear time gradually rather than all at once. Wear helmets around the house together as a family for a little while as a “silly” activity to take the newness away.
Padded cycling shorts are notorious for seam irritation, but can make a big difference on saddle soreness. A smooth compression base layer (Kozie or JettProof again) worn underneath creates a friction-free barrier. For kids who are still learning to ride, long sleeves and long pants both cushion the inevitable falls and, for many, simply feel more contained and secure than bare skin. Keep the same tagless, flat-seam rules in play for jerseys and tops, and remember that quiet solid colors usually beat loud graphic prints.
And if your kiddo or family member is ready for longer rides, consider Chamois Butter or something similar in those high-friction saddle areas so that they avoid too much soreness. We swear by that stuff!
A Few Shopping Tidbits Worth Keeping
Fabric tolerance is deeply personal. Even the softest merino bothers some of us, so introduce new textures gradually and watch the reaction rather than assuming a sensory-friendly label guarantees a win.
Let our kids have a say. Being able to choose the color or the style, even just between two solid options, turns getting dressed from a fight into a decision they own.
Buy from places with easy returns. Shopping online means we can’t feel the fabric first, so brands offering free, no-questions returns for surprise irritants (several sensory-focused makers do) are worth prioritizing.
And we can always go inside-out. For socks and simple tees, wearing a garment inside-out to escape an interior seam or a loose thread is a perfectly legitimate solution. With solid colors, nobody can tell!
Finally, we bring a set of “regular” clothes to change into when we’re back at the car (or camp). Whether we’re damp from water, weather, sweat, or its simply time to change sensations, we have the comfy clothes to change into and round out the end of the day’s adventure with feeling great in every way possible.
Getting outside should be about the time together, the experience, and the fun - not about a tag someone can’t stop thinking about. Gear now exists to make the outdoors genuinely comfortable for sensory-sensitive kids and adults alike. Sometimes inclusive outdoor access looks like a wide, well-graded trail. And sometimes it’s just a seamless sock.
Sometimes you just have to stop and adjust things for better comfort (and have a tasty snack).
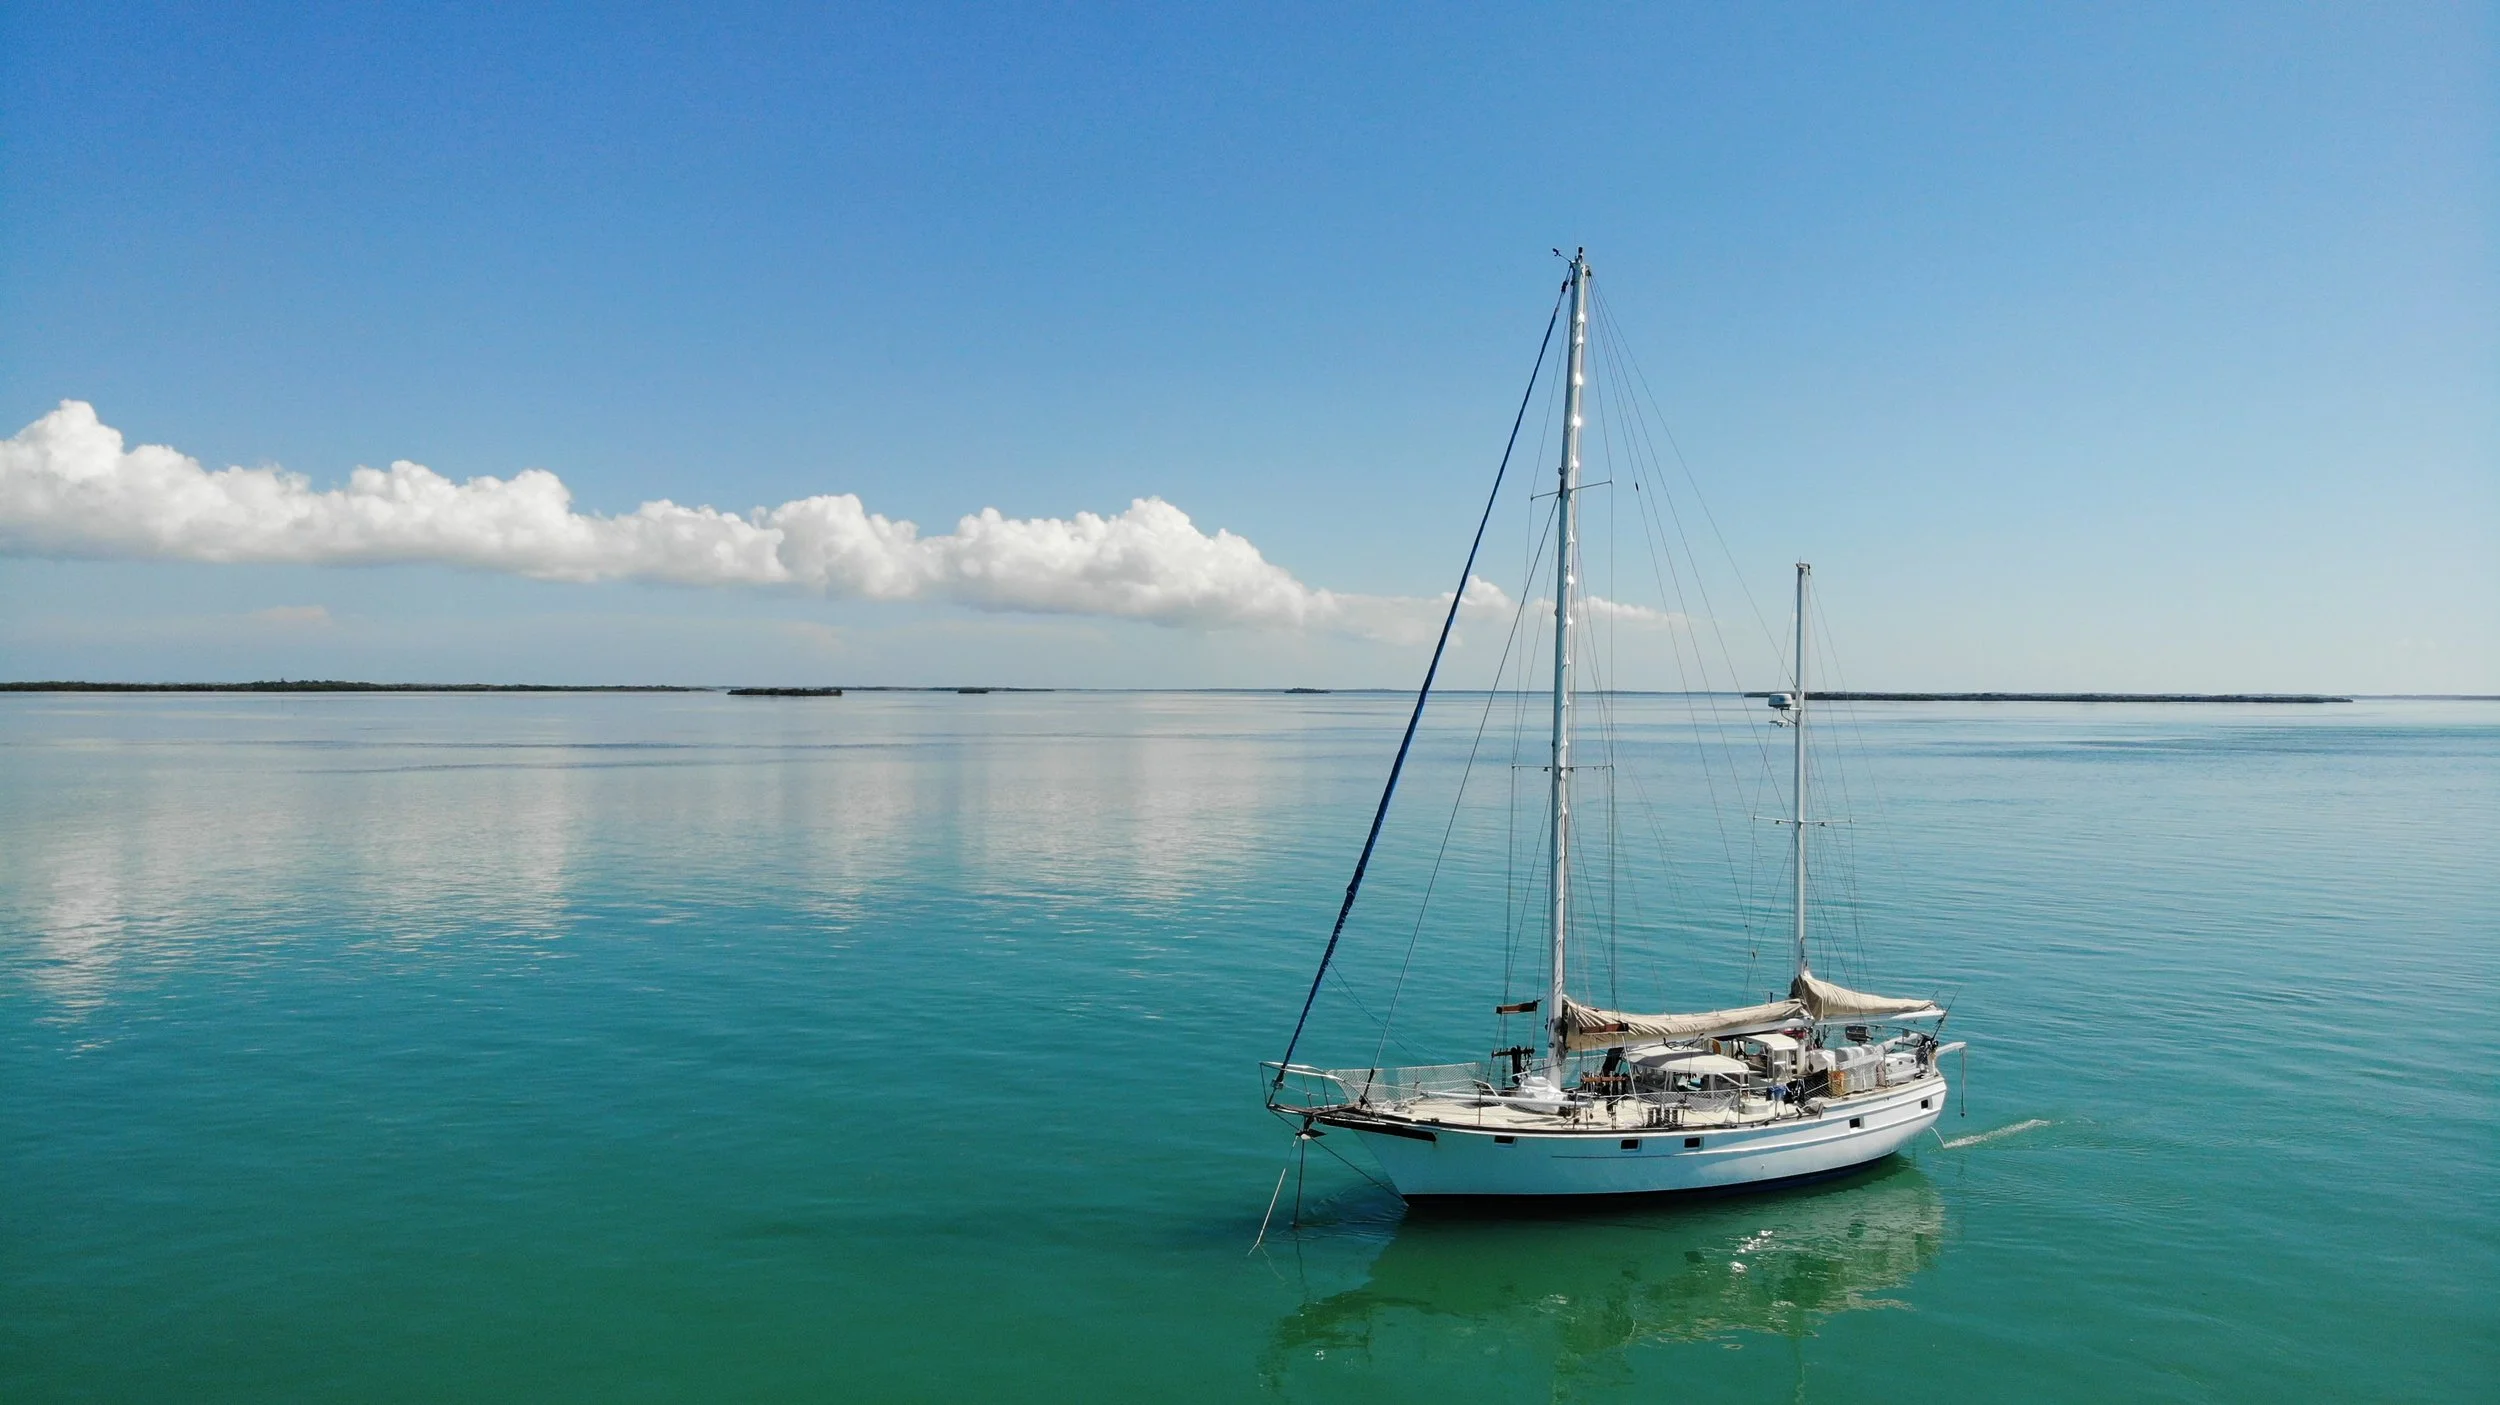
Self-Care In Small Spaces (Part 2)
The sensory side of small-space self-care — simple ways to soothe sight, hearing, smell, taste, and touch when you’re living close, so you can refill your own pitcher and enjoy the journey. Part 2 of 2.
Even with the gift of closeness, sometimes you need some solo time to recharge.
Get ready for a dive into the sensory side of self-care in small spaces!
Building on Part 1, we couldn’t resist talking about how each of our senses contributes to our stress or our well-being. Researchers have noted that the multi-sensory quality of nature matters precisely because monotony of stimulation can itself be a source of stress — in other words, our senses need nature in our lives. Let’s go.
Sight.
Have you heard the saying “a sight for sore eyes”? It’s all about what relaxes your eyes. Most of us don’t think of our eyes needing rest unless we’ve been in front of a computer too long. But our faces, scalps, jaws, and necks hold a lot of tension, and all those tiny muscles push and tug on each other as one webbed unit. Try this: close your eyes, let your jaw relax enough to leave a little space between your teeth, let your tongue rest low instead of pressing against the roof of your mouth, and — here’s the part you’ve been waiting for — let the muscles behind your eyes relax. Even just becoming aware of those muscles makes an instant difference. Beyond closing your eyes for a while, you can ease into the day with dim light that brightens gradually, and dim the lights for the last hour or two before bed. Candlelight, anyone?
Hearing.
Until I had a child with sensory sensitivities, I didn’t realize I have some of my own. For example, there’s a comfort for me in having the laundry running in the background — a warm, homey feeling. But there’s also a subtle tension that builds in my whole body throughout the day until the moment the dryer switches off and the house falls silent. My entire body relaxes and I usually sigh with some subconscious relief. I don’t know what it is about that mechanical hum, but I feel a release when it stops. Now think of all the sounds around us each day, subtle and not: air conditioners, computers, cars, music, television, voices, pets. This is where silence and time in nature come into play again — and if you play your cards well, going outside can soothe several senses at once. It’s a great case for forest bathing, which Time Magazine featured well.
Smell.
You don’t think about smells in everyday life until you’re hit by one extreme end of the good-smell-vs.-bad-smell spectrum. Wet dog and spring flowers both make us aware of smells, obviously with very different reactions. The idea here is that the smells around us — particularly in boats or RVs — can start to hint that life’s been going on a while and it’s time to do laundry, wash the dogs, or deep-clean. Maybe you can’t do it all in one night and need to give your schnoz a break. Certain essential oils can help if you have them; a couple of our favorites are lavender and bergamot. Baking bread or cookies, brewing coffee, even burning sage can freshen a space. And opening the windows to the smell of rain, river, ocean, or just plain nature instantly lifts the scents and changes the whole tone.
Taste.
You’ve heard the phrase “leave a different taste in your mouth.” That’s just it: sometimes we get desensitized and homogenized in our sense of taste, falling into a rut with the food we buy and eat. So start simple, with water — a palate cleanser and instant hydrator that tastes subtly different from every place it comes from. I can tell you the tap water in Phoenix tastes drastically different from water straight off a glacier in Montana. More than any specific taste, though, it’s about slowing down to study and savor the flavor and texture of easy-to-find things: an orange, chocolate, cheeses, coffee. Remember the scene in “Into the Wild” where he tells an apple how amazing it is? That’s zen-level food appreciation.
Touch.
Check in with your body. Do your clothes feel tight or itchy? Have you been “touched out” for the day, parents and caregivers? Switch what you can: change clothes, declare a space bubble for a while, get comfortable in soft, satiny, or fuzzy materials — or just go bare, for Pete’s sake. (Skinny-dipping, admittedly, is more than the thrill of being naked outdoors; it’s a completely different sensory sensation.) When my dad passed away, there was a lot of pressure on my sister and me to wrap up his estate and funeral planning, on top of the grief and loss we were processing. I found myself craving a cold-water plunge — it was as though I’d gone so numb and shut off to feeling anything else that frigid water was what my body needed to reset and feel semi-normal again. When I found that perfect cold body of water, I did exactly that, and it gave me the kind of touch sensation I needed at the time. An instant shock, yes, but the zap of sensation snapped me awake again on every level.
Self-care might seem like a buzzword these days, a partner to the mindfulness movement.
Whatever you call it, taking time to care for yourself in a comprehensive, whole-being way can make a big difference in your daily pleasure and your enjoyment of travel. Plus, when you fill your own pitcher, you have more to give the people traveling alongside you — and everyone benefits. Enjoy your adventures!
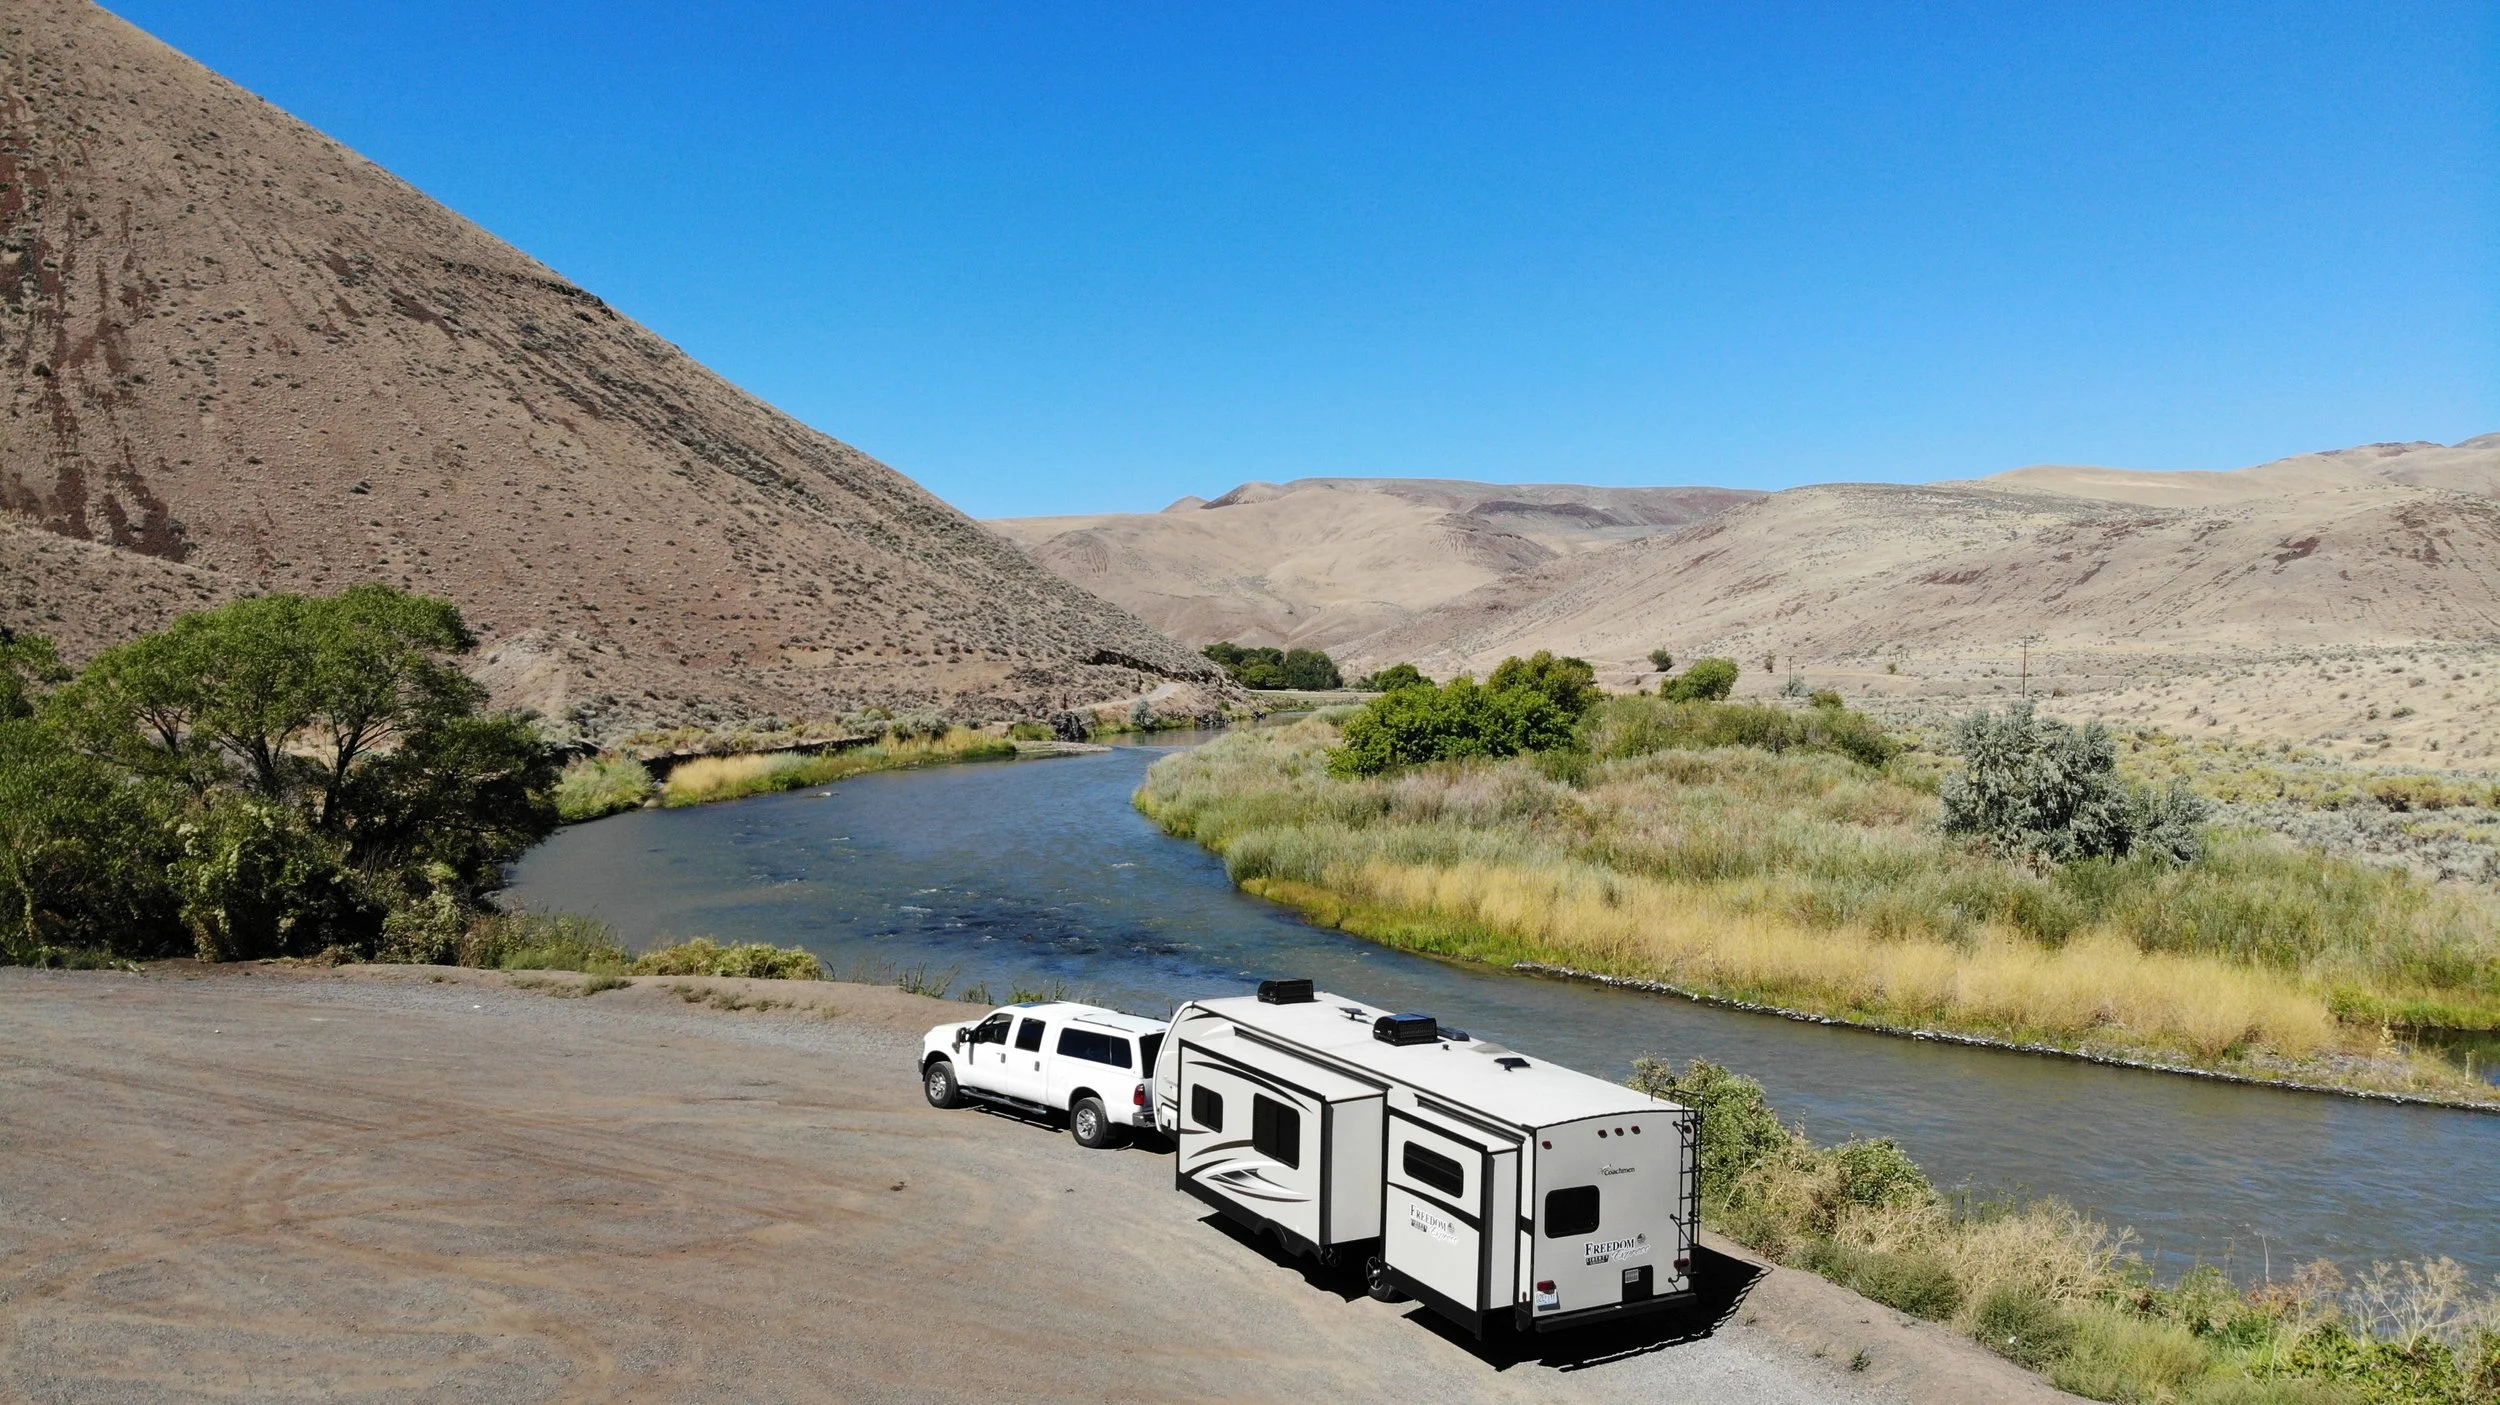
Self-Care in Small Spaces (Part 1)
Five ways to protect your peace when you’re living close in an RV, boat, or tiny home — refreshing your space, social connection, moving outdoors, journaling the “monkey mind,” and simple meditation. Part 1 of 2.
Living with other people in smaller accomodations can be an adjustment.
Living with family, friends, or travel companions of any sort is a dream many are striving toward.
And while full- or part-time travel together in small spaces is full of incredible high points, it has inevitable challenges too. One of those is how a person manages personal, peace-reaching self-care while on the move. It’s not always possible to get away for a day, so here are some ways to tend your patience, peace, and serenity for the long haul. Let’s start outward and move inward.
The environment around us.
Consider the place that surrounds you — everything you see and touch every day. If you live with other people, some of it is yours and some is likely someone else’s. Do you feel relaxed and peaceful in your living and working spaces? If not, try this quick exercise: sit down where you normally do, close your eyes, and take a deep breath. With your eyes shut, picture the space around you and what fills it. First, notice what you really love and what makes you feel good there — objects, people, feelings. Then ask which objects don’t feel like they belong or don’t make you feel good. Get up, gather those objects, and move them outside for the rest of this exercise. Sit back down in the same spot, close your eyes again, and notice how it feels now. Are there feelings in the space that make you feel less than good, and is there a way to change that? Music, a lit candle, a conversation, open windows, or a quick tidy might help. Maybe those objects outside just belong in different places, put away completely, or let go for good. This is a quick way to refresh the environments you spend the most time in — and it can make a huge difference in how you feel, how your relationships connect, how productive or creative you are, and especially how you rest.
Social sprucing-up.
Is there someone you look forward to seeing because you always walk away energized? Or a setting full of people and interactions that inspires you? Take a break — away from the people you live with — to connect with that person. Self-care in the social realm is just this: pick up the phone, buy the ticket, go to the class. Whatever it is for you, taking time to connect with another person is sometimes even more refreshing than a day of meditation. They’re different, and both quite potent. It starts with reserving the time and taking the first step.
Getting physical.
In small spaces like an RV, boat, or tiny home (or, let’s face it, during quarantine, any space can start to feel small), getting exercise can be a challenge unless you go outside. But that’s good! Time in nature has been found to benefit our well-being on every level. A Yale ecopsychology review noted that the body of research on nature’s health effects is approaching a thousand studies, all pointing the same direction: time in nature isn’t just nice to have — it’s essentially a have-to-have for physical health and cognitive functioning. If you have a regular workout, take it outside for fresh air and sunshine. If you don’t, a walk around the neighborhood or a local trail is perfect. When you’re not up for active movement, take a towel or blanket outside for some slow, easy stretching — you’ll be amazed at the difference. Weather doesn’t always cooperate, so if that’s a factor, getting movement in might take creativity: wall off a small corner of your space and declare it a temporary 10-minute fortress, or, if the family is your only option, throw a dance party for a few songs followed by a quick stretch.
Letting the monkey mind out of its cage.
Your mental and emotional health can be complex. Think of all the moments in a day or week that linger in your mind and affect how you feel, not to mention longer-term stress and future what-ifs that swirl. Journal all of it. Write it down so it can sit somewhere besides your brain — you’ll be amazed how good it feels to set that weight on the paper, and it might not feel nearly as burdensome the next day. Reading something, especially fiction or light non-fiction that pulls your mind away from what you’re in the middle of, can be the breath of fresh air your mind needs. And finally, music: turn up some favorite songs, jam out, and dance your way out of your funk. (By the way, “dance” is a very loose term — wiggling, flinging, head-throwing, arm-flailing, fast-footed jumping all count. Move to those tunes until you feel better.)
Lifting your spirit.
I once heard someone say, “prayer is speaking to the Higher Power; meditation is listening.” Have you sat somewhere silently and listened lately? Sacred silence, or meditation, is considered by many to be part of their spiritual hygiene — essential and necessary every day. For those of us who struggle either to commit to meditating or to find a quiet time and place, we have to find alternatives. Again, nature and music are great places to start. Staying up late or waking earlier than the rest of the family can work, though it’s not always sustainable. One quick method I’ve learned is the single-sound meditation: sit somewhere comfortable, close your eyes, take five to ten deep breaths to slow down, and in the hum of life around you, single out one consistent sound and focus only on that — the refrigerator, a wind chime, whatever. When your mind wanders or thoughts appear, come back to that single sound. The point isn’t to catapult into a guru’s empty-mindedness for all of life’s answers; it’s simply to guide a busy mind to focus on one thing for a few minutes and give your soul some relief from all the multitasking.
We hope your travels take you on many new adventures with people you love being around. Taking time to care for yourself will extend your travels, expand your happiness, and feed the longevity of your journey. Do you have any self-care tips to add? What are your challenges around sharing small quarters with other people?
Part 2 of this list — five more “roads” — continues from here.
Review: Garmin inReach Devices
Our years-long take on the Garmin inReach satellite communicators — the Mini, Montana series, and marine/aviation options — for staying safely in touch (and adding real peace of mind) far off the grid.
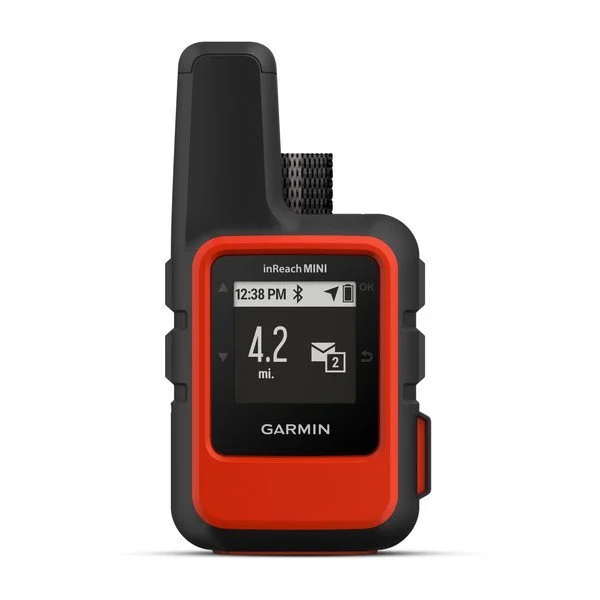
This little device - or one like it - could be a great addition to your time in the wilderness.
This post contains affiliate links. If you buy through our links, we earn a small commission at no extra cost to you. Thank you!
We've owned and used the Garmin inReach satellite communication system for several years now, and it's been a game changer for staying safely in touch while traveling in remote places. Straight from Garmin: with inReach satellite technology and an active subscription, you can send and receive messages, navigate your route, track and share your journey, and - if necessary - trigger an SOS to Garmin Response, a 24/7 staffed global emergency coordination center, over the worldwide Iridium satellite network. It's amazing.
It's now something we don't start an adventure without. We've used it many times (fortunately never to call for help), most often just setting up the tracker so family and friends can follow along and check in when we're otherwise unreachable: offshore, in the mountains, or on a remote gravel road in the woods. A few times we pulled weather forecasts while sailing, which was a real help when we were second-guessing conditions.
Think of it as a backup to your skills, preparation, and intuition: something that can help emergency personnel find you if things go very wrong, while giving your loved ones peace of mind when everything's going right. Cristen loves her solo adventures, and we all feel better when she heads out with her inReach Mini clipped to her hydration pack: safer for her, and we can see where the pedaling takes her.
Garmin keeps building inReach into more and more of their devices, which is great. Which one is right for you depends on your needs and what you do (and don't) want to carry — more features usually means more size and weight. Nothing is huge, but it's worth considering. We love the Mini for its small size and easy pairing with our phones via the app, which unlocks a lot of features. If you're shopping today, the compact end of the line has grown: the inReach Mini 2 is the lightweight standard, and the newer inReach Mini 3 Plus (announced late 2025) adds a color touchscreen, photo sharing, and even 30-second voice messages. Garmin also makes the pocket-friendly inReach Messenger and Messenger Plus if you want simple two-way messaging on a budget. And if you already wear a Garmin watch, inReach is now built right into some models like the fēnix and tactix — one less thing to clip on.
If you'd rather not carry a phone into the field, a rugged all-in-one unit like the Garmin Montana 700i or 750i — big touchscreen, onboard maps, inReach built in — might suit hikers and hunters better.
Not hiking or hunting? Garmin also makes inReach-equipped devices for boaters (with waterway charts) and even for aviation. The hard part isn't finding options — it's choosing just one.
Once you pick a device, you choose a subscription. Garmin refreshed its plans, and they now run from Enabled (the most basic — just keeps your device active at a low monthly cost) up through Essential, Standard, and Premium, which offers the fastest tracking and unlimited messaging. Plans can be billed month-to-month (pause or cancel when you're not using it) or annually for a lower rate. We leave ours running, because it doubles as a backup when a natural disaster takes out land-based communications: family in Florida have used it during hurricanes, we use it during tornado season in Missouri, and family in Oregon reached us during wildfires when cell towers were down. Not bad insurance — the basic plan starts at just a few dollars a month, and SOS is included on every plan. We keep it in our emergency kit even when we're not actively adventuring. (Garmin adjusts plan pricing from time to time, so check their site for the current rates before you sign up.)
We get a lot of questions about what we use for safety communication, and we hope this helps. Whether you want a great adventure communicator or a way to stay prepared when regular comms fail, Garmin inReach adds real peace of mind. Questions? Reach out anytime.
Common Threads: The Strings that Make Life Valuable
A quiet reflection on the “common threads” — the values that stay steady across decades — and how a beach full of plastic bottles turned into a lifelong personal calling.
Do you ever dive into the past on a cold winter night and think about where you’ve been and where you’re headed? Lately, I’ve been considering something I call the “common threads.”
Regardless of what has happened or changed over the last, say, 20 years, what are the common threads in my life and character, my interests and dreams, that still hold true — or hold even more strongly? It’s inevitable that interests come and go, but what has stayed steady? Nature, the outdoors, the feeling of exploration, a deep desire for travel and spiritual adventure, the joy of sharing that enthusiasm with others, being part of a community in some way.
As a kid, I wanted to “save the planet.” As an adult with a little more time under my belt, I realize I want to revive humanity — because the planet will survive just fine. There’s a connection with the natural world that aligns us so perfectly with both our physical being on the Earth and our spiritual search while we’re fortunate to be here. Nature shows us vulnerability and strength, hard truths and gentle hints, balance and benevolence. But we have to choose to see it that way — to treat it that way, to embrace the hardships we face as opportunities to grow, and to open our fixed perspectives to obscure possibilities.
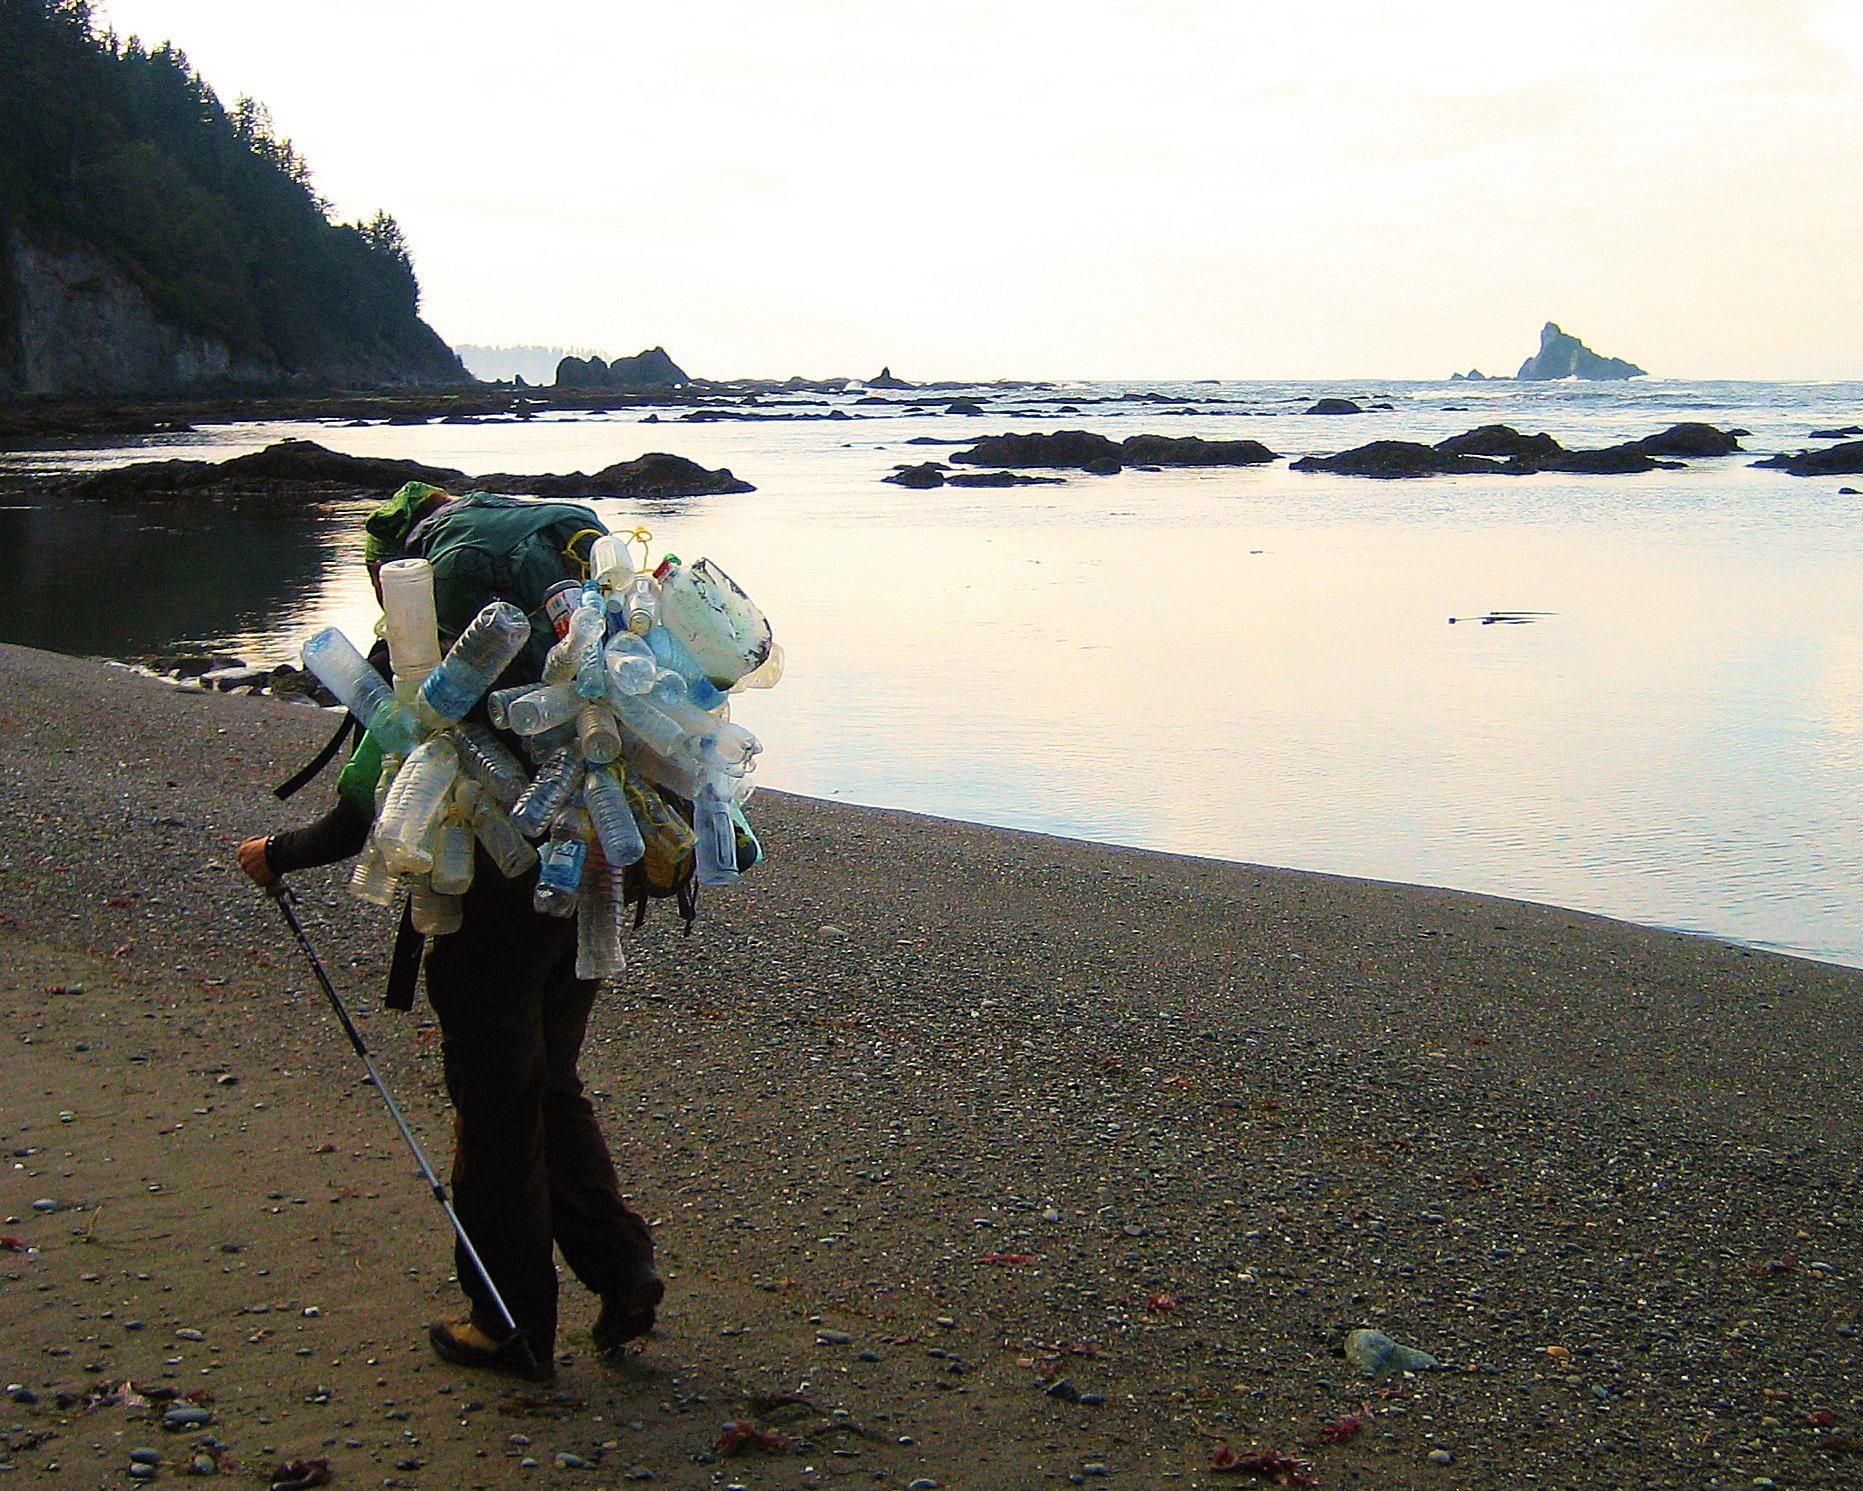
Because you never know. One person carrying 40 plastic bottles back from a backpacking trip on the Olympic Coast in Washington might catch the attention of three more people who begin to do the same. And little by little, bottle by bottle, a beach gets healthier, humans widen their perspective, and it lasts… and spreads.
I remember getting back from that trip and telling someone, “all I discovered while I was on that journey was that I just want to pick up trash on the beaches.” It felt so silly to say at the time — like it had no value over a lifetime to declare something so simple, something that wouldn’t advance my career, education, or skills.
It turns out that, almost 14 years later, it was a personal value I’d discovered instead — something that has stayed with me ever since. And who am I kidding? Reflecting on that journey around the country, there was so much more that impacted me for a lifetime than I could see at the time. The experiences had to stew for a while.
Have you discovered any of your common threads to this point in life?
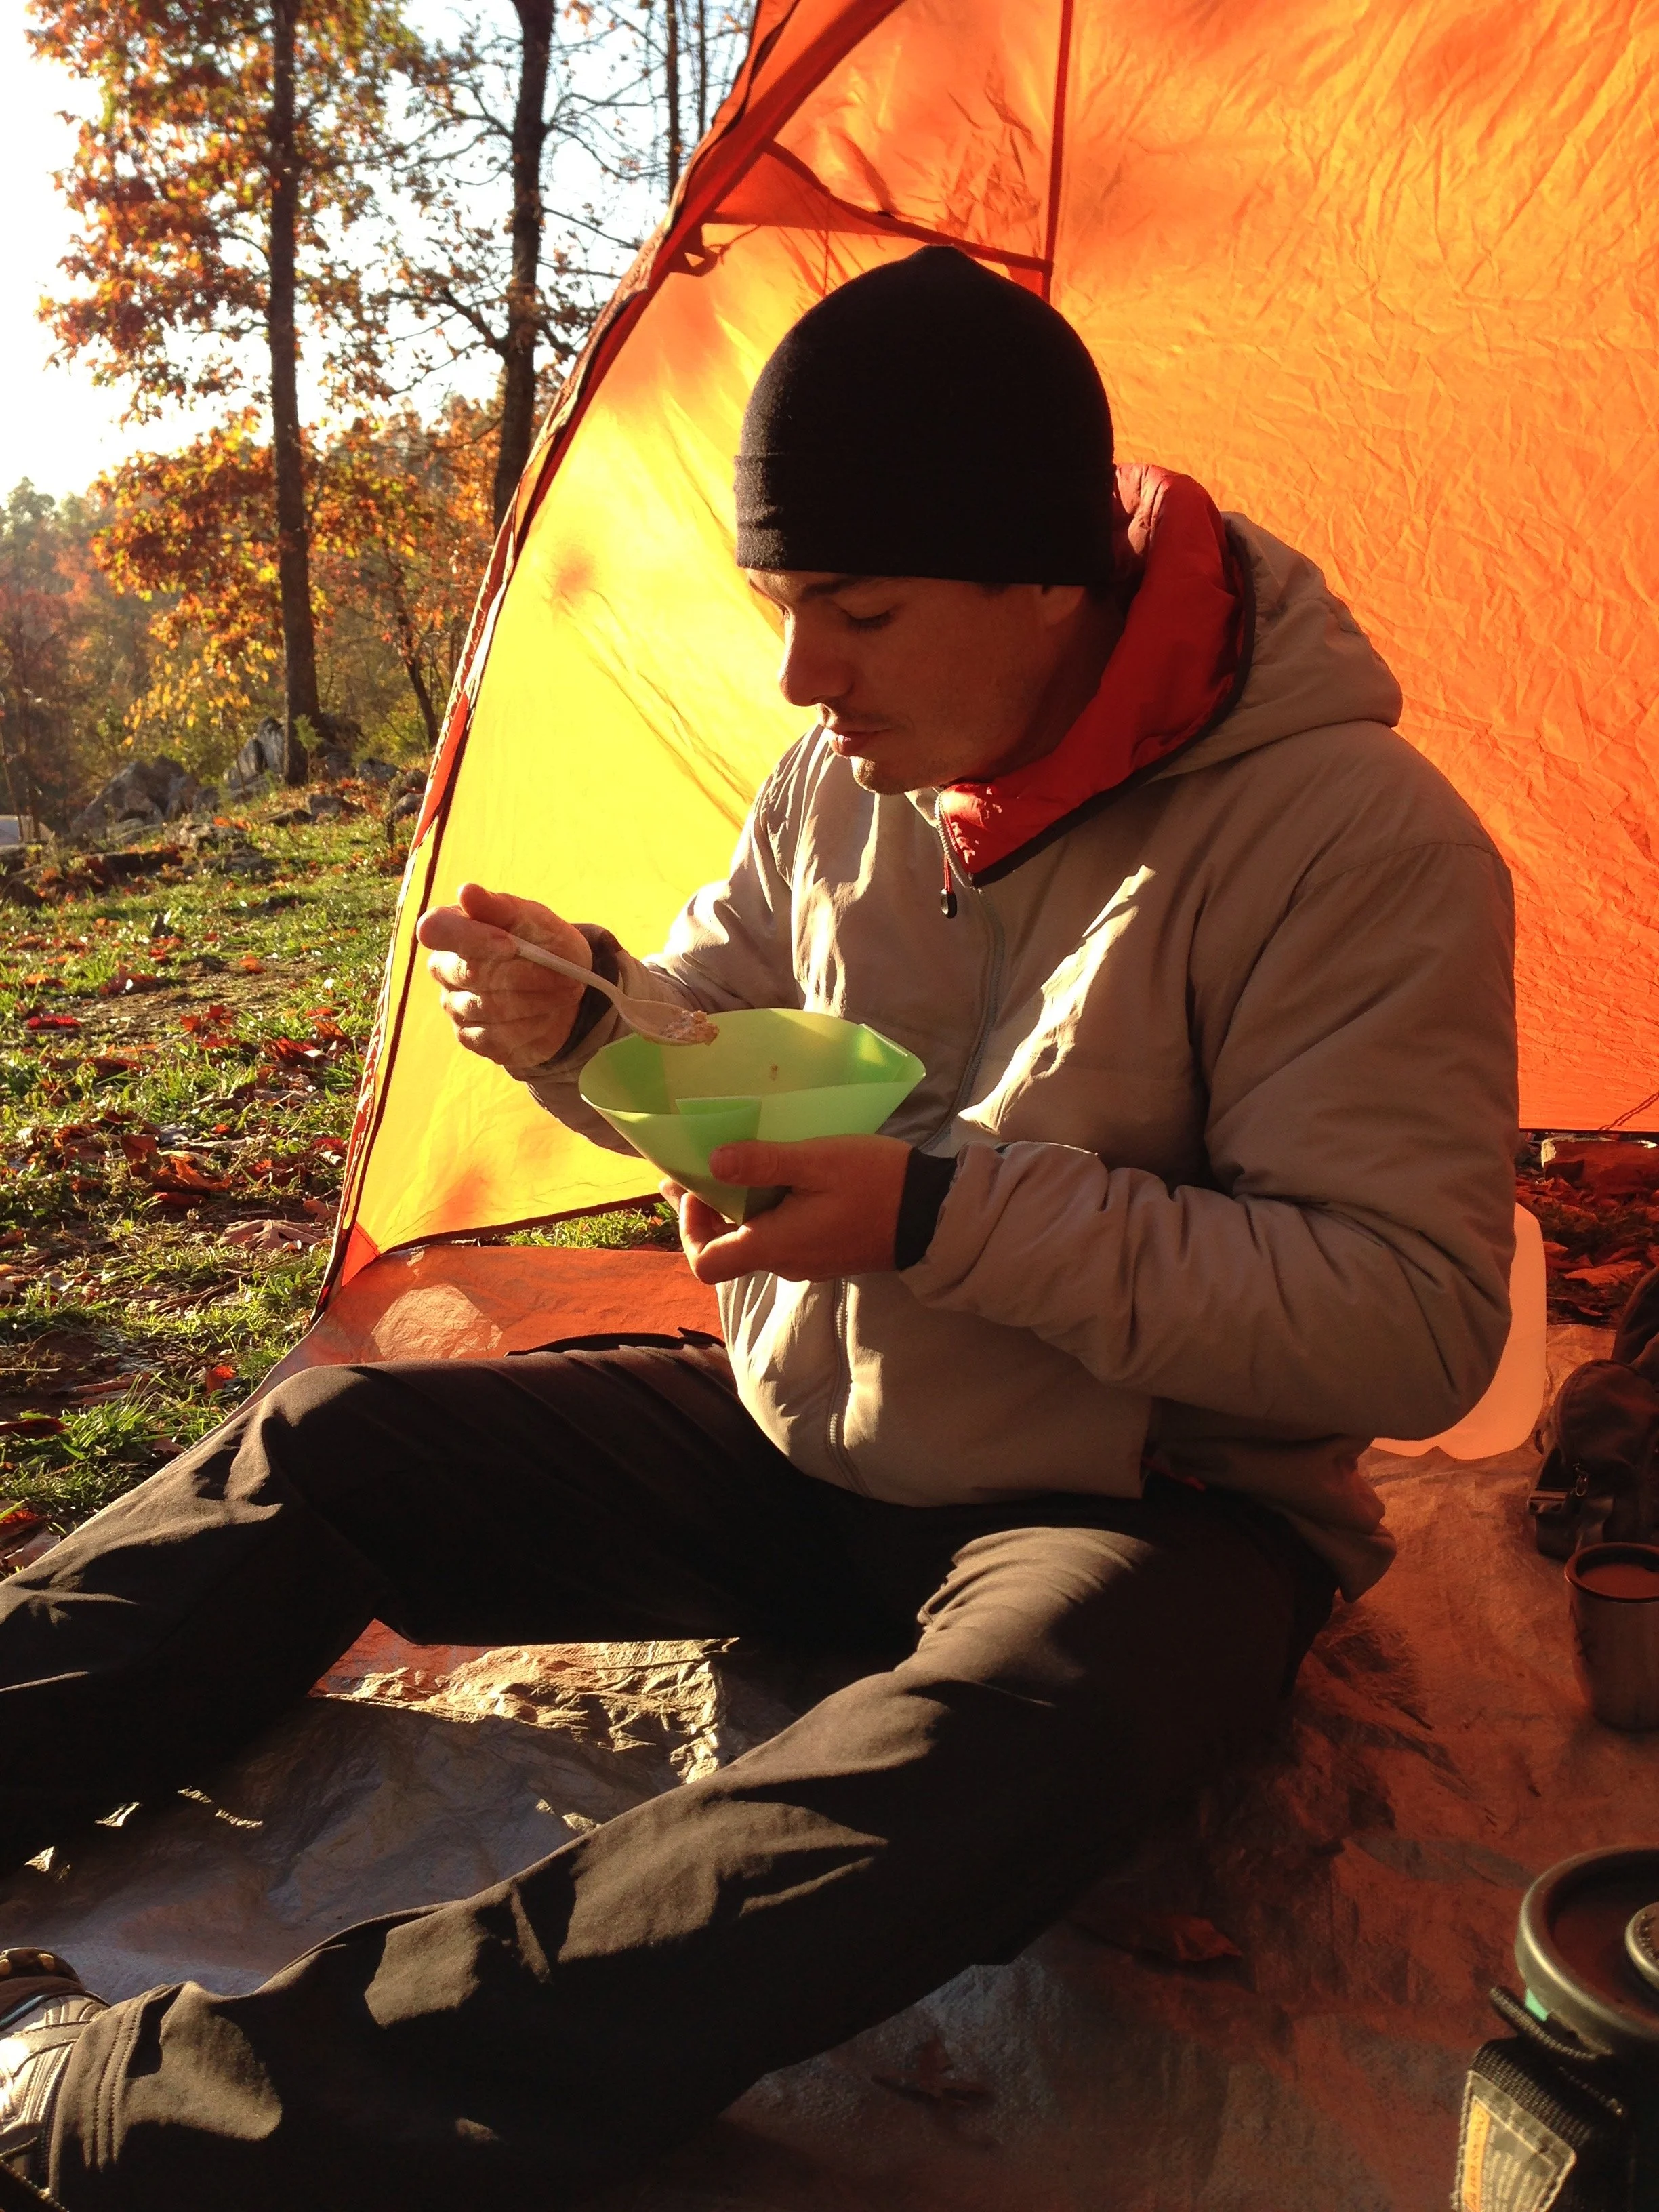
(Recipe) Campfire Stew: Simple, Quick Comfort Food
A super-simple, one-pot camp meal (green beans, new potatoes, smoked sausage, a little Cavender’s) that warms you up after a long day out — plus why we keep hot cocoa in our kayak kit for cold-water days.
A favorite meal in the wild warms your body and your soul!
A camping recipe made easy — warm on cool nights, fast after a long day out, with easy ingredients that travel well and plenty for everyone.
Yes, this is an adventure recipe blog. Aren’t all the senses involved in exploration and delight? If you’ve listened to our podcast, you’ve probably noticed that we love finding interesting places to enchant our sense of taste — sometimes we seem to eat our way through new places (like Key West, Florida).
Today’s post, though, is meant to bring a little culinary comfort whether you’re camping out or just needing some easy satisfaction at home. The whole “chicken soup for the soul” idea definitely applies when someone talks about their favorite food to cook while camping.
For me, this campfire stew brings to mind camping along a cold river as a nine- or ten-year-old boy with my family. After a day of paddling on chilly spring-fed water, we’d light a fire and cook this super-simple, one-pot meal — warm and filling at the end of the day. Since then, I’ve shared it with others, and they’ve shared their own campfire stew recipes with me. What’s most consistent is this: the ingredients matter less than the warm feeling served up at the end of the day while camping under the stars. Felt as both a reward and a comfort, it’s these small things that create good memories when we’re young.
My campfire stew has lasted a lifetime and will outlast me, because my son delights in cooking it too. The ingredients are purposely simple: a can of cut green beans (not French-cut), a can of diced new potatoes, a sliced smoked sausage, and a little Cavender’s Greek Seasoning. Once everything’s in the pot, add water and bring it to a boil — the boil draws the oils out of the sausage and gives the stew most of its flavor.
Like any food cooked outdoors, I think it always tastes better over a campfire. But it’s become a favorite cold-weather recipe for our family, giving us that little taste of the outdoors even when we feel trapped inside. We usually have the canned items in the pantry anyway and keep some sausage in the freezer.
Campfire Stew
1 can cut green beans
1 can diced new potatoes
1 smoked sausage, sliced
About 2 cups water
Season to taste (I like 3 tsp Cavender’s Greek Seasoning)
Bring to a boil for 5 minutes, then serve it up. Add your favorite crusty bread or crescent rolls to round it out.
Classic campfire comfort food might even include those Americana favorites: s’mores and hot cocoa. Would you believe I keep packets of hot cocoa in my kayaking gear? I’ve done it as a day-saver, or in the case of a really cold swim for myself or anyone with me. It helps warm the body’s core, the chocolate helps release endorphins, and the sugar gives a little extra carb kick to recover from the cold. With a Jet Boil or another micro-cooking system, it’s an easy, packable part of my emergency kit.
It’s just another example of how the right food at the right time makes a difference. It helps on three fronts. First, warmth — one of the hardest things for your body to regulate outdoors, and in the case of an unexpected cold-water swim, it can literally be a lifesaver. Second, the chocolate releases endorphins for that “feel good” lift while your body temperature climbs back up. Third, it gives your body some sugar to burn, for a much-needed energy boost to finish recovering.
The great thing is you don’t have to have a cold swim or a brush with hypothermia to get that boost. It can rescue a kid’s day, too, when they’re cold, tired, or irritable after a lot of sledding or hiking. Sometimes children get down or feisty when they’ve burned through their energy reserves and are getting “hangry” (hungry + angry). I won’t say adults get that way too, but we all know the truth. Lift the vibe quickly — and look like a seasoned superhero — by whipping up a little hot cocoa. Not only does it create another good memory, you might just start a new tradition.
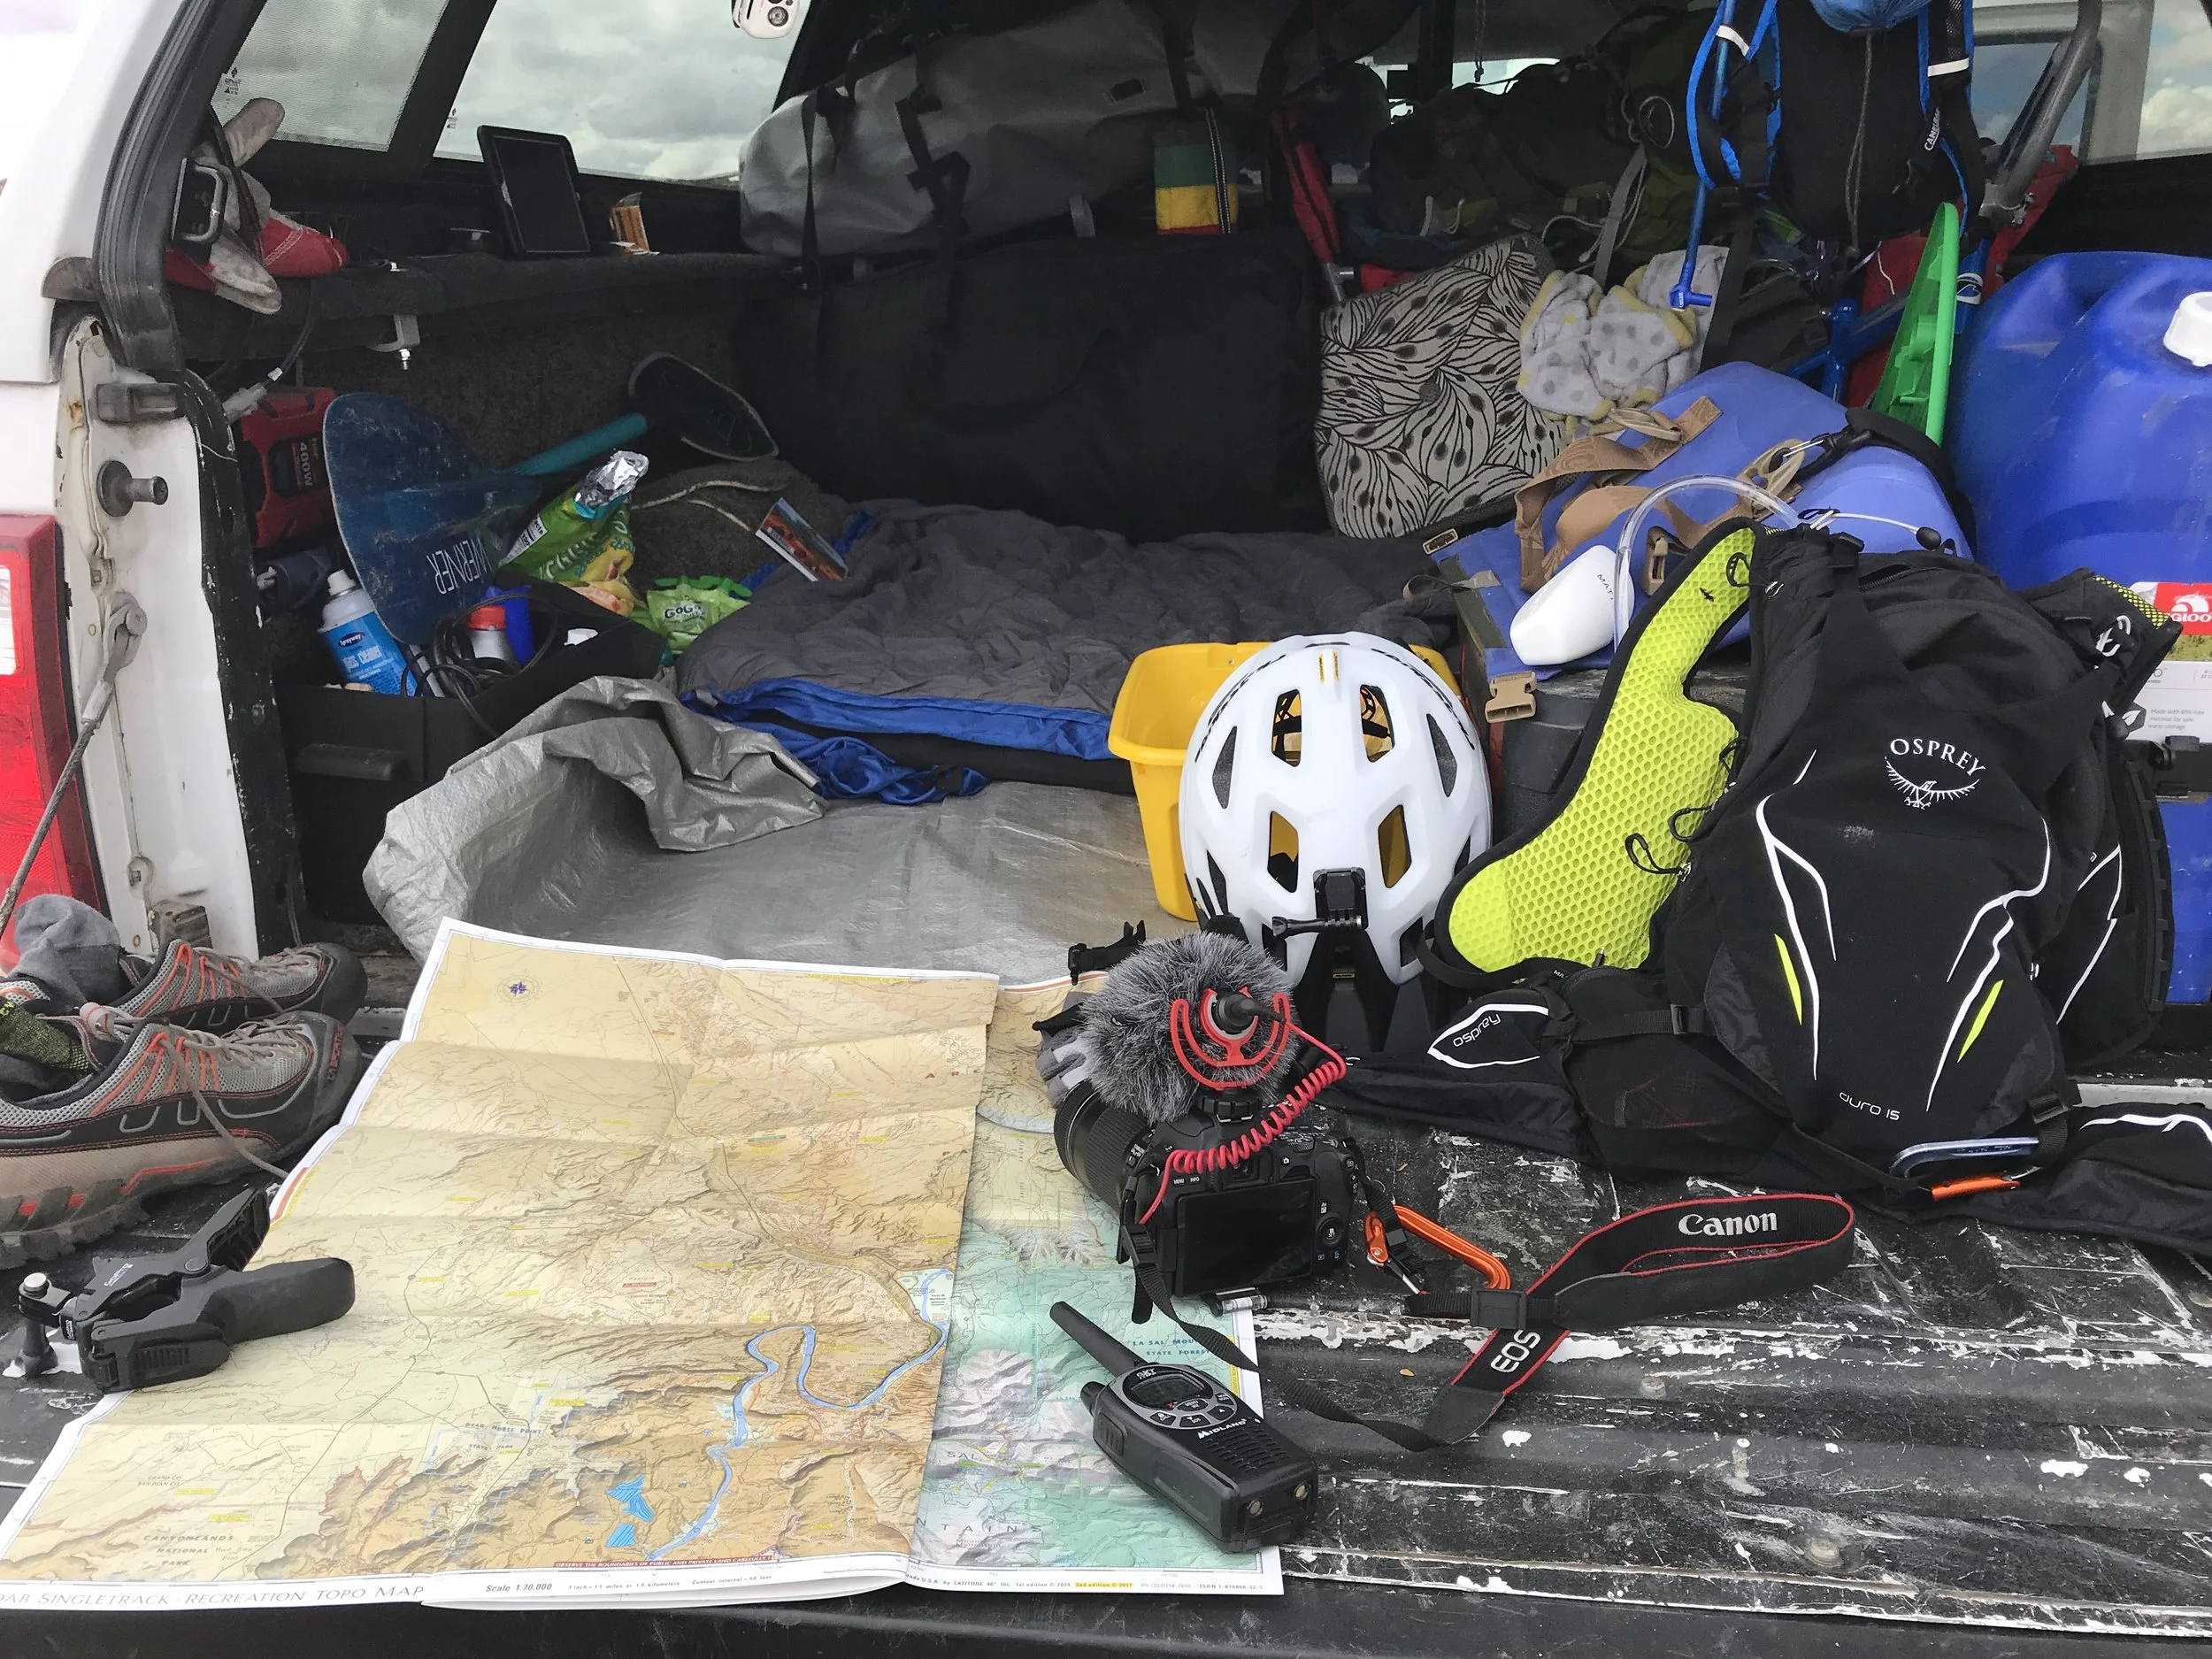
8 Places to Save Money on Outdoor Gear
Our favorite reliable places to find deep discounts on outdoor clothing and gear — from Steep and Cheap and REI Outlet to consignment shops, Patagonia Worn Wear, and gear rentals — so more of your budget goes to the adventure.
Quick answer: To save money on outdoor gear, shop discount sites like Steep and Cheap and REI Outlet, check Facebook Marketplace and gear rental services, hit consignment stores while traveling, watch gear shop sale racks year-round, and use Patagonia Worn Wear or REI Re/Supply for quality used gear at a steal.
Sometimes it’s time to refresh the gear and doing it on a budget is nice.
This post contains affiliate links. If you buy through our links, we earn a small commission at no extra cost to you. Thank you!
We are gear heads - outdoor gear, that is. Our garage is filled to the brim with backpacks and shoes, paddling gear, and bikes, gathered over years, even decades. When our son grows, something wears out, or the tech changes so much that one item can do the work of five, we go hunting for replacements and sales - because gear can be expensive.
We like to find deals and save money, too - that savings can go straight toward the adventures the gear is meant for. After a while we realized that chasing sketchy coupon codes wasn’t paying off, so we started shopping smarter and finding consistent, reliable places to get what we’re looking for. Here’s our list of favorites when we need a break on outdoor clothing and gear:
Steep and Cheap. Many people know its bigger sibling, Backcountry.com, but fewer realize this off-shoot is home to some deeply discounted gear and clothing. You might find obscure sizes or last-season colors, but when you find something that works, it’ll be at a great price.
Facebook Marketplace. If you don’t live in the heart of the sport you love - say you’re in the Midwest but love snow sports - widen your search radius and be willing to pay for shipping. You may be surprised what turns up to fill the gaps in your gear closet.
Gear Rentals. There are online gear rental stores that can ship gear to you throughout the US. Look for names like Lower Gear Outdoors, Gearo, or Outdoors Geek: some of the longest-standing gear shipping rental businesses. I say this because many have folded over the years with a few left standing. It’s a great way to find the gear you need for a trip that you don’t need year-round, long-term, or simply don’t want to/can’t travel with.
Used / Consignment Gear Stores. We discovered these on a long road trip out West. Obvious if you live in Moab, Eugene, or Colorado Springs - but we don’t have them where we live. We hit the jackpot on kids’ jackets and winter gear, and loved it so much that now we sometimes take a box of gear to consign when we head West.
Gear Shop Sale Racks. More and more new-gear shops keep an evergreen sale section year-round, not just during a seasonal event. Poke around - it might be hiding upstairs, downstairs, or in a corner.
Patagonia Worn Wear. One thing we love about Patagonia is its commitment to environmental stewardship: long-lasting gear, solid warranties, and repair options. Worn Wear lets owners pass along gently used gear to buyers looking for exactly that — at a good price.
REI Outlet. Just as Steep and Cheap sits within Backcountry, REI Outlet lives within the REI site and app. Find last season’s clothing, coats, panniers, harnesses, goggles, and packs for much less — and REI’s return policy is generous if it doesn’t work out.
REI Re/Supply. No longer a hush-hush secret. It’s other REI members’ returned gear at a steal and all the time. What was once their stealthy garage sale has been reimagined. You must be a member (worth it for the 10% annual dividend). And you can trade in your old gear for an REI gift card.
It’s also worth mentioning that REI offers some rental gear from select stores around the US.
We love our time outside and the adventures that reliable, high-quality gear makes possible - finding savings here and there just extends the exploration. What are your favorite ways to save when you’re hunting for gear? We’d love to hear your tips.
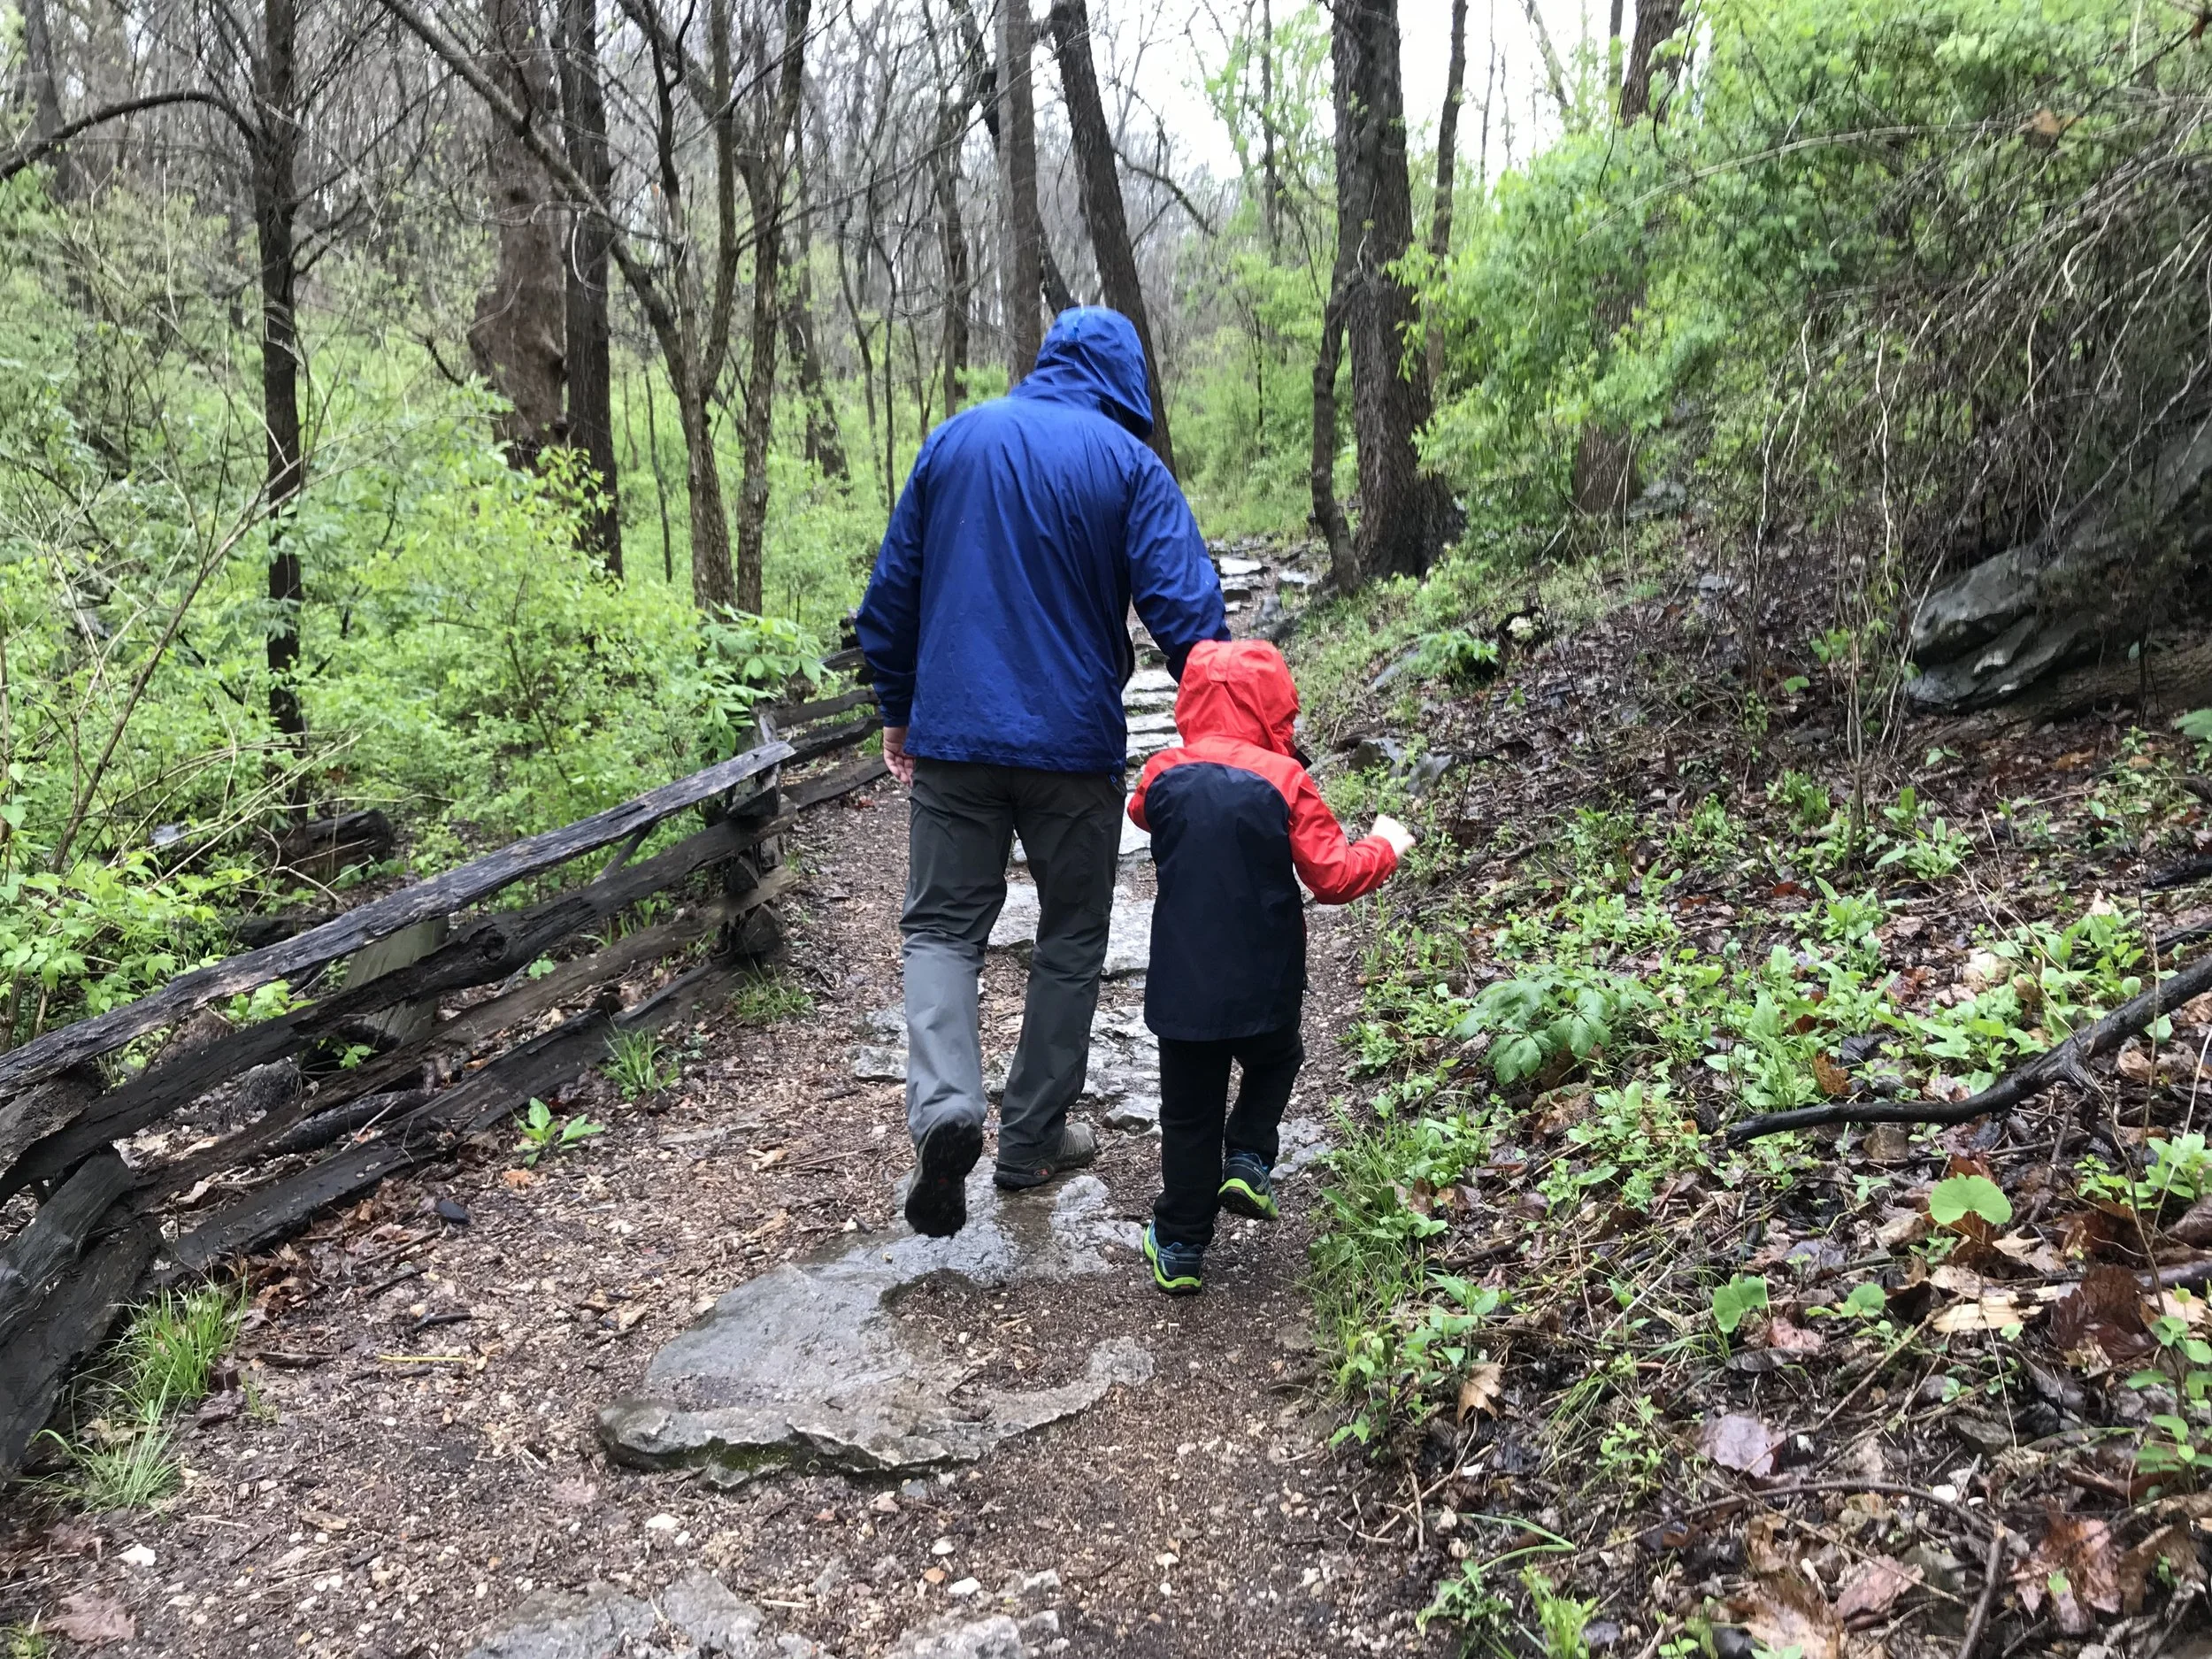
When to Go GoreTex
Is GORE-TEX necessary for your next adventure? Maybe! Let’s talk about what it is, when it’s best used, and the benefits of having GORE-TEX in your kit for foul weather adventuring.
Quick answer: GORE-TEX is worth using whenever weather turns wet, cold, or windy: it’s a waterproof, breathable, windproof membrane best for hiking, paddling, and sailing jackets you’ll reuse for years. For casual errands it’s overkill, but for unpredictable conditions or layering against brutal cold, its durability and performance pay for themselves.
A rainy hike is the perfect time to break out the GORE-TEX
Chances are you’ve heard the GORE-TEX name sometime in the last 40 years. It’s come to stand for top-level waterproof, breathable performance in everything from footwear and jackets to gloves, pants, and hats.
The story actually started in 1958, when a DuPont employee and his wife (Bill and Vieve Gore) started a company to explore a new material called PTFE. Then, in 1969, a discovery by their son Bob led to the birth of ePTFE — the king of breathable waterproof fabrics. What followed was a wave of improvements that led to better and better products for everyone from astronauts to explorers, and even my kid’s shoes.
Yes, other companies are doing fantastic things with similar products: Pertex, Polartec, Ottertex, BDry, eVent, Eco-Shell, Proflex, Sympatex, and Futurelight. In very simple terms, these are all micro-porous fabrics with varying features that affect breathability, durability, and sustainability. They share the same intention — keep water off you while still letting the vapor your body releases escape, so you stay dry.
When GoreTex is necessary for my jacket, gear, or adventure
So the question is: when do you actually need a GORE-TEX level of protection?
Well, I always keep a jacket in my vehicle because it keeps me dry in the rain. That same jacket comes with me hiking, paddling (not whitewater — that’s a different jacket designed for a specific use), and sailing. By using it and cleaning it about every three to six months depending on use, I get an excellent return on my investment. I’ve used the same jacket for a decade, which makes for a use-per-cost breakdown I really like. Having something you can count on in a wide variety of situations is such a comfort.
Is it a bit of overkill for running into a coffee shop or store in town? Most likely. But it does a great job keeping me dry and happy, and that’s what counts to me.
One of the other benefits of a GORE-TEX jacket is that it’s windproof. On a cold day, that can make a huge difference. Pair the jacket with a fleece or down insulation layer and you’ll find you can stay comfortable in some pretty adverse conditions. One example that comes to mind was early 2021, when the Midwest had one of the coldest winters on record — temperatures dropping into the negative double digits for multiple days. A layering system was mandatory to go outside safely for any length of time, and the jacket that “just kept me dry” became an invaluable part of my wardrobe on those brutal days.
A GoreTex of many faces: new tech keeps improving
Once you go past casual use, you’ll notice a wide variety of products: Pro, Paclite, 2-layer, 3-layer… it really goes on and on. That just means the original product has been improved and specialized for different products — or even for different areas within the same product. It’s all about durability and breathability, and new developments happen every few years.
One of the latest updates came in the cycling world, where you really need something that dries quickly and breathes efficiently. Enter the “Shakedry” feature: you can literally give the jacket a good shake, and because it’s so hydrophobic, the water can’t stick to it. Pretty cool! It’s not something I need daily, but if you’re planning a bikepacking trip or you’re a daily bike commuter, you’d be very excited about it.
So when do you actually need GORE-TEX? Easy: if the weather is going to get wet, cold, windy, or nasty, you’ll be very happy to have it. And when that next adventure comes around, remember — there’s no bad weather, only bad gear.
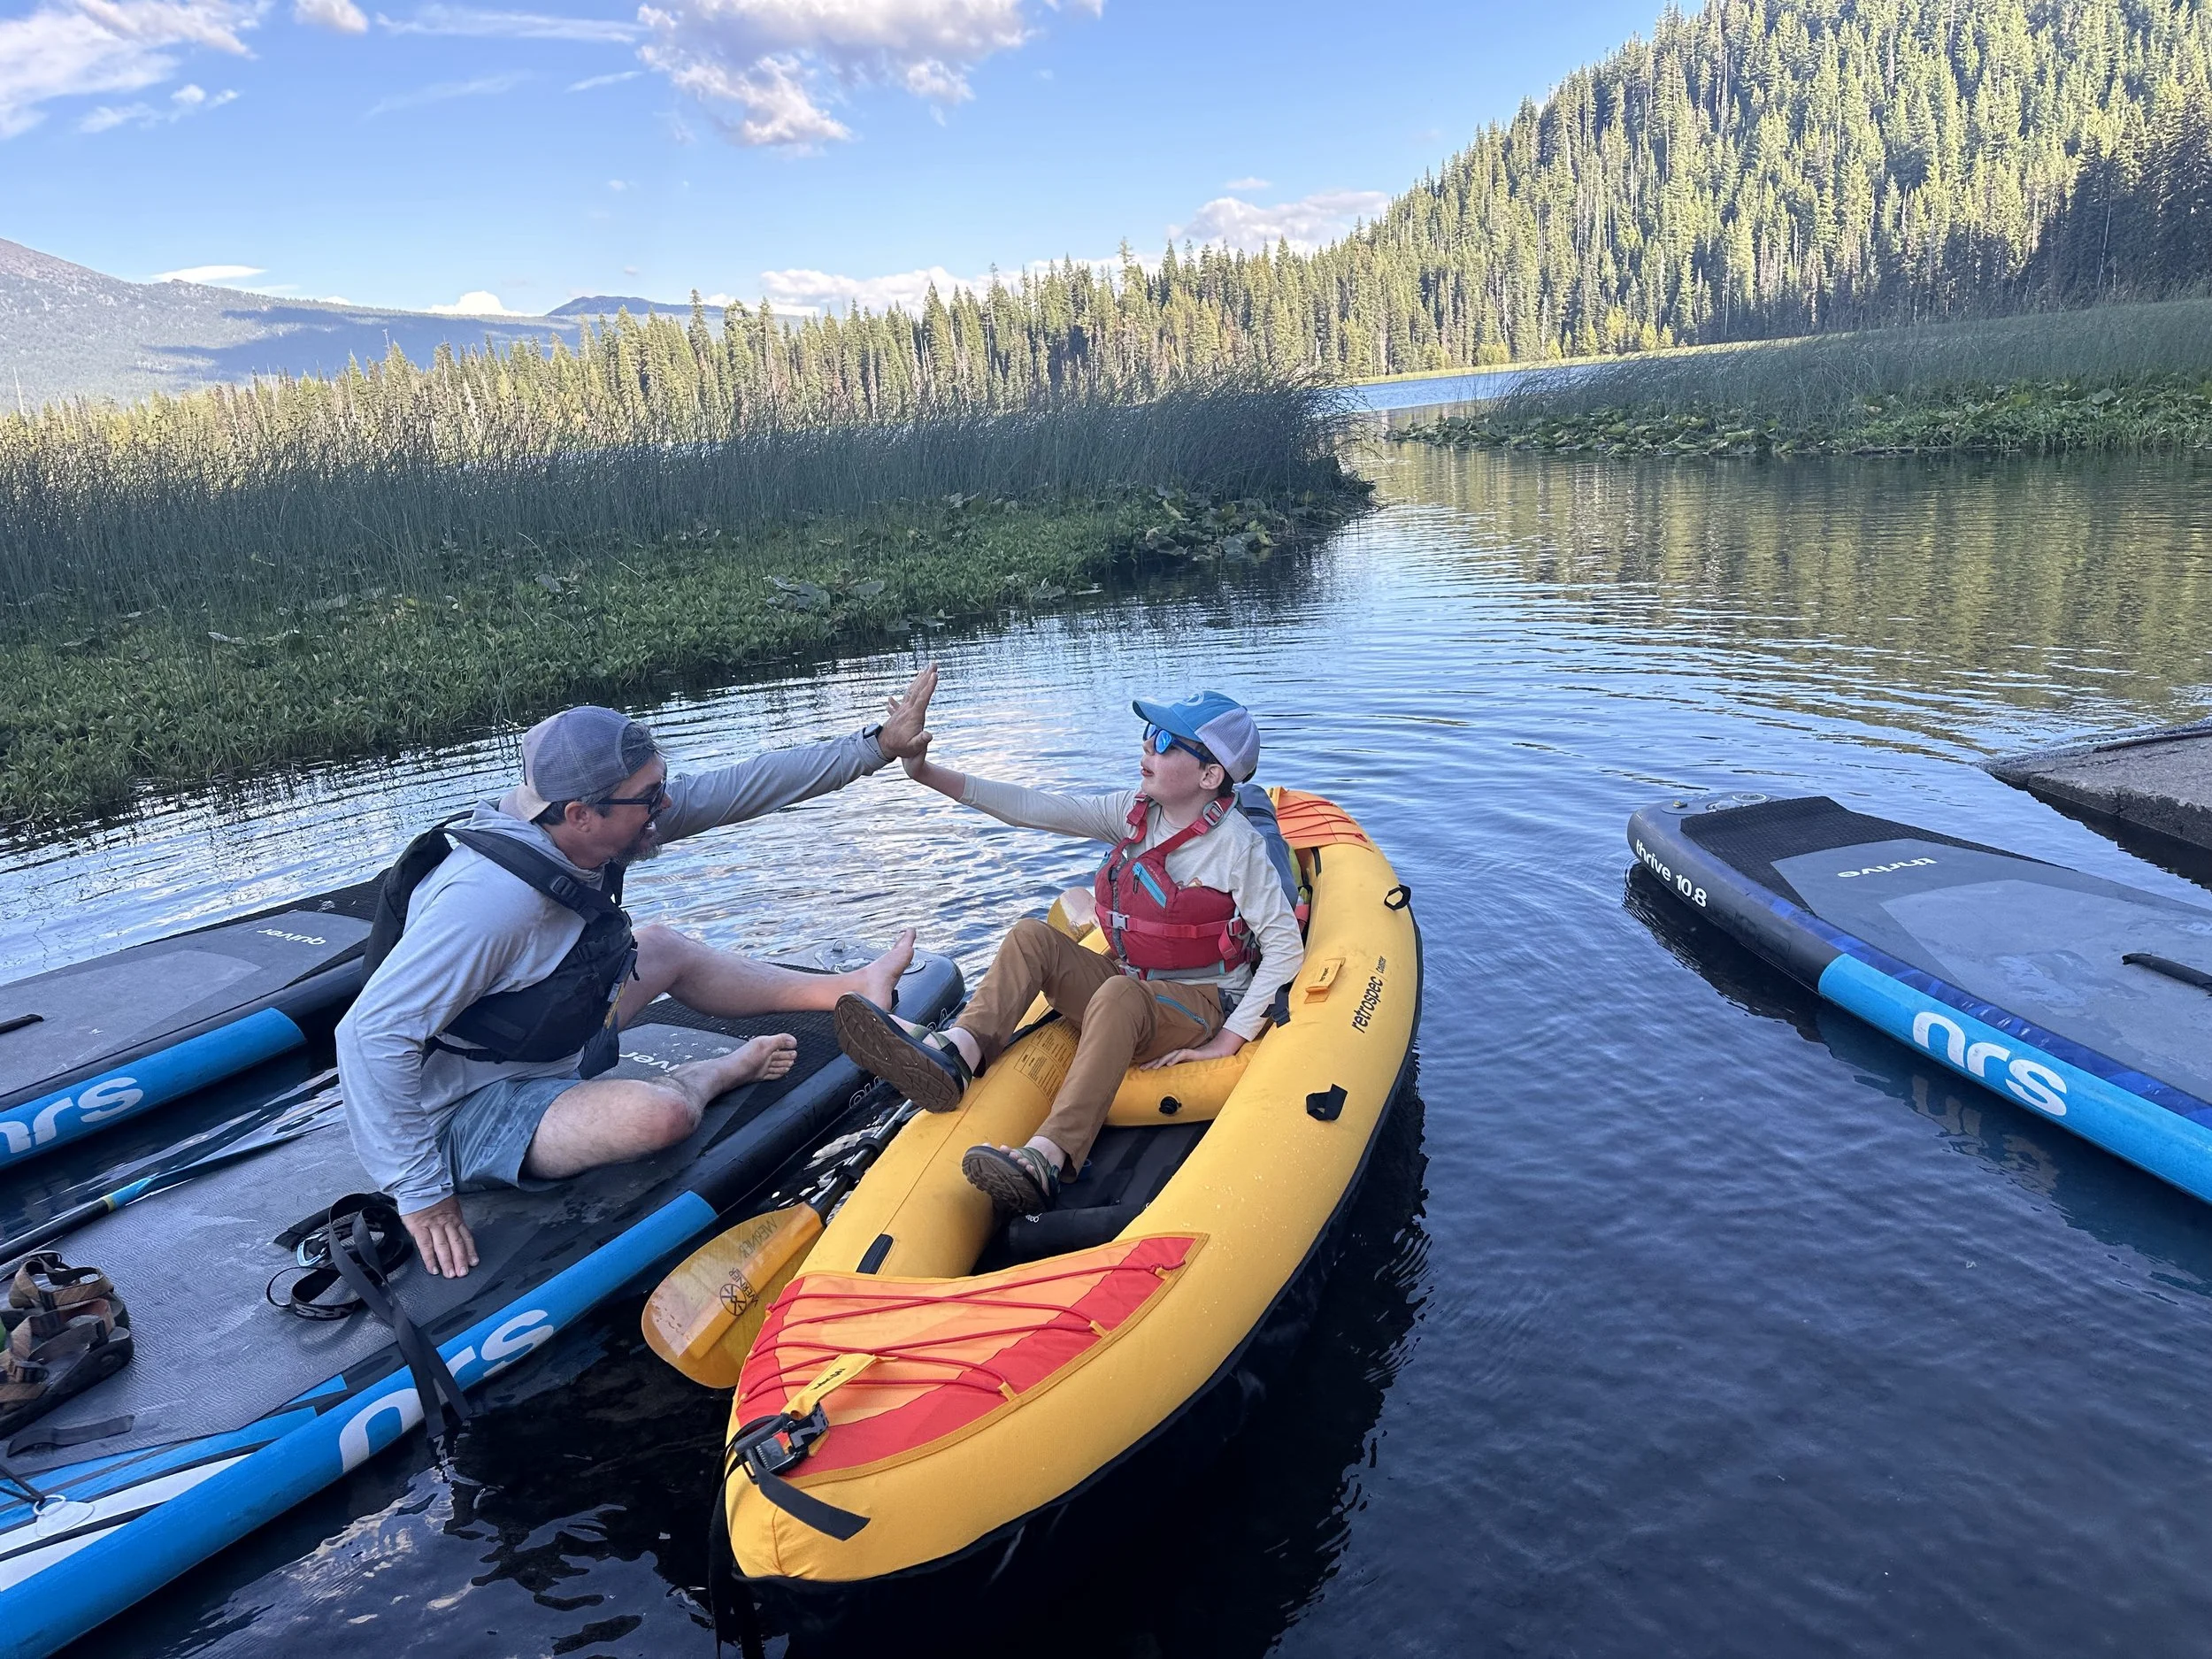
8 Steps to Make Time for More Adventures
Our eight-step system for actually getting outside during the busy work-and-school year — activity-based gear grab-bags, checklists, staging the week before, meal and pet planning — so a family weekend adventure comes together without the last-minute scramble.
Quick answer: To make time for more outdoor adventures, build a repeatable system — group gear by activity, keep a packing checklist, stage gear the weekend before, do laundry and meal plan early, arrange pet care ahead, and reset your gear after each trip so it’s ready for next time.
Everyone needs some adventure-in-nature time.
This post contains affiliate links. If you buy through our links, we earn a small commission at no extra cost to you. Thank you!
Time is one of those assets we always seem to juggle. Between work, school, family, sleep, and general life-tending, you can start to wonder… what about all that stuff I used to do? If you reach the end of the week wanting to head outside for an adventure but feel hit by the exhausted-stick just thinking about pulling everything together, we understand. It’s much easier to stay home than dig through the gear boxes, run to the grocery store, and motivate the kids to pack what they need.
But that also means you’re not going camping in that place you’ve always wanted to see, paddling that favorite river, or introducing your kid to the first rock wall you ever climbed.
We hit a point of feeling like we were missing the activities we once did every weekend, because the other days of the week weren’t leaving us time to make it happen. Eventually, enough was enough - so we organized. Here’s how we set up our planning and our gear closet to make outdoor adventures as a family far more likely to actually happen.
Get organized. Sounds simple, right? But is your current setup actually working for you? We started with like items in the same bins or shelves - nice for finding a specific backpack in the backpack bin, but packing for a weekend still felt like a lot of work. After all, when we grab our 30L packs, we’re most likely camping. So we started grouping gear by the activities they share: backpack plus tent; sleeping bag plus sleeping pad; a cookware bin for car camping and a cookware bag for backpacking, and so on. If you know you want to climb for a day, put all your climbing gear in one or two bags. Mountain biking, same thing. That way you’re not wasting time digging for the one item you “know is around here somewhere.”
Use checklists. A general checklist for whatever you’re planning is a huge time saver, and it keeps you from forgetting something essential. I can’t tell you how many times I’ve forgotten my headlamp when I’m scattered and packing fast.
Start pulling things together the weekend before. If you know you’re headed somewhere the following weekend, don’t wait. Gather things into a staging area the week before - backpacks, sleeping bags and pads, tent and accessories, cookware, lights, even shoes. This also shows you ahead of time if you’re missing anything or if any gear needs repair.
Do laundry early. The weekend before is a perfect time to wash the clothing you’ll need. Don’t try to get things dry in the 30 minutes before you want to leave. Wash the socks, underwear, and apparel, then put them in a stuff sack in the staging area so nobody raids the clean laundry during the week.
Meal plan ahead so grocery shopping is a breeze. While the laundry dries, think about what you’d like to eat for the weekend. Whether that means a grocery run or stocking up on freeze-dried meals, knowing your menu takes the guesswork out of your list and makes shopping quick. And don’t underestimate how little you’ll want to cook the night you get home - throw an extra easy, practically-cooks-itself meal on the list for that.
Pet-plan the week before. Are the pets coming? If so, pack their gear and food in their pack and add it to the staging area. If not, reach out now to the friend, neighbor, or pet-sitter who always helps out, so you know they’re available before your leave time sneaks up. Not having reliable care for your furry family doesn’t just cut into the fun - it can stop a trip entirely.
Put it on paper. If there’s a bunch of work- or school-week stuff swirling in your head that you don’t want to forget (or that’ll steal your sleep), write it down so your mind can focus on the weekend away. Then you can rest easy knowing it’s captured and waiting when you return. And since everything else is ready early, jot down what you’ll need to do Sunday evening to be set for the week ahead - homework, Monday-morning phone calls, gym clothes in the school bag. Leave the note on the table so it’s easy to pick up when you’re back.
Stay organized. It doesn’t do much good to sort everything into activity grab-bags if it doesn’t stay that way. After the weekend, when you’re home, dirty, and tired, give one last effort to unload the car, clean the gear, and put things back in your beautifully organized system so it’s just as easy next time. Bonus points if the dirty clothes make it into the washing machine, too.
A little extra prep offers a lot of extra time. This might look overly planned, but honestly, once your “system” is in place, prepping for a family weekend outing becomes second nature. Fun outdoors doesn’t have to wait for spring or summer break, and by working ahead you’ll feel like you created extra time in the day or two before you go. Whether you leave Friday night or Saturday morning, you can drive to the trailhead, campground, crag, or put-in knowing you’ve thought through your packing and done everything you need for a great weekend.
How do you make time for weekend adventures during the busy work and school year? Do you organize similarly, or have you found a better way?
A First Hike on Good Terms: A Quick Guide for Sensory-Sensitive Beginners
Heading out on a hike for the first time can feel like a lot for people who have sensory sensitivities or anxiety. Here are some ways to help your child or family member set up for success on their first hike.
Quick answer: For a sensory-sensitive beginner’s first hike, solve friction and temperature ahead of time with seamless socks and light layers, talk through what to expect before you leave, keep the route short, flat, and close to the car, and treat an early turnaround as a win so they’ll want to go again.
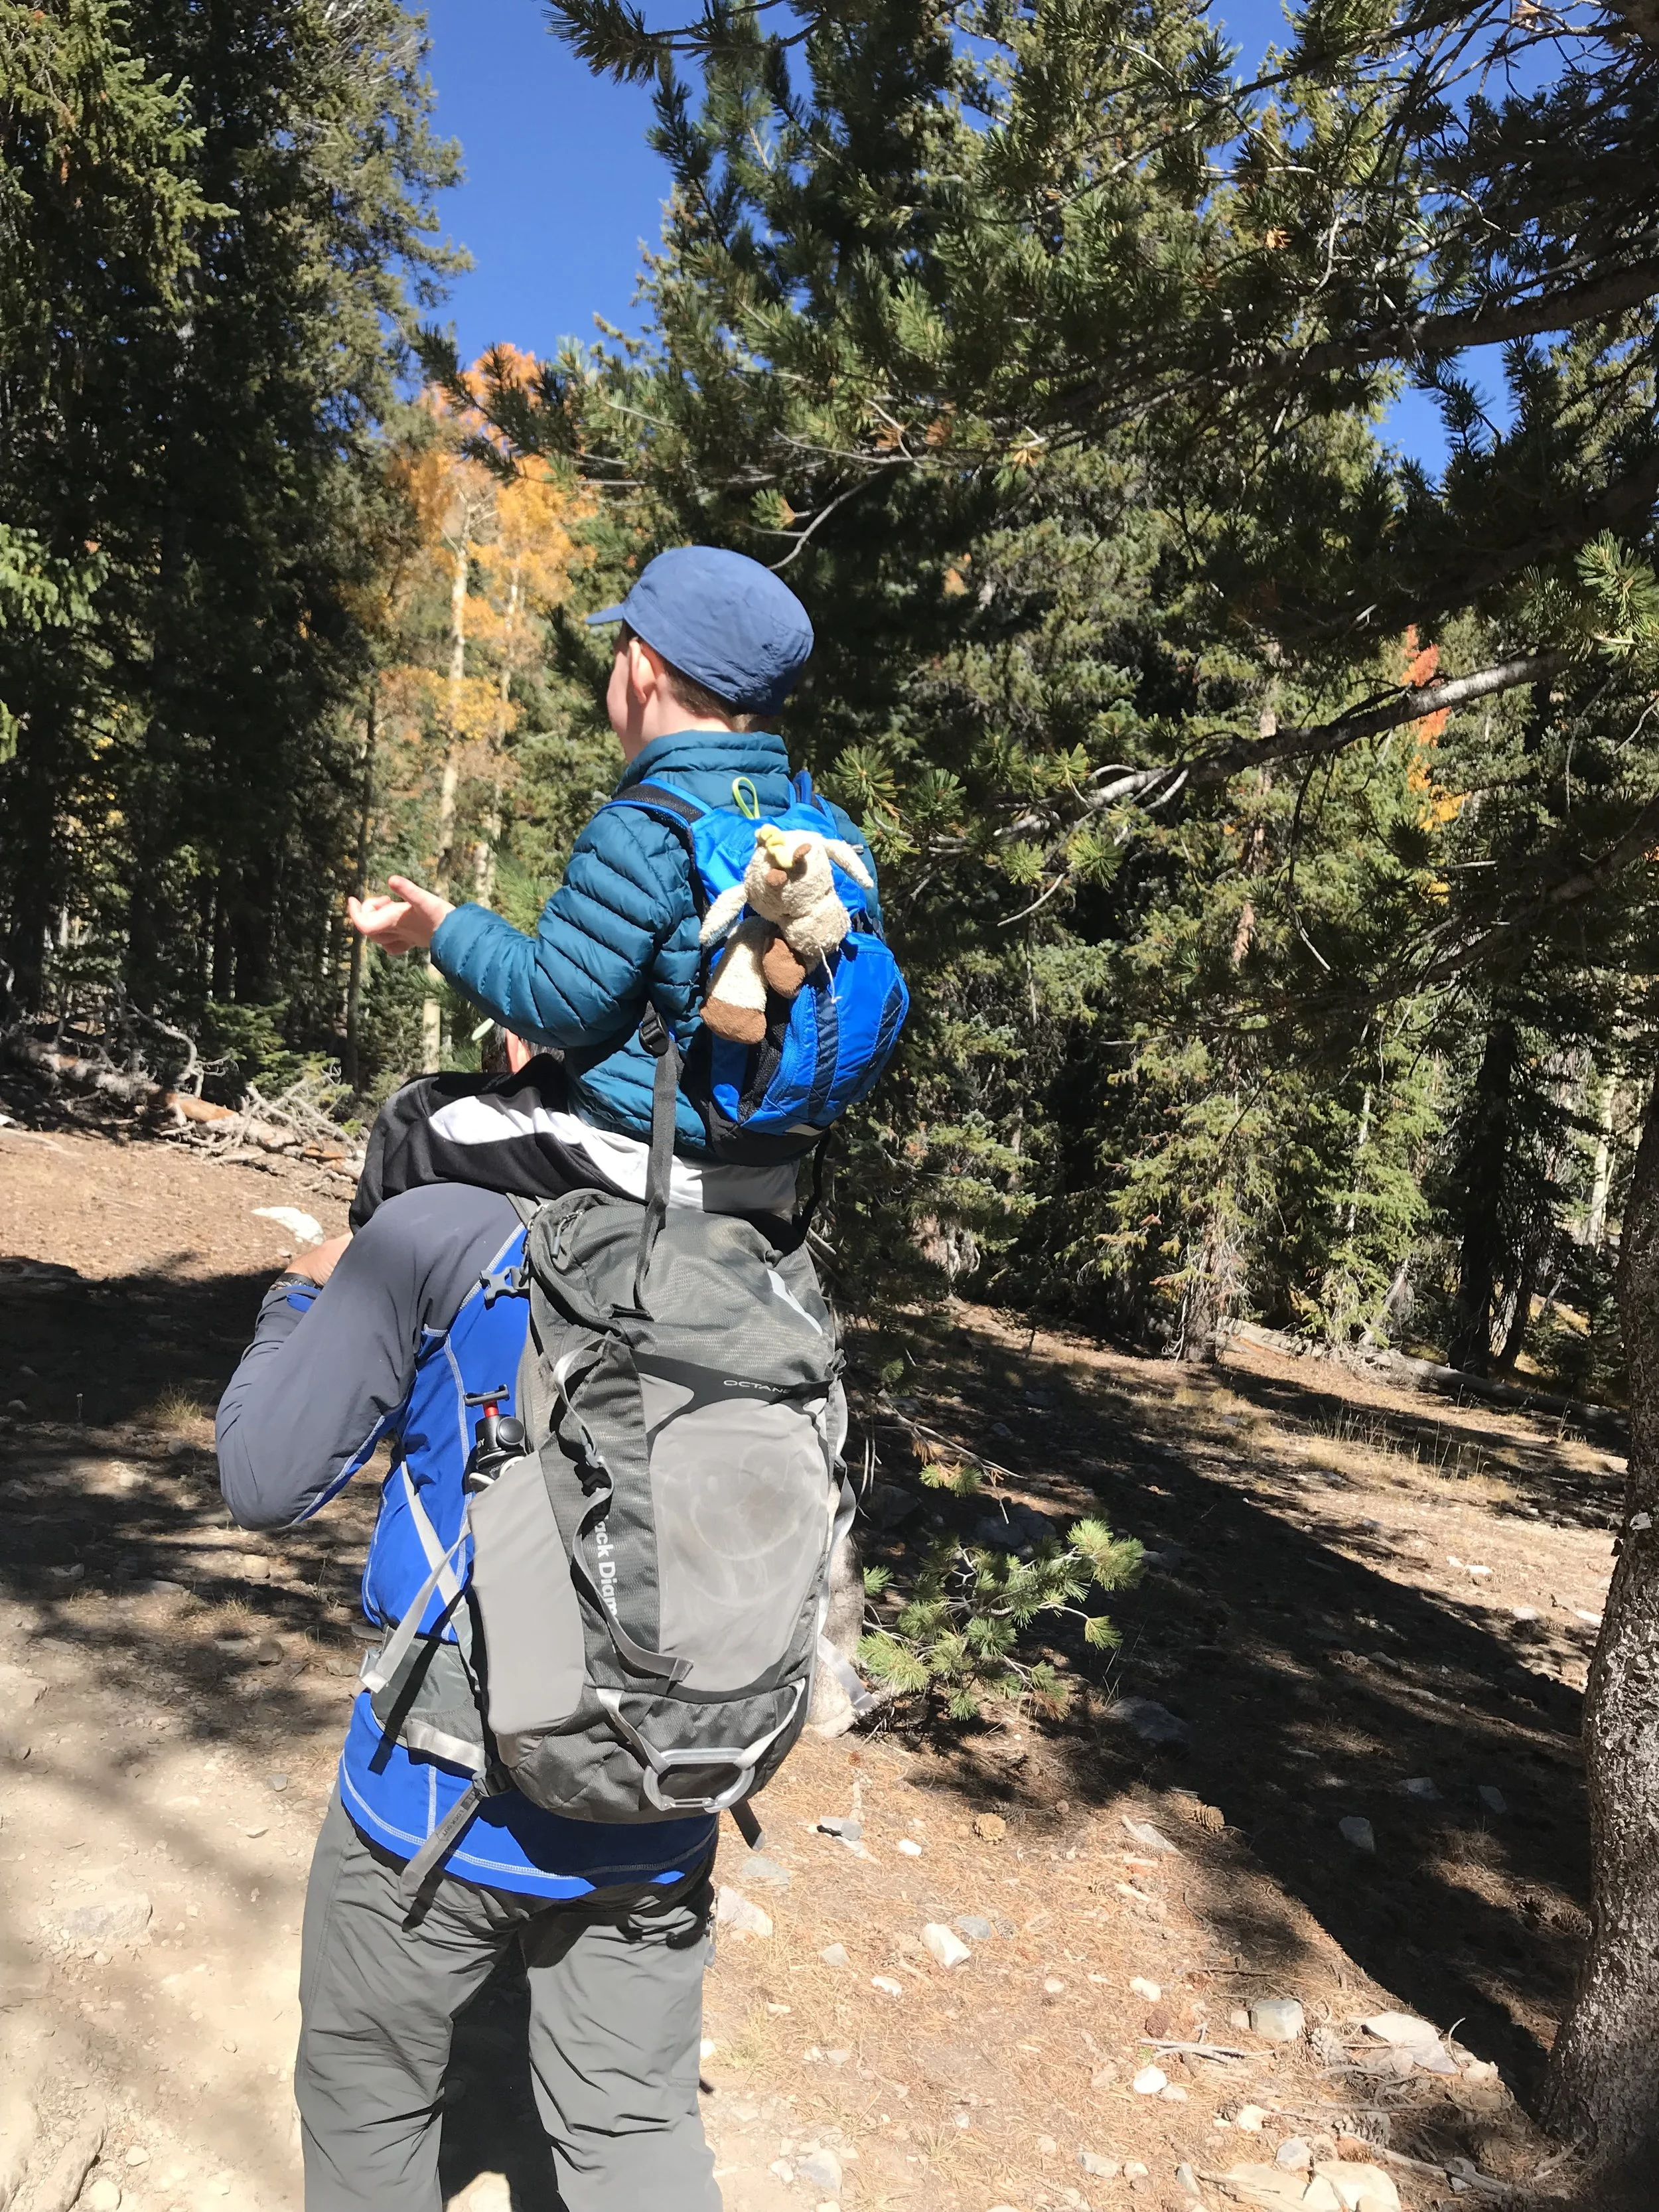
Traveling light is subjective!
Your First Hike, On Your Terms: A Guide for Overwhelm-Prone Beginners
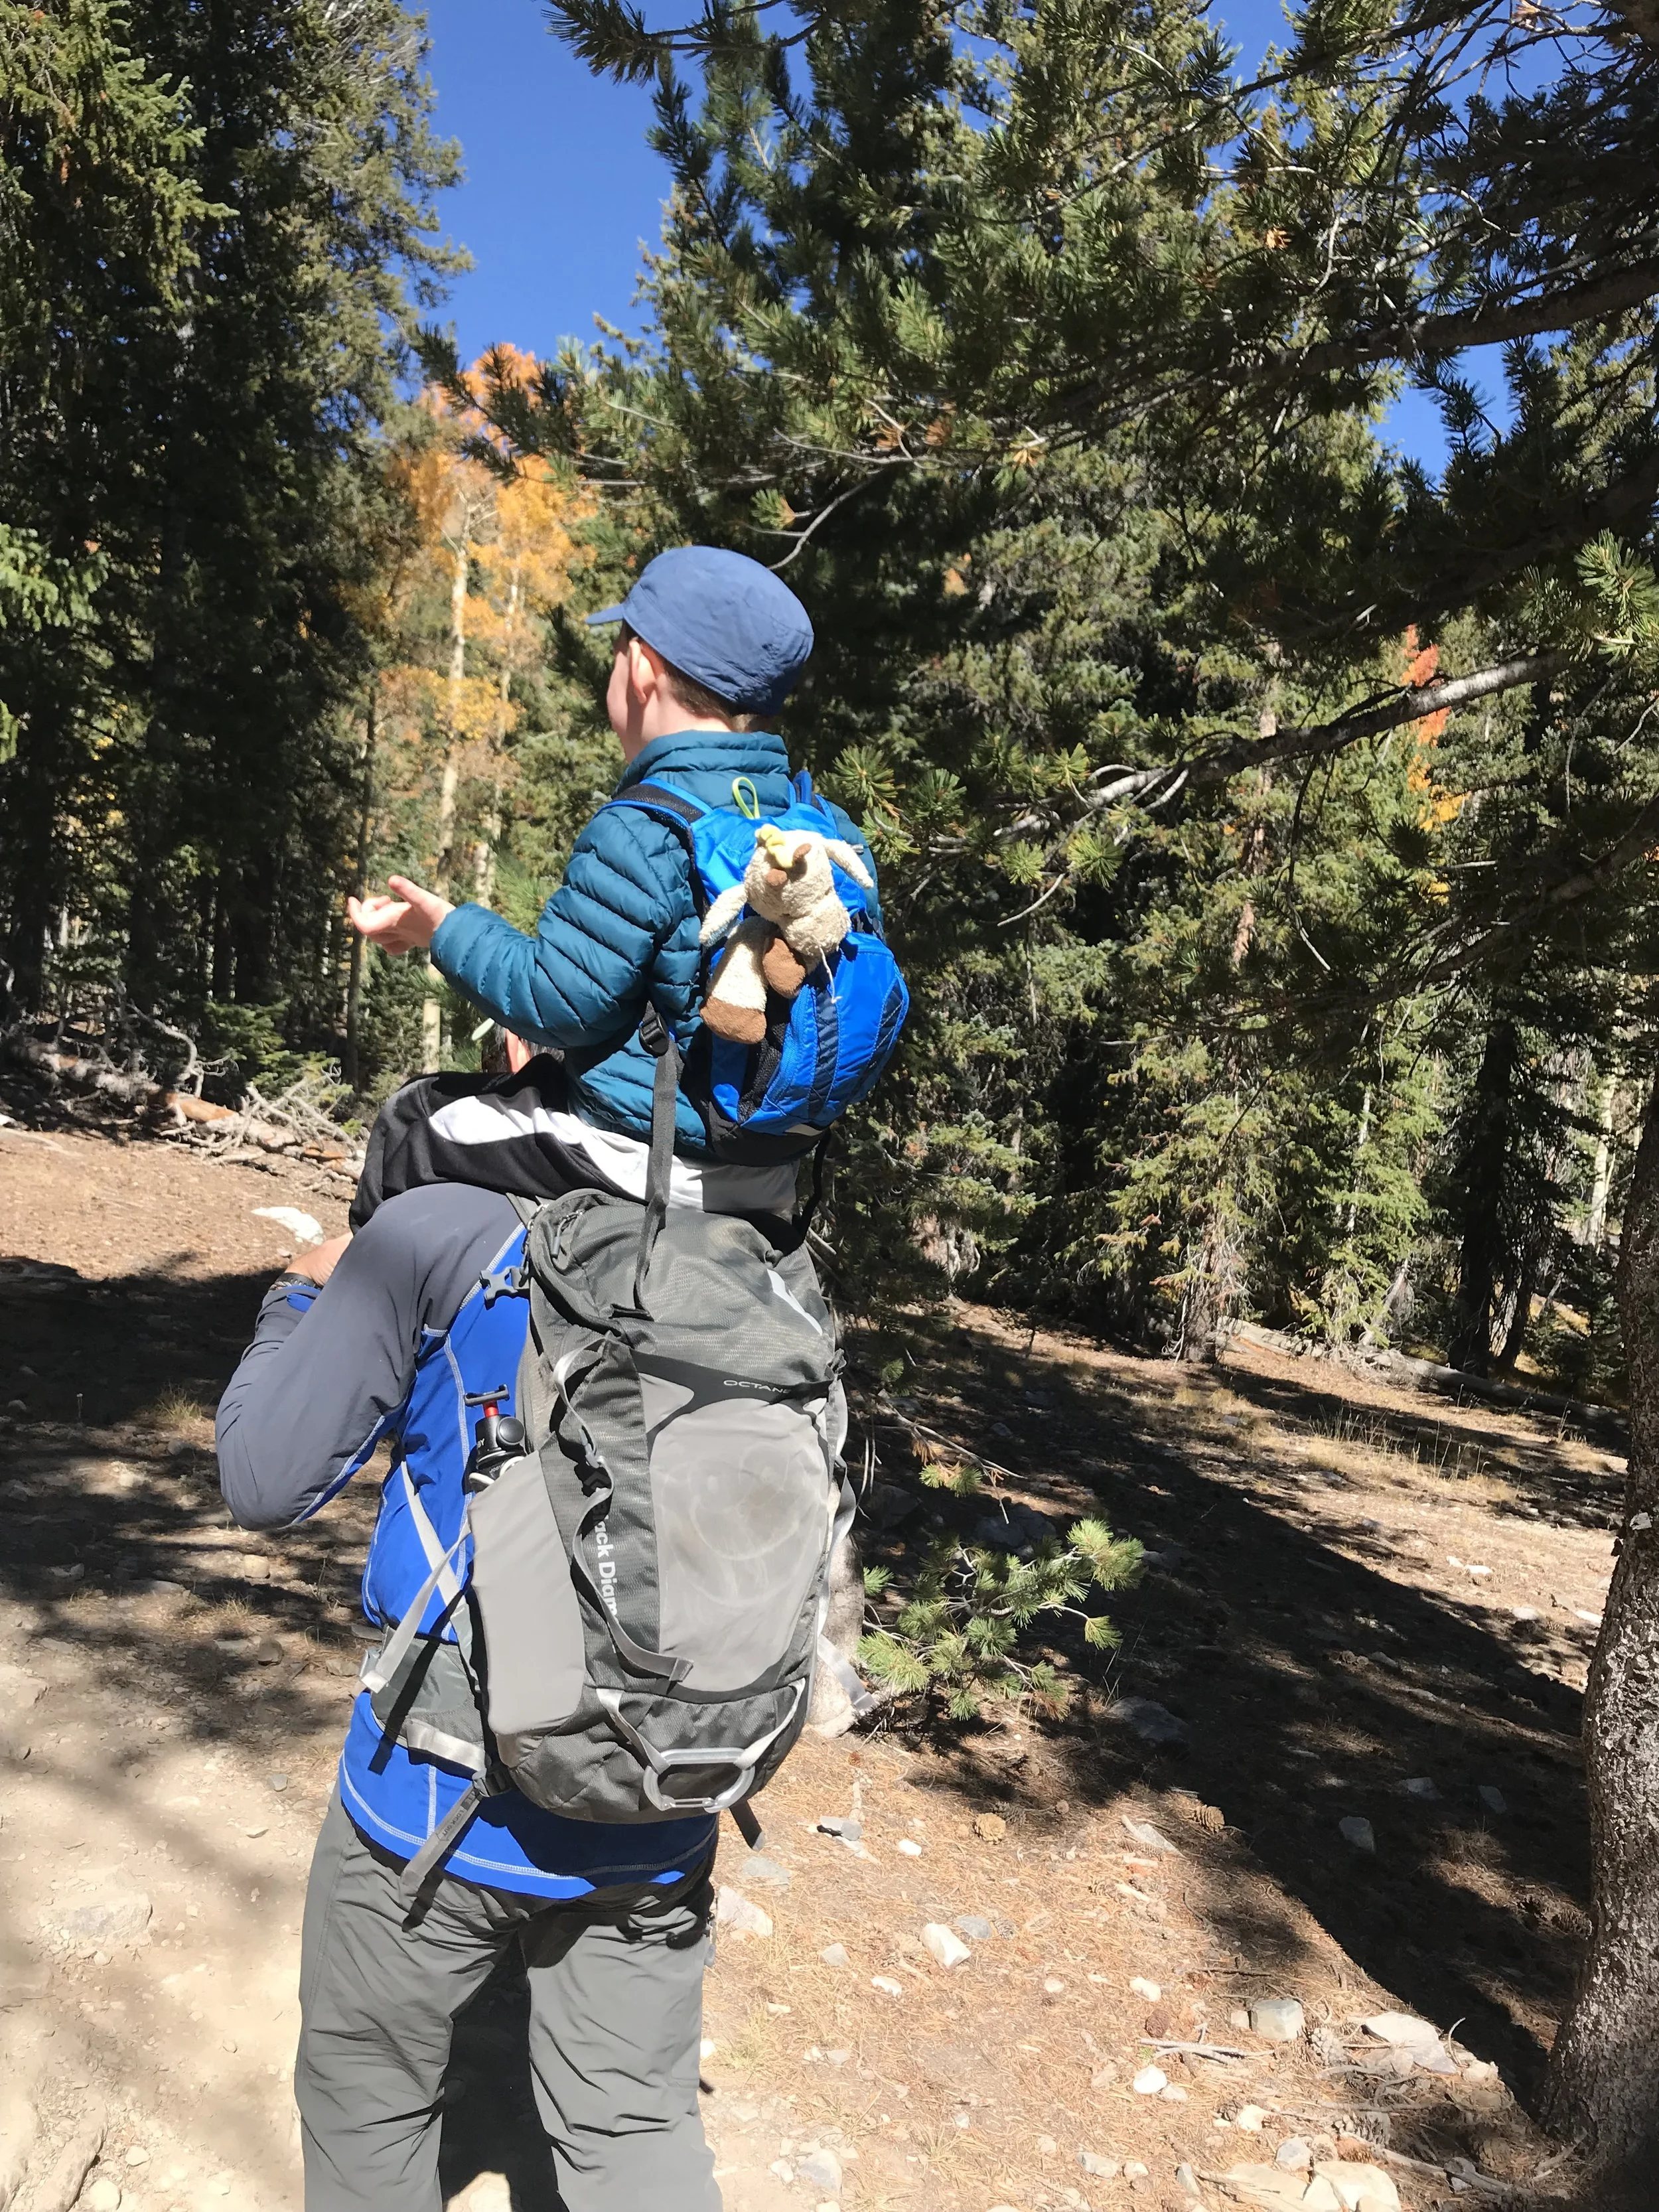
Our first hikes with The Dude started with him either in a baby sling or a kid carrier backpack (like the Osprey or Deuter versions that we reviewed). Starting at a really young age made hiking feel like a natural part of our family’s activity and the carrier backpacks were a cushy way for him to ride through the world in comfort and with snacks.
That said, we also know that many people start hiking later than we did and that brings up a different way of easing in to a new activity. Frankly, even with a now-teenager, we sometimes have to coax the willingness to come along out of him!
Hiking is the gentlest doorway into the outdoors, which is exactly why it’s the best place to start when new experiences feel like a lot. There’s no engine, flexible timing, and no equipment we have to trust with our lives - just us and a trail. But “gentle” isn’t the same as effortless, and a first hike can still go haywire when the sensory load sneaks up on us. Here’s how to make that first hike an enjoyable activity that allows beginners to want to join in again.
This is part of our inclusive first-timer series, and each guide is built on the same five questions: what will this feel like, is the gear comfortable, how do we handle the unknowns, what’s the smallest first outing, and how will we know when to pause? Here’s how those play out on the trail.
What a Hike Actually Feels Like
The trail delivers a steady drip of sensory input rather than any one big cascade. Uneven ground underfoot that keeps changing. Weather we don’t control (sun, wind, temperature). Bugs. The weight and shift of a pack across the shoulders or sitting on hips. Long stretches of very similar input, which can be soothing for some of us and monotonous (bordering on agitating) for others.
The two that catch families off guard are temperature and friction. Many sensory-sensitive kids have a hard time reading their own body temperature. They won’t say “I’m too hot” - they’ll simply melt down once they’re already cooked. And nothing ends a hike faster than a sock seam across the toes or a pack strap sawing at a shoulder.
Get the Gear Comfortable First
Friction and temperature should be solved as best as possible before ever leaving the house.
Seamless socks are the single highest-leverage item in the bag. Toe seams are a top trigger, and moisture-wicking seamless pairs prevent both meltdowns and blisters in one go.
Layers that come off fast matter just as much. Not one thick layer, but several thin ones we can shed the instant someone starts to overheat. This is a regulation tool every bit as much as a warmth one.
A pack that actually fits needs padded, wide straps, and a hip belt can take a lot of the weight off the shoulders and back. It should be worn and adjusted at home first, fully loaded. For younger kids, unless they really want to carry their own smaller backpack, let them be packless.
And if brightness or glare is a sensory factor, test the hat and sunglasses ahead of time for brim and band comfort. (Our sensory-friendly clothing guide has specific brands for all of this.)
Handle the Unknowns Out Loud
Talk through the hike and what to expect before we’re standing at the trailhead. Roughly how long will the hike be (length/time)? Is it a loop or an out-and-back? Do we have break spots in mind already and what is the destination we’re aiming for? For a kid, previewing photos of the trail or even the parking lot removes a whole category of surprise. Name the what-ifs - what if I get tired, what if I don’t like it - and give each one a plan. Predictability is the calming ingredient here.
Design the Smallest Possible First Hike
We’re aiming for a win, not a view. The perfect first hike is short and flat, on a well-maintained, gentle loop or an out-and-back we can cut off anywhere. Skip the payoff vista on day one - a summit someone got dragged to in tears isn’t a win. Choose something nearby and familiar over a destination we’ve built up in our heads, and keep it close to the car with no committing terrain and no point of no return.
Ten happy minutes that end with “that was fun, let’s go home” will beat an hour of misery every single time. We’re building an association, and we want it to be a good one. We used to go on regular “teeny tiny flower walks” on our local greenways trails in the spring and early summer: looking at all the different kinds of flowers that popped up as the weather warmed and seeing how they slowly changed with every hike through the season.
Read the Signs, and Keep the Exit Shame-Free
Learn the early tells of overload. For a lot of kids, that’s well before the full meltdown, when they get quieter, more rigid, or more irritable. A tense body or stumbling, clumsier-than-usual movements are a sign of needing a break, or simply to finish. Treat turning around early as a success rather than a failure. “We can head back any time, no big deal” has to be genuinely true, or the whole trust structure collapses. When we needed to lift the feeling on the return trip (or even get into the action as we started the hike), we would play “touch the tree,” where we would take a moment to touch the trees we liked next to the trail, just to ground the physical feeling of barks under our hands. An adventure that ends on a good note is one we’ll willingly repeat, and repetition is the entire goal.
Hiking asks less of a nervous system than almost anything else outdoors, which is what makes it such a good proving ground. Sort the socks and the layers, keep that first one short and close to the car, narrate what’s coming, and let “we can stop” mean exactly what it says. Do that, and a first hike quietly becomes a second one - and the kid who “doesn’t do hiking” becomes a kid who does.
Everybody on the Trail: A Guide to Adaptive Outdoor Gear by Activity
Adaptive equipment is available for more people across more outdoor sports than ever. Here’s a quick overview of different ways people with disabilities are getting outside with the adaptive gear that helps make it happen. Nature and the outdoors is everyone’s adventure playground!
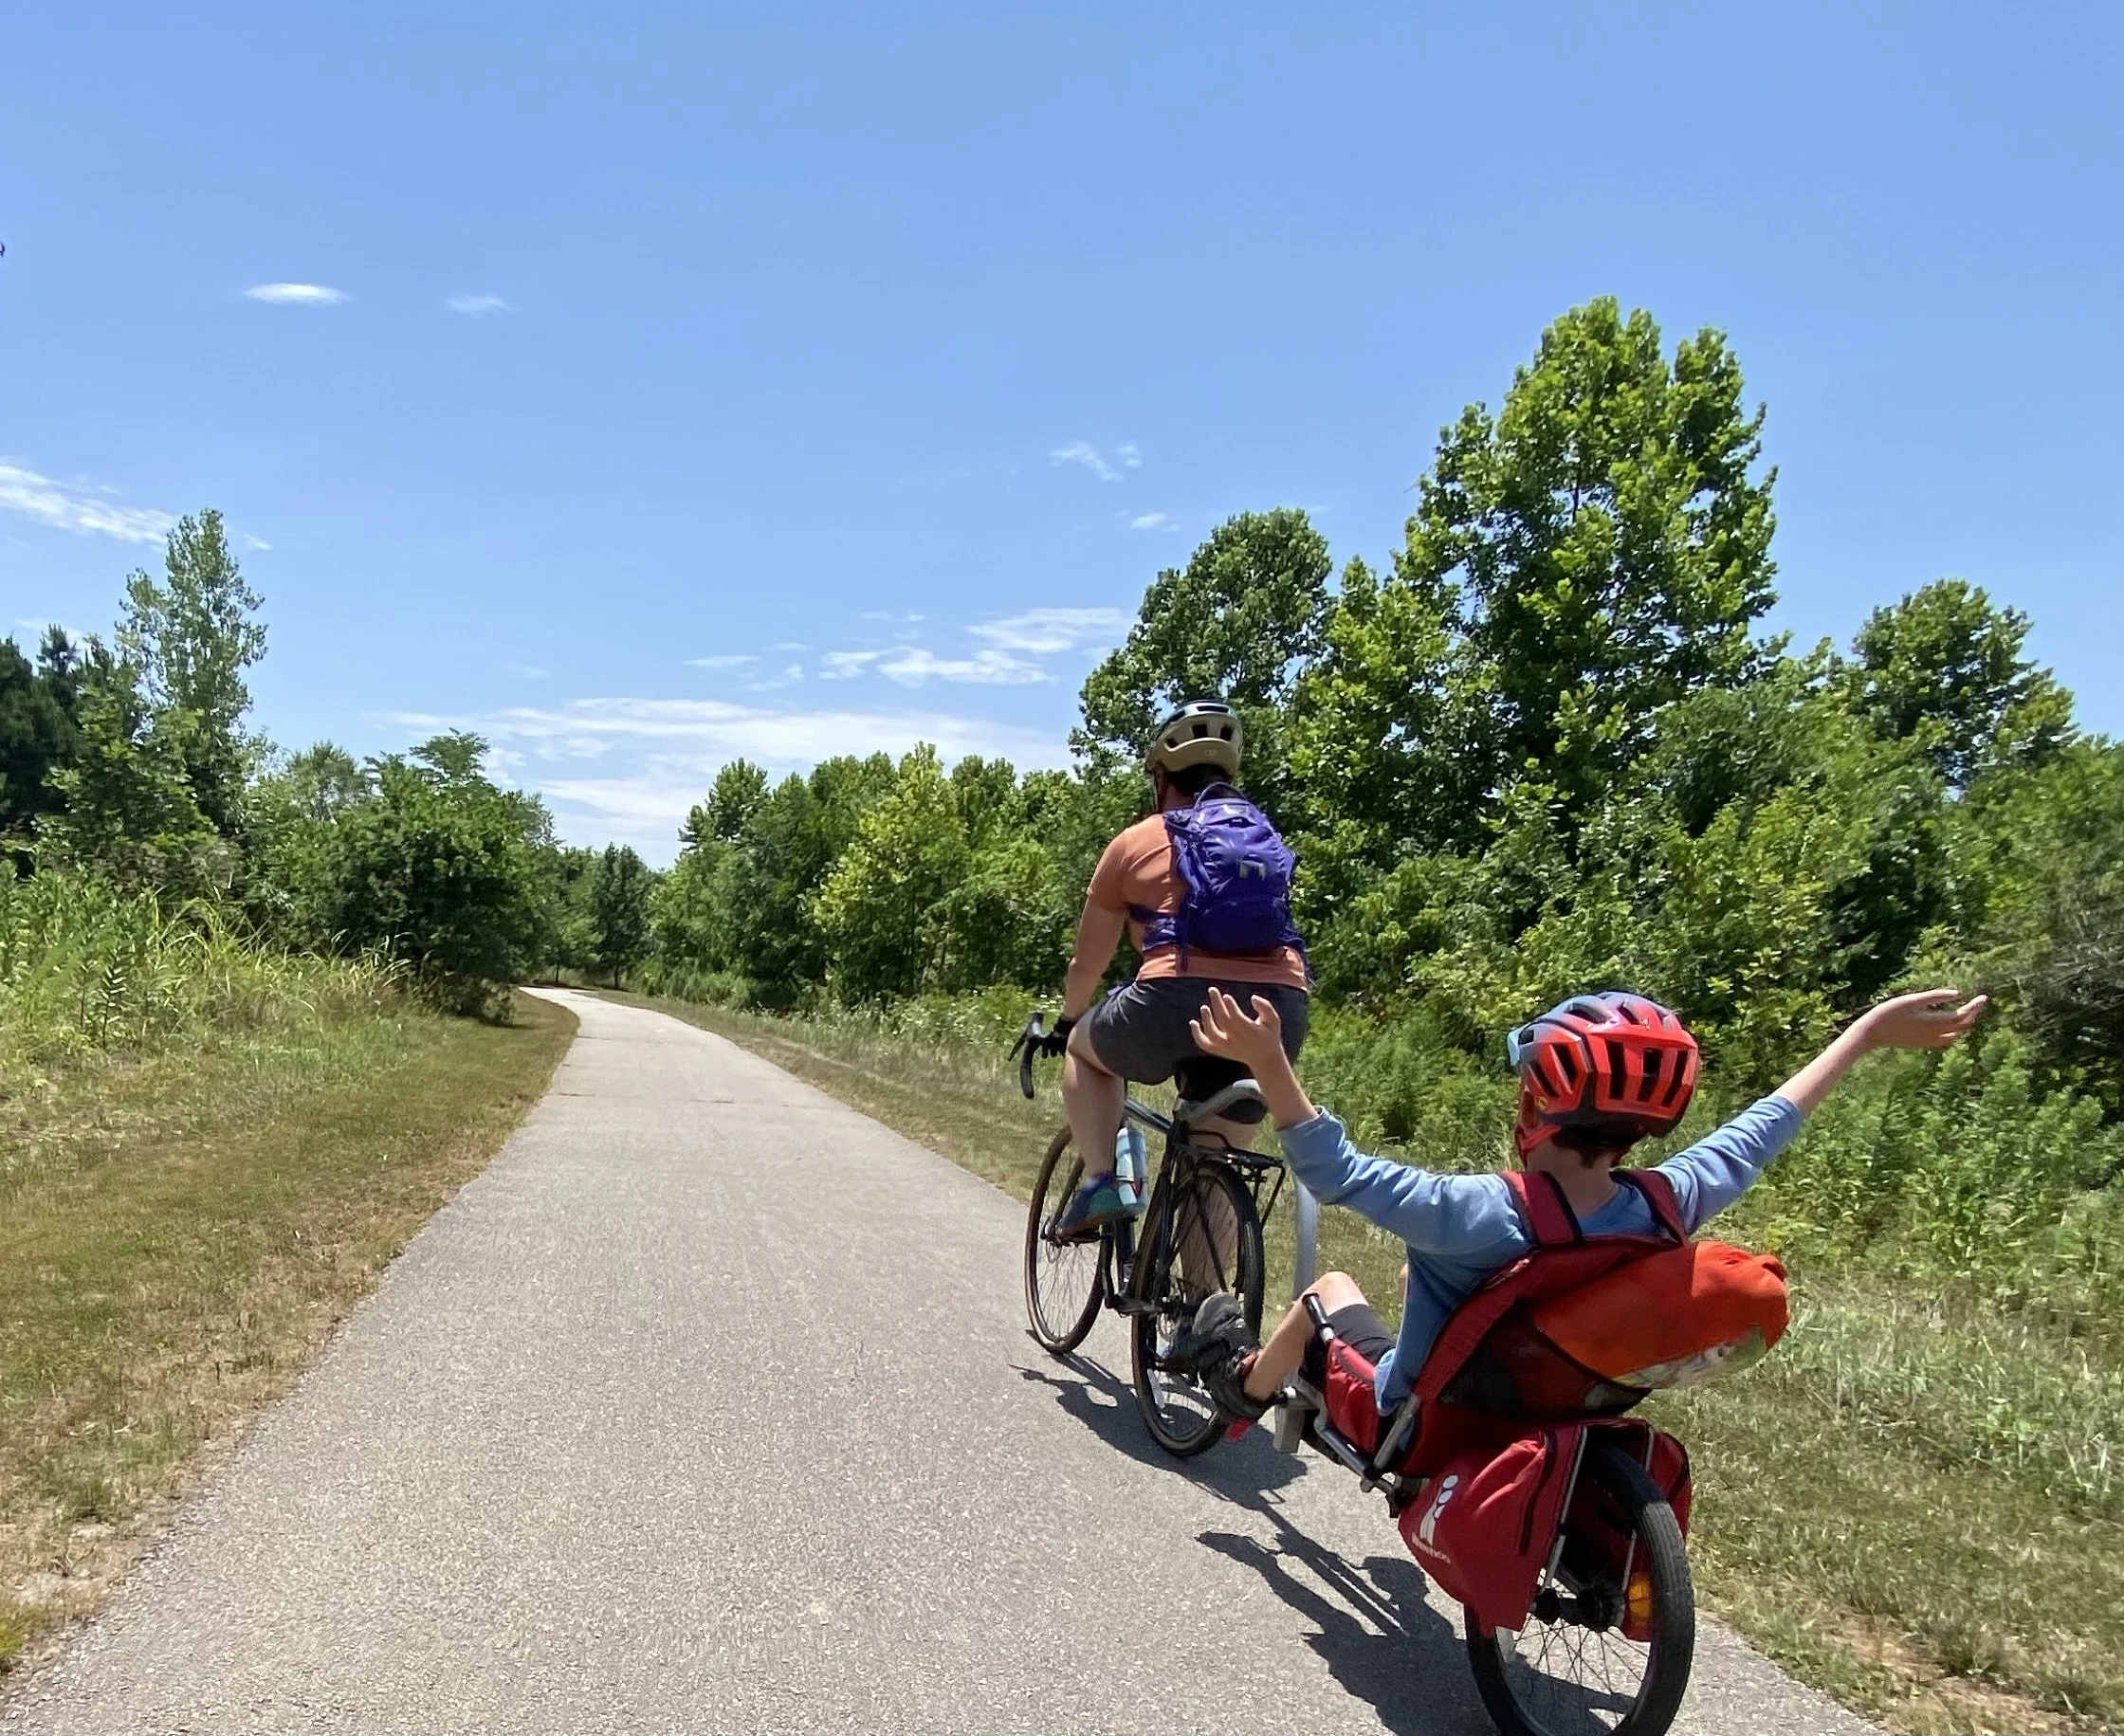
A bike trailer is a great way to get your kid out there with you.
We believe spending time in nature and the outdoors is important for human well-being. And we also believe that nature and the outdoors, in some capacity, should be accessible to everyone, regardless of ability, disability, or for any other reason.
Around here we talk a lot about inclusive access, and usually that means the sensory side of things - the tags, the textures, the overwhelm. But access has another whole dimension: the equipment that gets people with mobility differences onto the trail, into the boat, and up the wall in the first place, not to mention the way trails are constructed with adaptive equipment in mind.
Hiking and Getting Down the Trail
The headliner here is the all-terrain wheelchair, and a great example is the GRIT Freedom Chair. It’s a manual chair designed by MIT engineers that uses a lever-drive system (think mountain bike parts) to make pushing across dirt, grass, sand, gravel, and snow dramatically more efficient than a standard chair. It breaks down to fit in a car trunk, and it comes in sizes for all ages and bodies - there’s a youth version and a GRIT Junior billed as the first all-terrain kids’ wheelchair, so nobody gets left behind at the trailhead. For riders who want maximum ruggedness, the Spartan trim was originally built for obstacle-course racing.
The technology and engineering of all-terrain wheelchairs has come a long way and new makers and innovations continue to move ahead, making activities and places more accessible than ever.
One tip applies across every category below: many national and state parks, plus adaptive programs, now loan or rent all-terrain chairs right at popular trailheads. Always worth a call before buying.
Paddling and Getting on the Water
Watersports are some of the most adaptable activities out there, because so much of it can be adjusted piece by piece.
Start with the boat. Sit-on-top kayaks and wider-hulled boats are the usual recommendation, since the open deck makes transfers far easier for wheelchair users and the width adds real stability. A commonly recommended crossover boat is the Wilderness Systems Pungo, though plenty of models work well. But if whitewater kayaking is a dream, do know that there are paddlers out there who do amazing things in creek and playboats, too.
From there we layer on adaptations as needed. Outriggers - pontoon floats mounted to the sides - add major stability and make getting in and out much steadier. (They reduce tipping risk but don’t eliminate it, so caution still applies.) Adaptive seating replaces the stock seat with adjustable trunk and lateral supports. For simple pressure relief, gel and bead seats like the Jackson Sweet Cheeks or the Hobie Comfort Seat conform to the body and remove pressure points.
Adaptive paddles open things up for limited grip, strength, or one-arm paddling. Angle Oar’s Versa paddle mounts to the boat and pivots, taking the load off shoulders and wrists, and Dillenschneider Designs makes a well-regarded one-arm freedom paddle. A simple wrist-cuff-and-disc setup lets someone who can’t grip a shaft still paddle with real control. And transfer aids - benches, kayak “chariots” with wheels, and in some programs a Hoyer-style lift - make the move from wheelchair to boat safe and smooth.
Cycling and Getting Rolling
Bikes include a much wider, encompassing spectrum than what many of us have in mind. The main families look like this.
Handcycles are powered by the arms, for riders with limited leg mobility. They come recumbent (laid back, low center of gravity, easiest to transfer onto), upright, and in rugged off-road versions for trails.
Recumbent trikes use a reclined seat that supports the back and joints. Two front wheels and one rear (a “tadpole”) tends to be the most stable and is often recommended for riders with balance or visual differences, while one front wheel and two rear makes a “delta.”
Tandems are built for two, so a sighted or stronger captain steers up front while a stoker pedals behind. Side-by-side duets put riders shoulder to shoulder for easier communication, and wheelchair tandems let a chair dock right onto the frame, with no transfer required at all.
Therapeutic trikes for kids and adults come with adjustable supportive seating, foot straps, and steering limiters. They’re a common fit for balance differences, and for many autistic riders who simply feel steadier on three wheels.
E-assist can be added to any of the above, to flatten hills and stretch range when arm strength or stamina is the limiting factor.
When our son was younger, we also had bike trailers, such as the WeeHoo Bike trailer, that we towed everywhere. It took some practice, but once we had the hang of it, we all loved it!
Prices swing widely - a basic adaptive trike might run a few hundred dollars while a specialized handcycle or wheelchair tandem climbs into the thousands - which makes the lending and grant programs below especially worth knowing about.
Sailing and Feeling the Wind
Sailing is a very inclusive and adaptive sport that allows a person to be as relaxed or as active as they want to be. Few things rival the feeling of catching the wind and letting the water carry you, and adaptive sailing makes that feeling reachable for people with a wide range of physical abilities. The gear that opens this door starts with the boat itself. Purpose-built adaptive keelboats and dinghies—like the Hansa (Access) series, the Martin 16, and the SKUD—are weighted to be nearly impossible to capsize, so a sailor can focus on trimming the sail and steering rather than balancing.
Many pair with seating systems that add trunk support, swivel seats that make transfers easier, and dockside hoists or transfer boards that get you from chair to cockpit smoothly. For sailors with limited hand or arm function, servo-assisted and "sip-and-puff" control systems let you steer and adjust the sails using breath or a joystick, turning the whole boat into something you can pilot with the movement available to you.
If you're new to it, the easiest first step is finding a local adaptive or community sailing program (US Sailing keeps a directory), where trained volunteers and specialized boats are already waiting to get you out on the water.
Climbing and Getting Up the Wall
Climbing is more accessible than it looks, partly because gyms have exploded in number and partly because of one organization. Paradox Sports is a national nonprofit that runs adaptive rock and ice trips and, through its Adaptive Climbing Initiative (built with The North Face), has trained staff at gyms across the country to run inclusive programs. They also literally wrote the book: the first Adaptive Climbing Manual, pooling techniques from dozens of accomplished adaptive climbers.
The practical upshot is that if we’re new, we usually don’t need to buy anything at all. Head to a gym with an adaptive program, where trained instructors provide the harness, rope, and technique. Amputees often climb using an everyday prosthesis, a specialized climbing limb, or simply a protective sleeve over a residual limb. The systems exist to get an enormous range of bodies safely on and up that wall.
How to Actually Get the Gear Without Buying It All
This is the part that changes everything, because adaptive equipment is expensive and highly individual. Before spending:
Try before buying through an adaptive program. Local chapters, gyms, and recreation departments keep fleets of chairs, bikes, and boats specifically so people can test-ride and get a proper fitting.
Look for gear-lending libraries and trailhead rentals. Parks, nonprofits, and some outfitters loan all-terrain chairs and adaptive kayaks by the day.
Chase the grants. Foundations that fund adaptive equipment exist precisely because the sticker prices are so steep. Veterans can sometimes fund an all-terrain chair or handcycle through the VA, and several nonprofits will help with the paperwork.
And get a consultation for complex needs. For significant or complex disabilities, a fitting assessment (many paddle and cycle makers offer them) saves both money and frustration compared to guessing.
The Organizations Worth Bookmarking
A few names come up again and again, and they make wonderful starting points. Move United is the national umbrella, formed in 2020 from Disabled Sports USA and Adaptive Sports USA, with a huge network of local chapters, an equipment resource page, and sport-by-sport guides. Paradox Sports runs adaptive climbing programs, trips, and gym trainings nationwide. The Challenged Athletes Foundation offers grants, equipment resources, and clinics across many sports. Twin Cities Adaptive Cycling is a Minneapolis nonprofit running an adaptive bike share with a forty-bike fleet and fittings. And Heroes on the Water and Wasatch Adaptive Sports focus on paddling and multi-sport programs respectively. Also, don’t forget the Wounded Warriors Project.
The equipment to get almost any one of us outside already exists. The harder part is usually knowing it’s out there and finding the program that will let people try it. Even more so, you can be a part of someone’s supportive experience to adventure outside. Learn from the organizations mentioned, go with them, be a teammate to the person who’s embracing adaptive outdoor experiences - you’ll both learn from the adventure and have fun, too.
New Adventures Personalized: A Beginner’s Guide to the Outdoors for Overwhelm-Prone Adventurers
If you’re adventuring with someone who is prone to anxiety or feeling overwhelmed, here are some pointers that may help you do so more comfortably, from our family to yours. New activities and adventures can bring up a lot of feelings, but together, you can work through them to enjoy your new fun outside.
When our family is heading out for a road trip, a new hike, paddling down the river, or any kind of new adventure, it comes with a lot of questions and a fair amount of anxiety. It sometimes doesn’t help that we’re rushing around to pack things, which doesn’t help the feeling of change that may be flooding into the reality of our most sensitive family member.
Most beginner’s guides to outdoor sports are written for one imaginary person: an able-bodied, reasonably confident newcomer who’s just missing a few facts. But plenty of first-timers aren’t missing facts at all - they’re managing overwhelm. The anxious beginner. The sensory-sensitive kid. The adult who’s been told their whole life that “outdoorsy” isn’t them.
For some, the barrier was never information. It’s the sensory unknowns, the fear of doing it wrong in front of people, and the very reasonable worry that there’s no way out once we’ve started. The anxiety of going.
So this guide works a little differently. Instead of a gear list, it’s a framework; five questions to answer before any new outdoor activity, followed by how those questions play out across the sports we cover around here. Use it as a template.
The Five Questions to Ask Before Starting Anything New
What will this actually feel like? Map the sensory reality before you stand in the middle of it. What are the sounds: rushing water, clipped-in carabiners, wind, crowds? The textures of a wetsuit, a harness, a helmet, chalk, sand? The temperature swings? The unpredictable bits? Knowing what’s coming turns a hundred small surprises into a hundred expected things, and expected things are so much easier for a sensitive nervous system to handle. When it comes to our family, we can walk through this out loud, answer any question as many times as it takes, or watch a video together first.
Is the gear comfortable? A scratchy harness or a helmet that grips wrong will end an outing faster than beginner learning processes. Sort through comfort first: snug-but-not-crushing fits, tagless base layers, seamless socks, softer helmet padding, a PFD that doesn’t dig in. (Our sensory-friendly clothing guide covers the specifics.) Get the gear feeling right at home, sit and moving around, long before it has to work on the water or the wall.
How do we handle the unknowns? Overwhelm often isn’t about the activity itself - it’s about the what-ifs. What if I fall? What if I want to stop? What if I hate it? Let’s answer those out loud in advance. Name the safety systems (“the rope holds you, that’s its whole job”). Rehearse the stop signal. Knowing there’s a plan for the scary parts reduces them considerably and leaves more room to have fun.
What’s the smallest possible first outing? Design for a win, not a summit. The goal of a first time is a good association - that’s it. It’s not about distance, difficulty, performance, or a photo. Ten minutes of something that felt safe and fun beats an hour of white-knuckling it and never wanting to return. Short, low-stakes, easy exit. We can always do more next time, but we can’t un-scare someone.
How will we know when to continue versus pause? Decide the off-ramp before needing it, and make it shame-free. “We can stop any time, no big deal” has to be true, or the trust evaporates. Learn to read the early signs of overload, in ourselves or in our kids, and treat calling it early as a success rather than a failure. An adventure that ends on a good note is one we’ll come back to. Follow with ice cream or hot cocoa.
That’s the whole template. Here’s how it lands, sport by sport.
Hiking
A hike delivers uneven ground, weather we can’t control, bugs, the pack on our backs, and long stretches of the same input. It’s usually the gentlest entry point of them all. For a first outing, pick a short, flat, familiar loop and don’t chase a view - let the goal simply be that we walked, it was fine, and we turned around happy. Watch for overheating (many sensory kids can’t tell they’re too hot until they’re melting) and for pack-strap and sock friction. Layers that come off fast and seamless socks solve most of it.
Biking
With biking, the helmet and the seat are the places to get right - the strap, the pressure, the chin - plus balance, speed, and the fear of falling. The ideal first outing is an empty, quiet parking lot, working on balance before pedaling (a balance bike, or pedals off), with no traffic and no audience. Watch for helmet tolerance especially. Desensitize with gentle massage first, build up wear time gradually, and fine-tune those removable pads for fit and feel before we expect anyone to actually ride in it.
Paddling and Kayaking
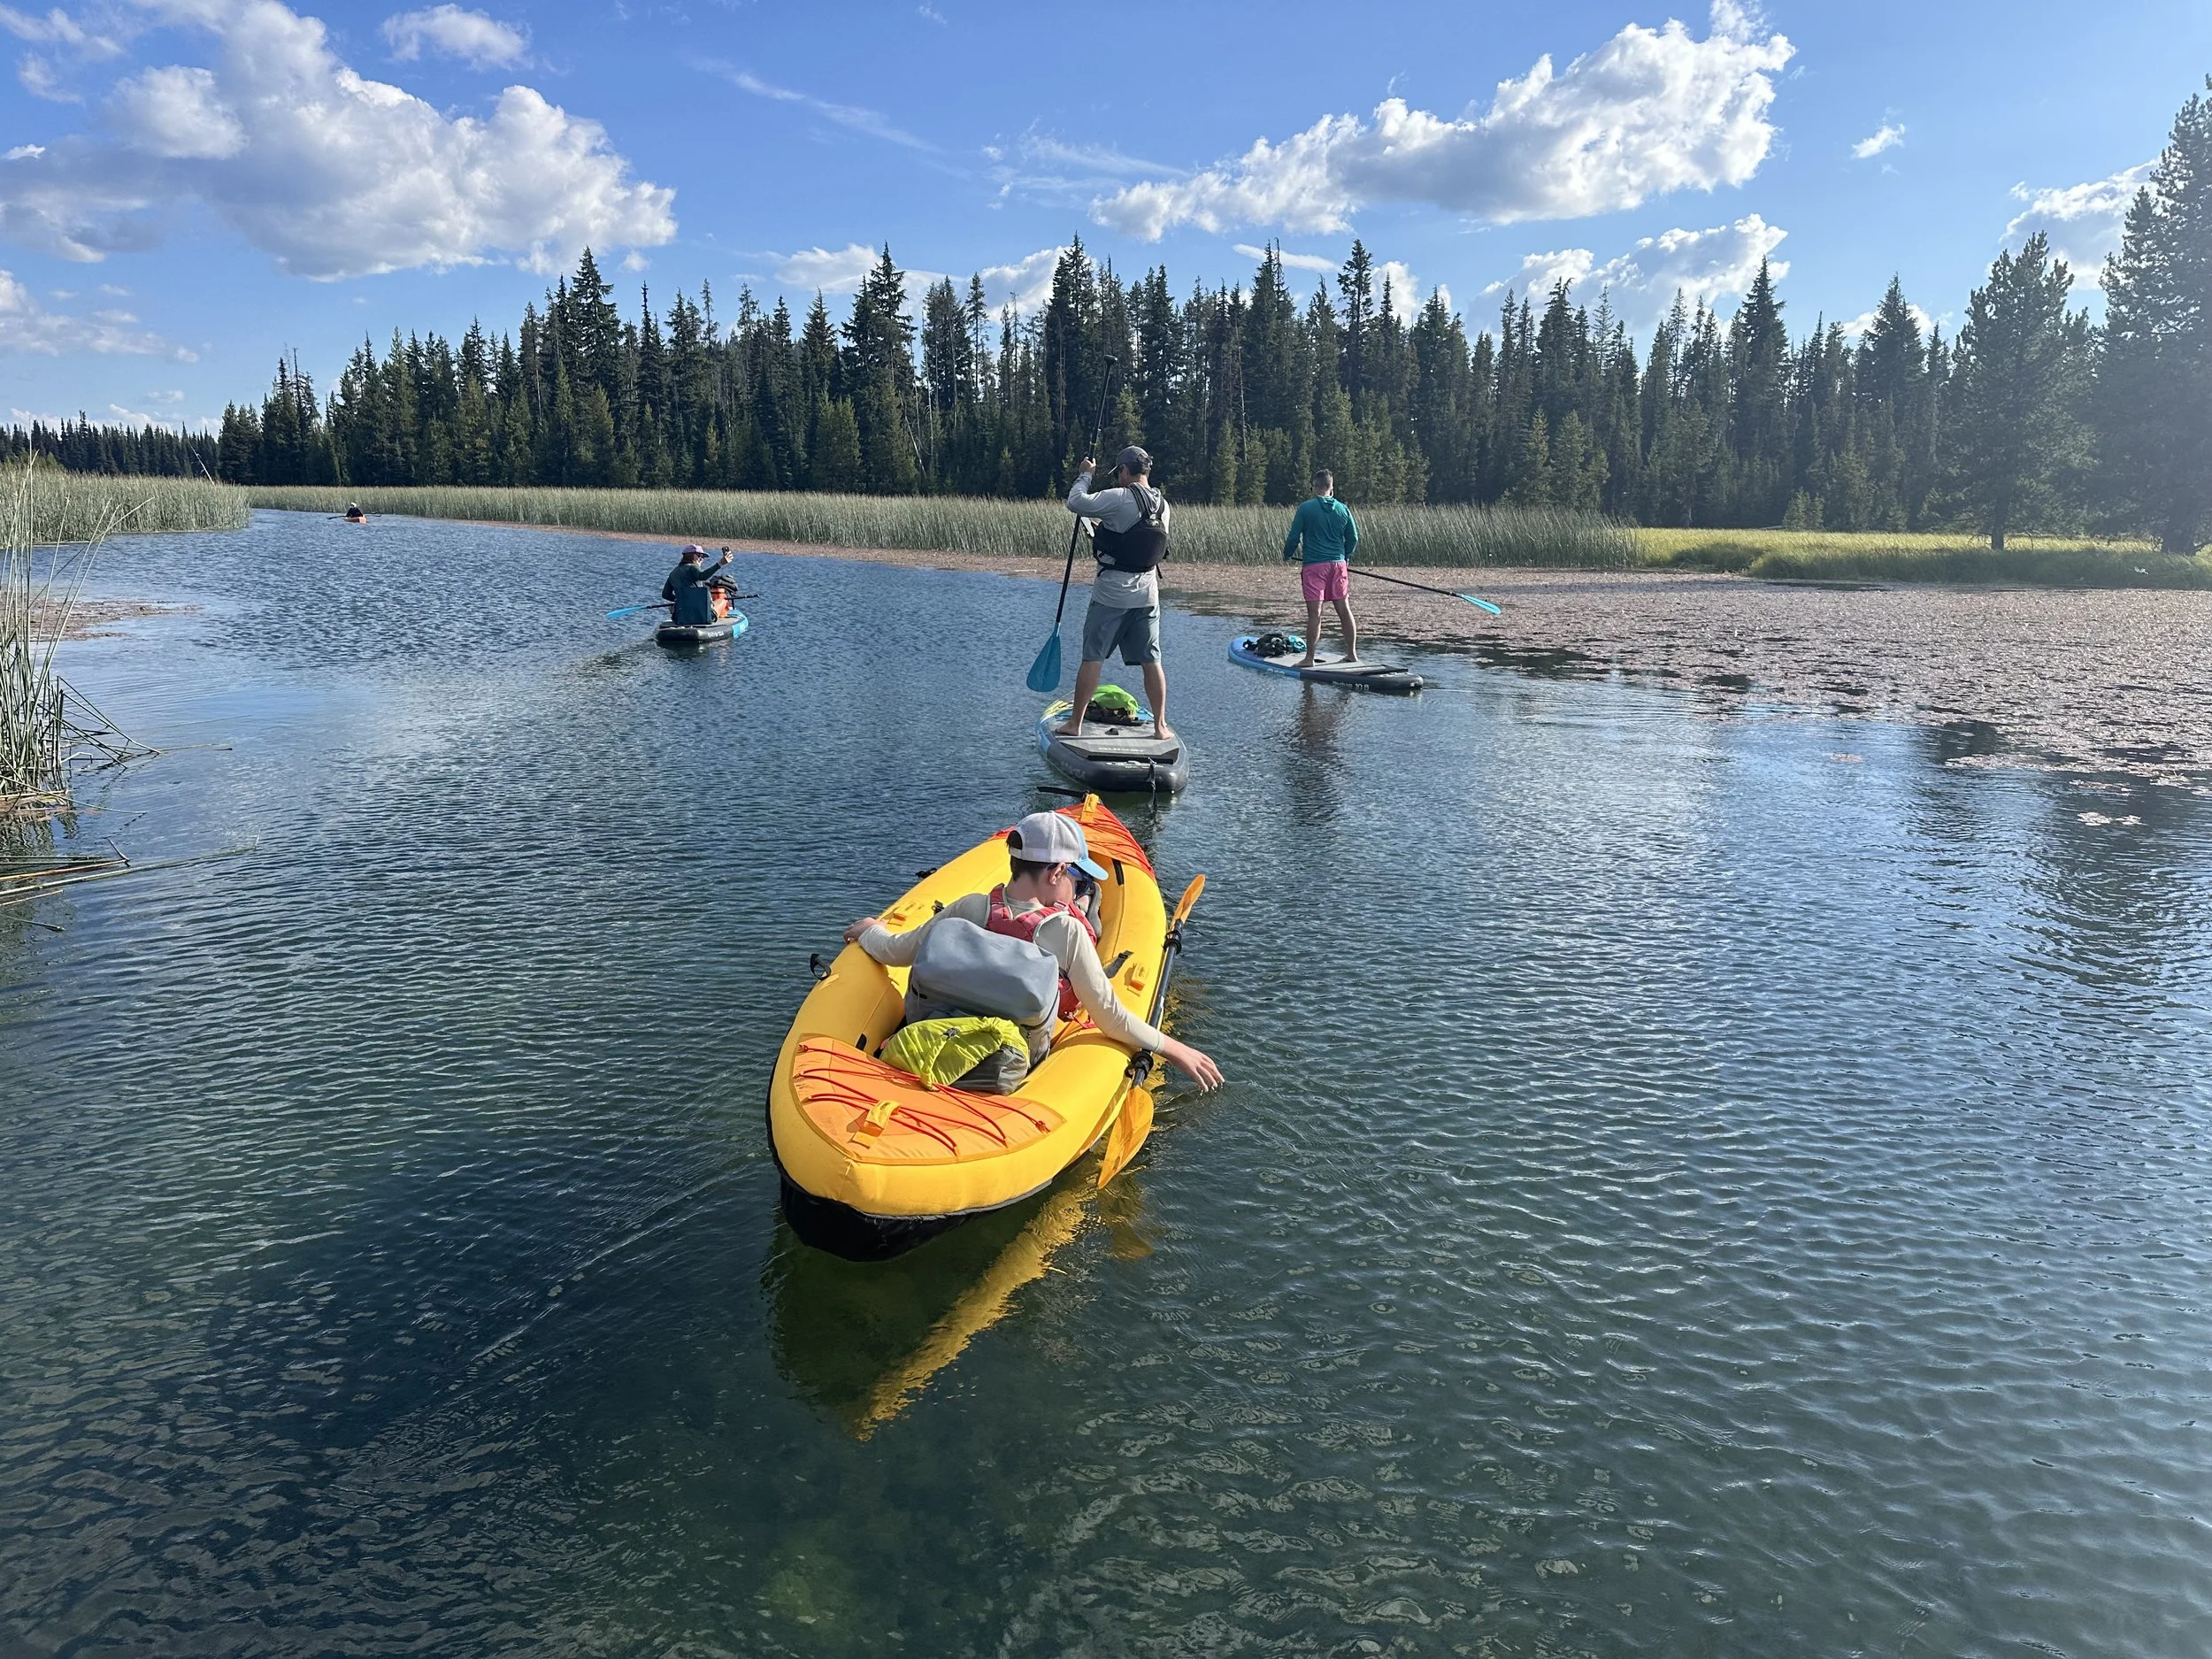
Paddling brings the tippy feeling, the PFD, splashes, wet clothing, and sun/sunscreen, and it’s that instability that spikes anxiety early on. Start on dead-calm flatwater in a stable sit-on-top or stand-up paddle board. Keep it short and close to shore. Sort the PFD comfort first, on dry land, and know that the feeling of being splashed bothers some kids more than the boat does. A rash guard under everything helps some of us feel more contained and secure.
Climbing
Climbing means height, the harness, chalk texture, the trust-fall of leaning back on a rope, and doing all of it where people can see us. The best first outing is an indoor gym with an adaptive or beginner-friendly program, on the shortest wall: trained instructors, a controlled environment, and rental gear so nothing has to be bought or fitted in advance. Watch for harness comfort and for the mental leap of weighting the rope. Name the safety system clearly and repeatedly (“the rope is holding you”), and let our climber come down whenever they want. Coming down early still counts as climbing.
Sailing
Sailing is the most unpredictable of the bunch: wind, heeling (the boat tipping as it catches that wind), sun, and a great deal of new vocabulary all arriving at once. Choose a calm day, light wind, a stable boat, and a patient instructor who explains the heeling before it happens, so it reads as normal rather than alarming. Watch for sensory overload from everything landing simultaneously. Keep that first session short, narrate what’s coming, and protect a clear, easy path back to the dock.
Notice what repeats across every one of these: sort the gear comfort first, shrink the first outing, name the safety net, and keep the exit shame-free. That isn’t a compromise version of the outdoors; it’s simply good coaching, aimed at the person actually in front of us. Do it this way and a first time becomes a second time, which is the only real measure of a beginner’s guide that worked. Make sure to have plenty of water and snacks!

Leave No Trace Principles for Your Family
Leave No Trace is a set of 7 principles of outdoor stewardship and ethics for your enjoyment in nature and for future generations’ continued appreciation of natural places. Here’s a quick overview for your family to learn the basics!

Leave No Trace for your enjoyment and for future generations.
I'm a Leave No Trace Trainer, and this ethic shows up in nearly everything we write here, usually in passing, or just as a given. Maybe we mention “packing it out,” staying on trail, or camping on intended, established sites. I've never actually given a formal overview, so here it is: the seven principles as I would tell them to a family new to this!
1. Plan Ahead and Prepare
This is the strategy and logistics that help us build a solid foundation to avoid or prevent most of the other problems. Know the regulations and special concerns for the location you’re visiting, check weather, pack appropriately, and travel in small groups when possible. A well-prepared trip creates less impact almost automatically, because prepared people make fewer panicked, high-impact decisions.
2. Travel and Camp on Durable Surfaces
Stick to established trails and designated campsites. Walking around a mud puddle instead of through it seems considerate, but it widens the trail over time and damages surrounding vegetation. In truly pristine backcountry areas (bushwhacking), spread out to avoid creating new social trails. In popular areas, concentrate use on already-established paths. The rule flips depending on how developed the area already is, which surprises people the first time they hear it. Remember: your boots were made to be muddy and they’ll recover if that’s the trail condition that day.
3. Dispose of Waste Properly
Pack it in, pack it out… including things like fruit peels, which are not native compostables everywhere and take much longer to break down than people assume. Seriously. That orange peel will be there for months. For human waste in the backcountry, that means either using a cathole dug 6-8 inches deep and at least 200 feet from water, trails, and campsites, or packing it out entirely where required (yes, this is a real requirement in some heavily used areas, and it's not as bad as it sounds with the right kit). Plan to pack out toilet paper regardless: a Ziploc bag in a non-see-through dry-bag, sealed up and clipped on the outside of a backpack is the way to go. Throw away the Ziploc when you get back to civilization.
4. Leave What You Find
Rocks, plants, artifacts, antlers: it can be hard, but leave them where they are. This one carries extra weight in places like Bears Ears, Mesa Verde, and Grand Staircase-Escalante, where "what you find" can include genuinely irreplaceable cultural artifacts and rock art that belong to the ongoing story of Indigenous nations, not to whoever picks them up first. And because of the Migratory Bird Act, you’re better off leaving those feathers alone, too - it’s a federal offense if the feather comes from a bird that’s protected.
5. Minimize Campfire Impact
Use existing fire rings rather than building new ones, keep fires small, burn only small sticks that can be broken by hand, and make sure a fire is completely, coldly out before leaving it (drown it). Check fire restriction and burn bans everywhere you go. In many increasingly fire-prone regions, a camp stove is simply the better choice over an open fire, and it's worth checking current fire restrictions before assuming a campfire is even an option. Anymore, so many places across the US are experiencing drought conditions, we forego any fire if we’re not in an established campground and, even then, we’re going to use something like a Solo Stove.
6. Respect Wildlife
Observe from a distance, never feed wild animals, store food securely, and control pets at all times. Feeding wildlife, even accidentally through careless food storage, changes animal behavior in ways that often end badly for the animal, not just the person. This is the principle we lean on most in our injured wildlife guide: distance and restraint protect animals better than direct interaction almost every time.
7. Be Considerate of Other Visitors
Yield appropriately on trail, keep noise levels reasonable, and let nature's sounds be the soundtrack rather than a speaker. This one seems minor compared to the others, but it's a huge part of why shared public land actually stays enjoyable and welcoming for everyone using it.
Why this matters more than a rulebook
None of these principles are really about rules for their own sake. They're about a mindset: that the outdoors isn't a resource to consume, it's a shared space to move through gently, whether you're there once or every weekend. Teaching kids these seven principles early (even in simplified form, even just in a backyard) builds the instinct before it ever needs to be a rule they're told to follow.
If you only remember one thing from this whole list: leave a place as good as or better than you found it, and you'll naturally be doing most of this right already.
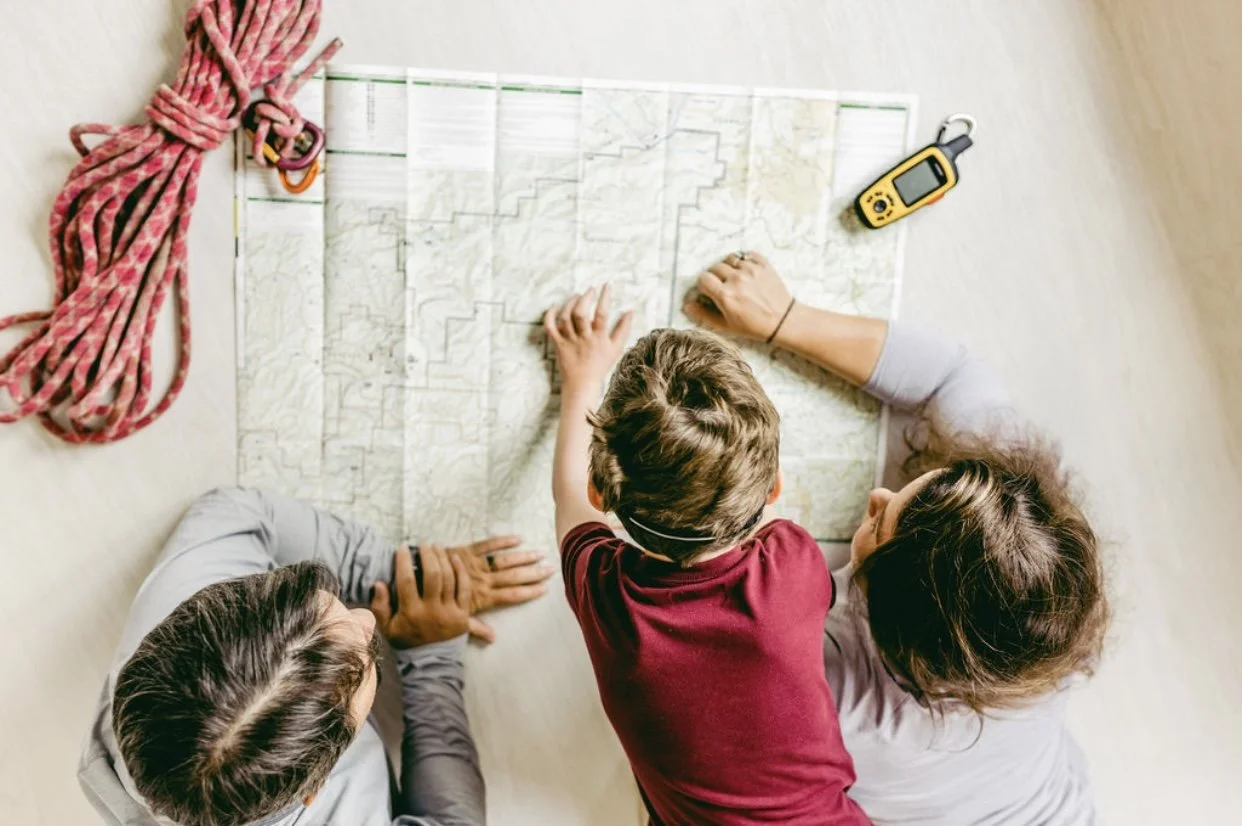
Outdoor Electronics: Take It or Leave It?
What to carry and what to leave behind: the phone, apps, lights, watch, and satellite communicator we bring to stay responsibly connected while still truly disconnecting on the trail.
Which electronics are you grabbing - or leaving - on your way out?
This post contains affiliate links. If you buy through our links, we earn a small commission at no extra cost to you. Thank you!
For many, going outdoors is about leaving it all behind - well, almost all of it. I do take my phone, a flashlight or headlamp, my watch, and, depending on the location and duration, the Garmin inReach Mini. The great thing is that you can feel disconnected even while carrying a few electronics, because the last thing a lot of us want is to be mentally dragged back into the high-speed, always-connected world of modern society. I don’t want notifications, beeps, dings, and chimes. I care what’s happening — but this time is for me to let my mind settle and focus on the path ahead.
But…
I don’t want to get lost while checking out a new trail. I love taking landscape and nature photographs. I don’t want to be late for dinner. I can’t see in the dark if I get a little too far from the trailhead before turning back. And I don’t want Search and Rescue sent out just because I decided to have a quiet moment (or a couple of hours) of contemplation beside a babbling brook - while a loved one panicked because I didn’t answer a text immediately.
So yeah, I stay minimally connected when I’m disconnecting. The trick is to let it make you feel more comfortable and free to roam, not more chained down. Here are the electronics I carry to stay responsibly disconnected when I head out.
Phone. I keep my phone on me because it’s one of the best multi-tools out there. It takes pictures, tracks my hike on a map (even in airplane mode), helps me get back to the car, and has a built-in flashlight if I need one. If I want to know what a particular tree, bird, or flower is, the answer is right at my fingertips. I use it to grow my curiosity and learn about the world around me - not to scroll through whatever app is open - and that’s the key.
Apps. Trail apps like AllTrails and Trailforks are perfect examples: download maps at home and use them off-grid in airplane mode to stay headed the right direction, or to mark where you saw that amazing bird nest to check out later.
Lights. I have a love of flashlights: headlamps, handhelds, you name it. I keep both in my vehicle, since they’re easy to carry and recharge via USB, so they’re always ready to go. A tiny handheld like the Anker Bolder LC40 is a favorite to grab even when the sun’s out, and it can easily run all night. For a headlamp, the BioLite HeadLamp 200 is a great one to keep in the car. Both fit easily in a pocket and are priceless when you need them: lightweight, big light output, very packable… two thumbs up.
Watch. I wear a smartwatch. It tracks workouts, steps, heart rate, and tells the time. So why leave it at home? Keeping track of the time helps you get back to the trailhead when you said you would (which keeps you out of trouble with your spouse or partner), and all the other useful info is a bonus.
Communicator. The outlier here is the Garmin inReach Mini (or Garmin’s whole line of inReach devices), a satellite communicator that can also track your location. It’s small, simple to use, and can be the best tool you have if you or someone else gets hurt. It also lets a loved one know you’re just fine, so they don’t call Search and Rescue just to check on you. They can track your location even when you’re way, WAY off-grid, like middle-of-the-ocean or top-of-a-mountain off-grid. You can get weather updates or call for emergency services if you need it… or, more likely, if someone else does. It’s so small and unobtrusive you’ll forget it’s there, until the moment you need it. (We wrote a full review of the Garmin inReach devices, too.)
Now get out there and enjoy the wilderness. Walk, run, hike, bike, or just sit and look out over a beautiful view while enjoying a perfect breeze. With these tips, you can have all that and still make it home for dinner.
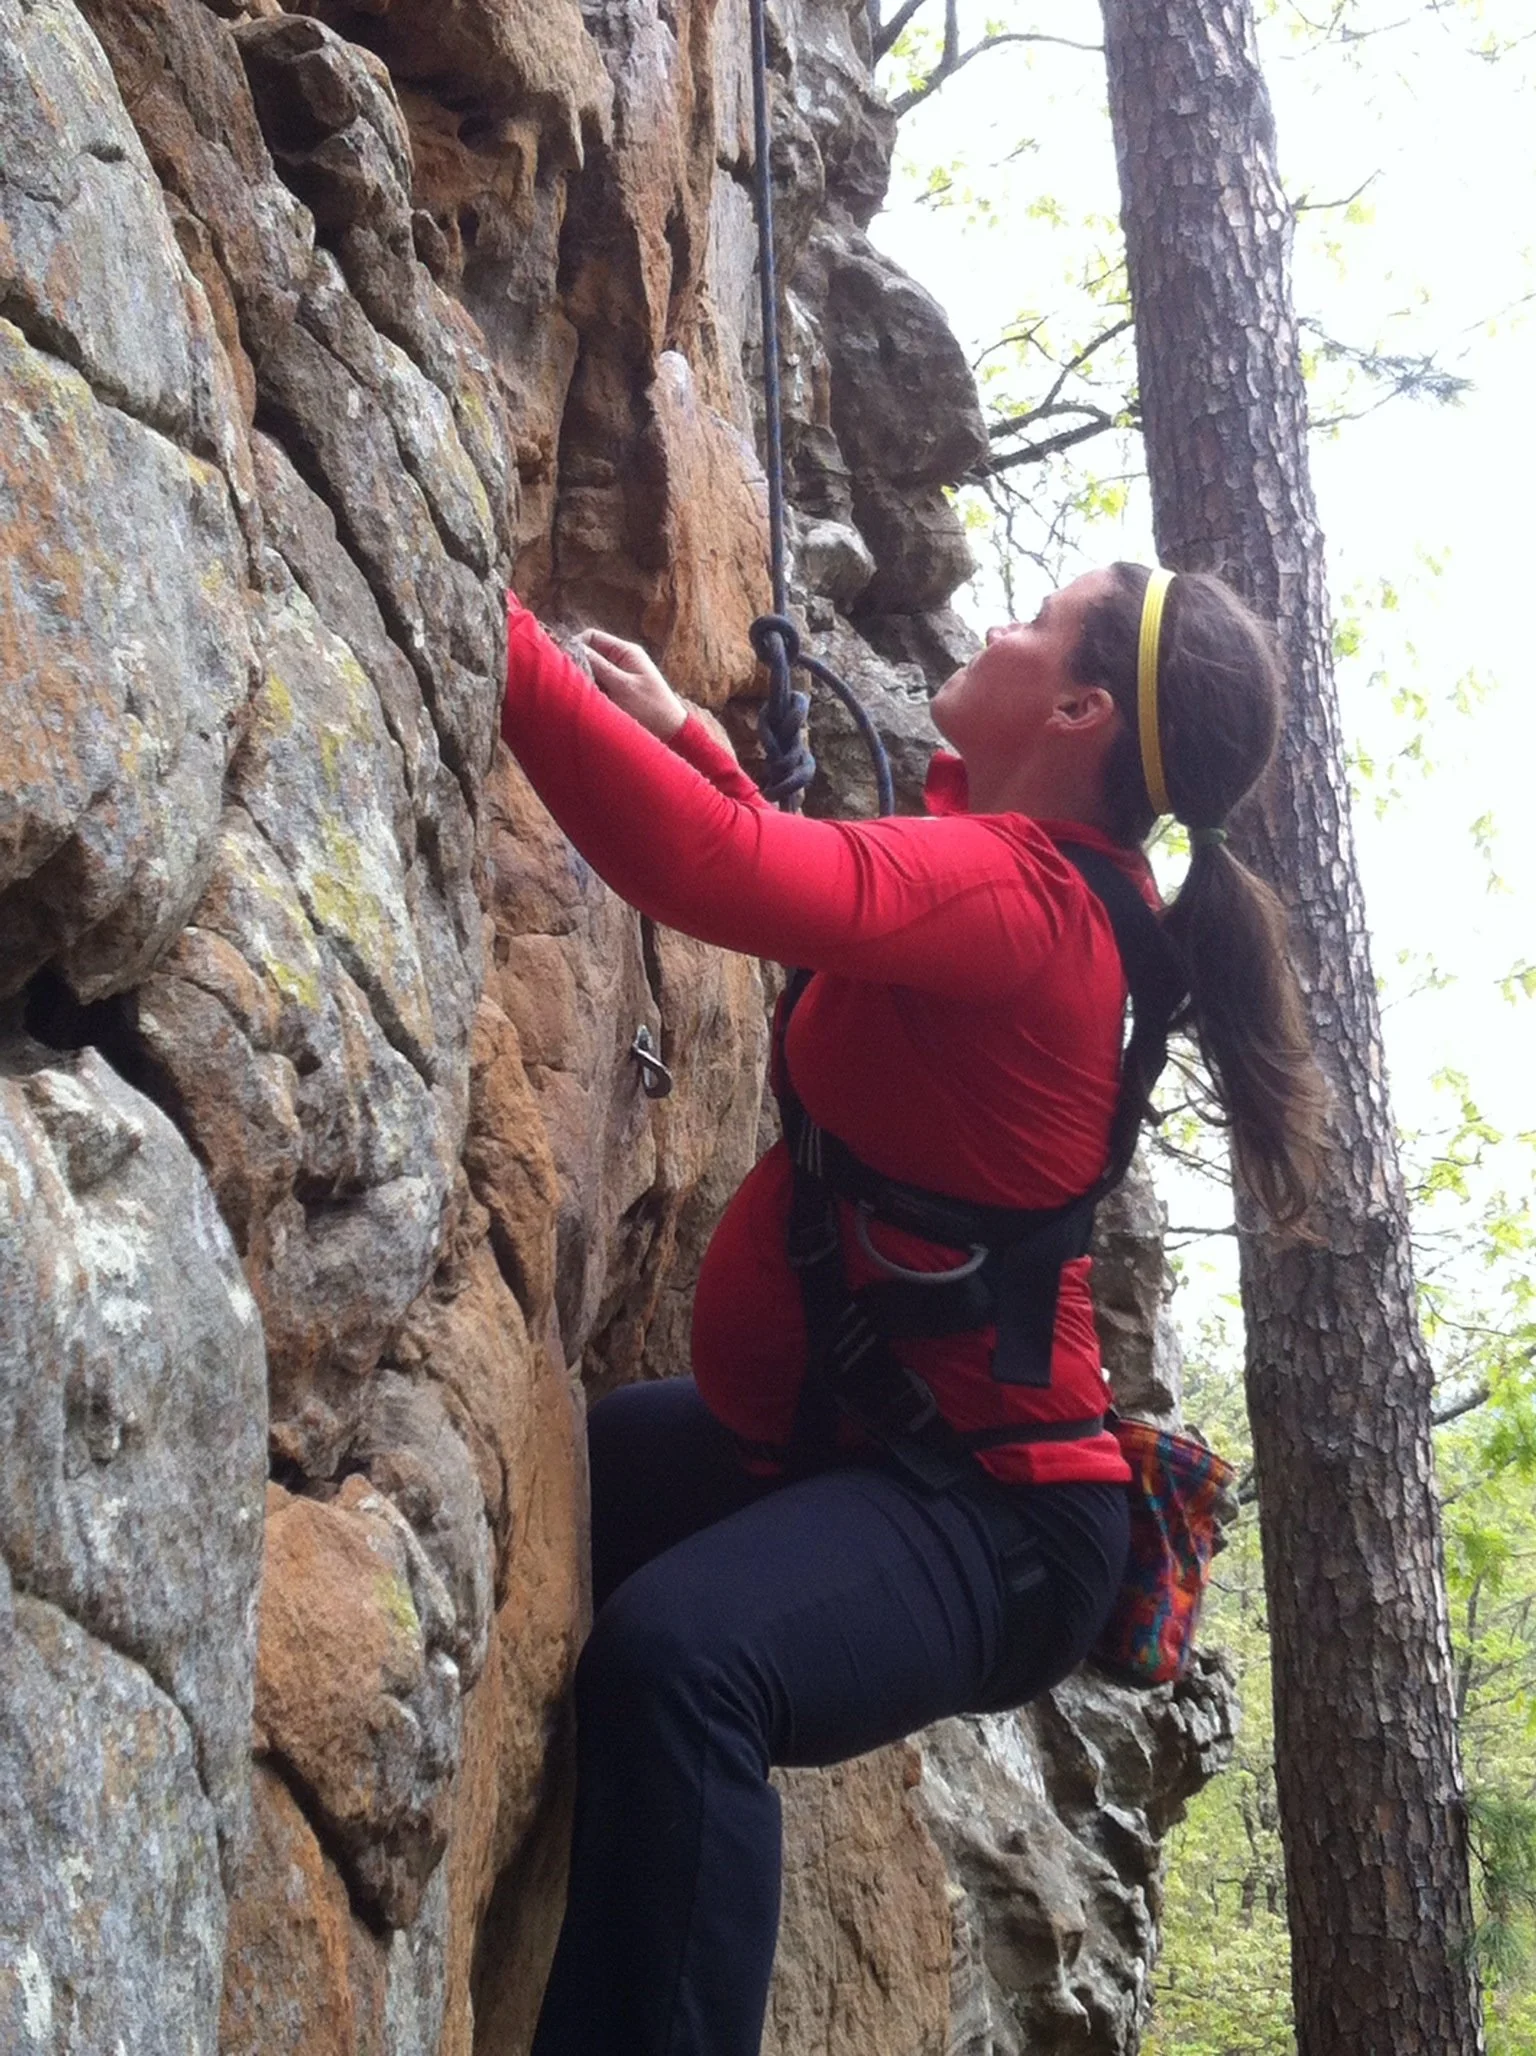
Review: Mad Rock Mountain Mama Maternity Climbing Harness (UPDATED)
A throwback review of Mad Rock’s Mountain Mama maternity climbing harness — real-world comfort, fit, and adjustment tips for climbing through pregnancy, plus a 2026 update on alternatives.
Still rockin’ it - with limits and safe gear!
This is a throwback review from 2014, originally from our old blog. It was well-received, so we’re keeping it here. This post contains affiliate links — if you buy through them, we earn a small commission that helps fund our work.
UPDATE: A lot has changed since this first aired in 2014. Skip to the end for the newest info on this (and another) maternity climbing harness.
The Arkansas Climbing Coalition holds a bouldering competition at Horseshoe Canyon Ranch, near Ponca, Arkansas, every year. Great turnout, beautiful weather, and tasty BBQ — you just can’t lose. It was the perfect chance to put the new Mad Rock Mountain Mama maternity harness to the test and usher in the third trimester with a little top-rope climbing.
At 28 weeks pregnant, and knowing a little harness adaptation would help everyone involved, I was ready to go. Holding the webbing up by the shoulders, the shape made sense and it was easy to see how it’s worn — leg, leg, arm, arm, done. The women in our group were enthusiastic; the men were encouraging but a little leery (“why not just take a few months off?”).
The price point of about $120 is very reasonable given the specialty design and extra material. The webbing is wide and comfortable, with no cutting in. My biggest tip: take plenty of time to adjust the straps — it’s going to feel different. Make the obvious adjustments, then fine-tune, because half an inch makes a real difference. Being anchored from the chest is a very different sensation than from the pelvis, so I spent time hanging on belay to get used to it and dial in the fit. (A DIY belt-style chalk bag works just fine.)
At roughly six months, I climbed up to a 5.8. Everything stayed in place, felt secure, and the materials and seams are high quality. Coming down, there was a moment where my belly felt ever so slightly pinched between the two side webs — and “pinched” is too strong a word; more fine-tuning would likely fix it. After a while I stopped noticing the chest tie-in entirely. It just felt good to climb.
The bottom line: the Mountain Mama is big on adjustability and simple on features — but what more do you need to get on a wall and feel good doing it? I’m secure, mobile, and Kiddo isn’t being smashed by a belt. For pregnant climbers who want to keep up their chalky pursuits, I definitely recommend giving it a try.
UPDATE (2026): Yes, we’re still talking about this harness. I mean, you’re here because you’re still hearing about it and searching for it. I emailed with the nice folks at Mad Rock a couple of years ago when I heard through the grapevine that they were working on bringing their maternity harness back to life - I wanted to get hands-on with it as soon as it was out so I could give you all the newest update! Alas, I haven’t heard anything since and it’s not for lack of trying.
The Mad Rock Maternity Harness isn’t available right now — a huge bummer. A great and very similar alternative is the Petzl full-body harness,* which has excellent reviews. I’d actually love to try it with the disabled community in mind, too: for some people, a full-body harness can feel more secure and comfortable than a traditional belt-style one.
Please note: while we love adventure, climbing while pregnant may not be for everyone. Talk with your doctor before taking on any activity during pregnancy. You do this at your own risk, and our review isn’t responsible for your decisions. Thank you for understanding.
*This is an affiliate link. If you make a purchase through our link we make a small commission at no extra cost to you. We only recommend and link gear that we also like.
Alternative Schooling: The What and Why
A family’s plain-language guide to alternative education — homeschooling, unschooling, roadschooling, and worldschooling — drawn from years of finding what fits our son, who learns differently, and our nontraditional lifestyle.
New places can inspire new learning!
We know a lot of people are grappling with decisions about what the school year will look like, and whichever direction you’re leaning, it can feel like a really tough choice. We want to share some of the nontraditional, alternative types of schooling we’ve come across while educating our son over the last few years — options you may have started hearing about as you look into alternatives.
A little background on our situation: Eric has autism and attended our public school district’s wonderful early-education preschool program. We saw great strides with him there educationally, therapeutically, and socially. It wasn’t always easy, but the people on his team were one-of-a-kind and talented.
When he aged out of that program, it was time to make a choice. In some ways, a traditional public-school kindergarten would have been just fine for him, if challenging — he’d have been part of the special-education program while attending a typical classroom, but would have needed a para or teacher’s assistant for much of his day. Eric is an astute, distinctly unique kid who’s highly aware of the people around him and the words, curiosities, and feelings directed his way — and he’s quite sensitive to it. At times that’s made socializing with kids his age hard. (Would you want to go to a birthday party, day camp, or park if you felt like everyone was staring and asking aloud why you do things differently?)
We also felt he was somewhere between preschool and kindergarten, both socially and educationally, so we chose to homeschool him for a couple of years. Now, it seems, we’re homeschooling well beyond that original timeframe.
At the same time (because life rarely hands you one good-sized challenge at a time), we were at a point in our adult lives and business where a change was becoming both needed and wanted. After a lot of late-night conversations and daytime shuffling, we took the plunge into a nontraditional lifestyle that involves Eric’s education, too.
So here’s a “quick guide” to some of the alternative-education styles we’ve personally run across and experimented with, in hopes it shortens your own research while you juggle the bigger parts of managing life right now.
A variety of schooling types
Homeschooling. We all know this one: kids educated at home, usually by a parent. When we were kids there was quite a stigma around it, but times have truly changed. The resources, curriculums, online offerings, and even out-of-the-home classes for homeschoolers at museums, zoos, and science centers are better than ever. If one parent has the gumption to be both parent and teacher while the other’s income can support the family, it might just work. It also depends on how your child does being home more, self-motivating, and learning from Mom or Dad (a big one). Switching hats between parent and teacher — both for you and for how your child sees and interacts with you — is one of the biggest challenges, but it can work, and some kids thrive in it. There are also plenty of extracurricular sports, social opportunities, homeschool group get-togethers, and co-op options (where different parents teach several kids a course in their area of expertise).
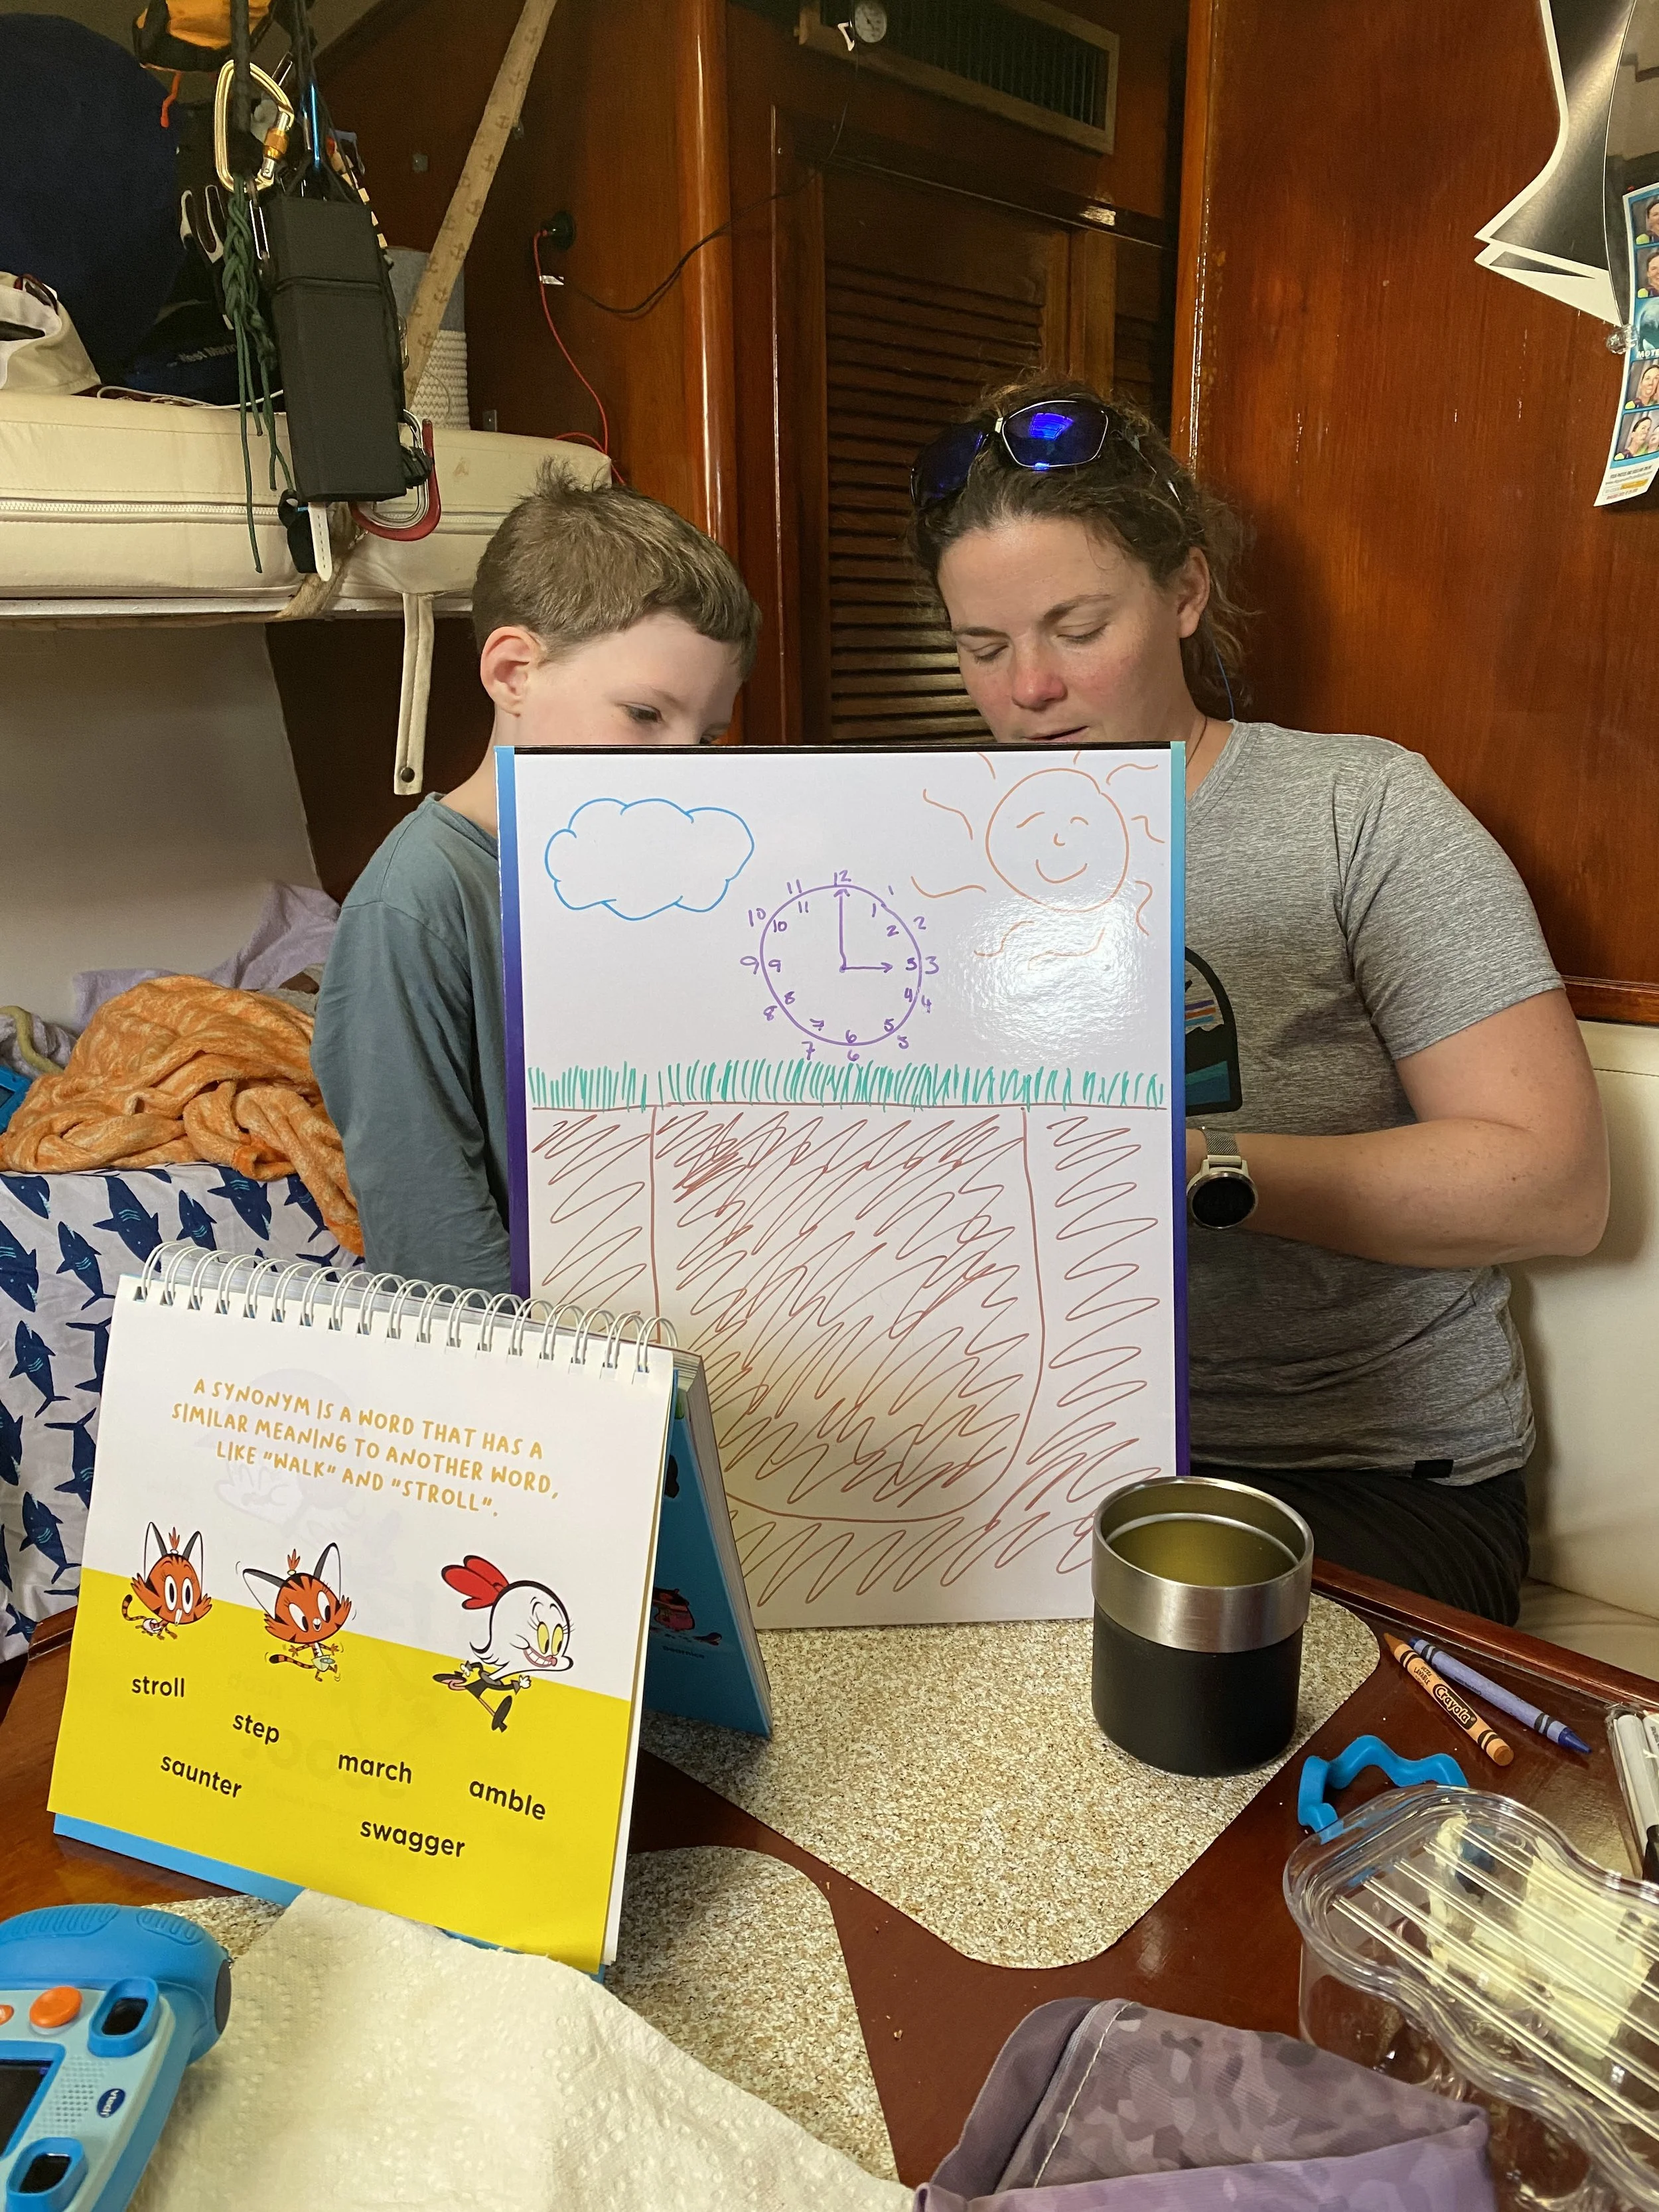
Work with what you have on-hand - sometimes less is more.
We’ll lump hybrid learning (a mix of homeschool and classroom time) and fully online schooling in here too, since a lot of the learning happens at home. Both are woven into traditional school in some way — through setting, time, or curriculum. Special-needs kids can find therapies at private practices or still access them through the public schools. This, and how you report your child’s educational records, depends on your state, so make sure you fully understand what your state requires if you choose to homeschool. A great place to start is with blogs devoted to the art of homeschooling; many also review a variety of curriculums if you’ve decided to homeschool but don’t know where to begin.
Unschooling. You might hear this and think it means going completely hands-off and letting your kid go feral. Nope! Unschooling is actually pretty cool: it lets the student’s interests and curiosities drive the learning. You still cover all the subjects — it just might look different than working problems in a book or following a formal curriculum each day. We do a structured form of unschooling with Eric because, frankly, he learns differently. For a kid who needs motion or activity, we integrate that into the subject. When he got really interested in bees, for example, we learned about bees’ lives (science), turned it into a counting game (math), worked on spelling and reading bee words (English and handwriting), created an imaginative beehive (art), and went out to find bees in the yard (field trip!). He knows a lot about bees and elevators right now because he’s fascinated by them — and he’s still learning a lot, while we’re not losing our minds trying to fit him into a curriculum built for a differently-shaped mind. We still use those great learning books; we just integrate them into activities rather than the other way around.
This won’t work for every kid, truly. Some really need defined structure, and this can be a little too loose. We have to create structure within it, too — kind of like making a box to contain all the scribbles. Before social distancing, our days revolved around field trips, turning everyday errands into chances to learn. Obviously, that changed a lot.
Roadschooling. Imagine homeschooling smashed together with traveling around the United States while you drive and camp in an RV. That’s roadschooling — taking the education with you. It’s a lifestyle in itself, so it requires some big choices and changes. You need a “home state” where you declare your kids are homeschooling and follow its requirements, and supporting your family and making a living are big considerations. Some people follow seasonal work; some have jobs that require travel, so their families move with them (think traveling nurses or railway workers); and many can work from anywhere (graphic designers, writers, media managers, and various tech jobs are common). The lifestyle can be full-time or part-time (we’re part-time throughout the year).
There are serious considerations: do you keep your house, rent it out, or sell it? How do your kids handle this kind of change (age matters a lot)? How is your family at making friends with strangers — believe it or not, there are lots of roadschooling families roaming the country. What’s your travel style, and how adaptable are you (road warrior vs. sit-and-stay)? It’s also a more minimalist lifestyle, since you don’t want to haul everything you own with you. That said, it’s incredible to visit historical sites while your kids learn about them, see the wild animals they just read about, or learn about the people of our country by meeting them.
Worldschooling. Last but not least, worldschooling is like the magical unicorn of education for the adventure-minded family. It takes energy, tenacity, adaptability, and planning ahead around finances, your home and belongings, education, and current events. Honestly, many worldschoolers have had to stay put in foreign countries at times, and some chose to return to the U.S. until things settled because staying in limbo didn’t feel secure — understandably. Worldschooling might happen by airplane, train, sailboat, camper van, or camel; it all depends on where you go. Think of it as roadschooling on the biggest scale we have: global. Some do it full-time, some part-time (that’s us), or for only a set amount of time. It definitely requires a minimalist lifestyle and a lot of adaptability as a visitor to foreign cultures. The idea is that “the world is a classroom.”
You can imagine the pros and cons: high highs and low lows. Making friends can be challenging, but the ones that stick tend to last a lifetime and are wonderfully diverse. Planning ahead and being prepared for a myriad of complications with kids in tow is imperative — money, insurance, homesickness, and more. Before jumping in, really weigh whether you want to worldschool or simply take a good long vacation or sabbatical.
Whichever path calls to you, we hope this shortens your research a little. Every family and every kid is different — the best choice is the one that fits yours.
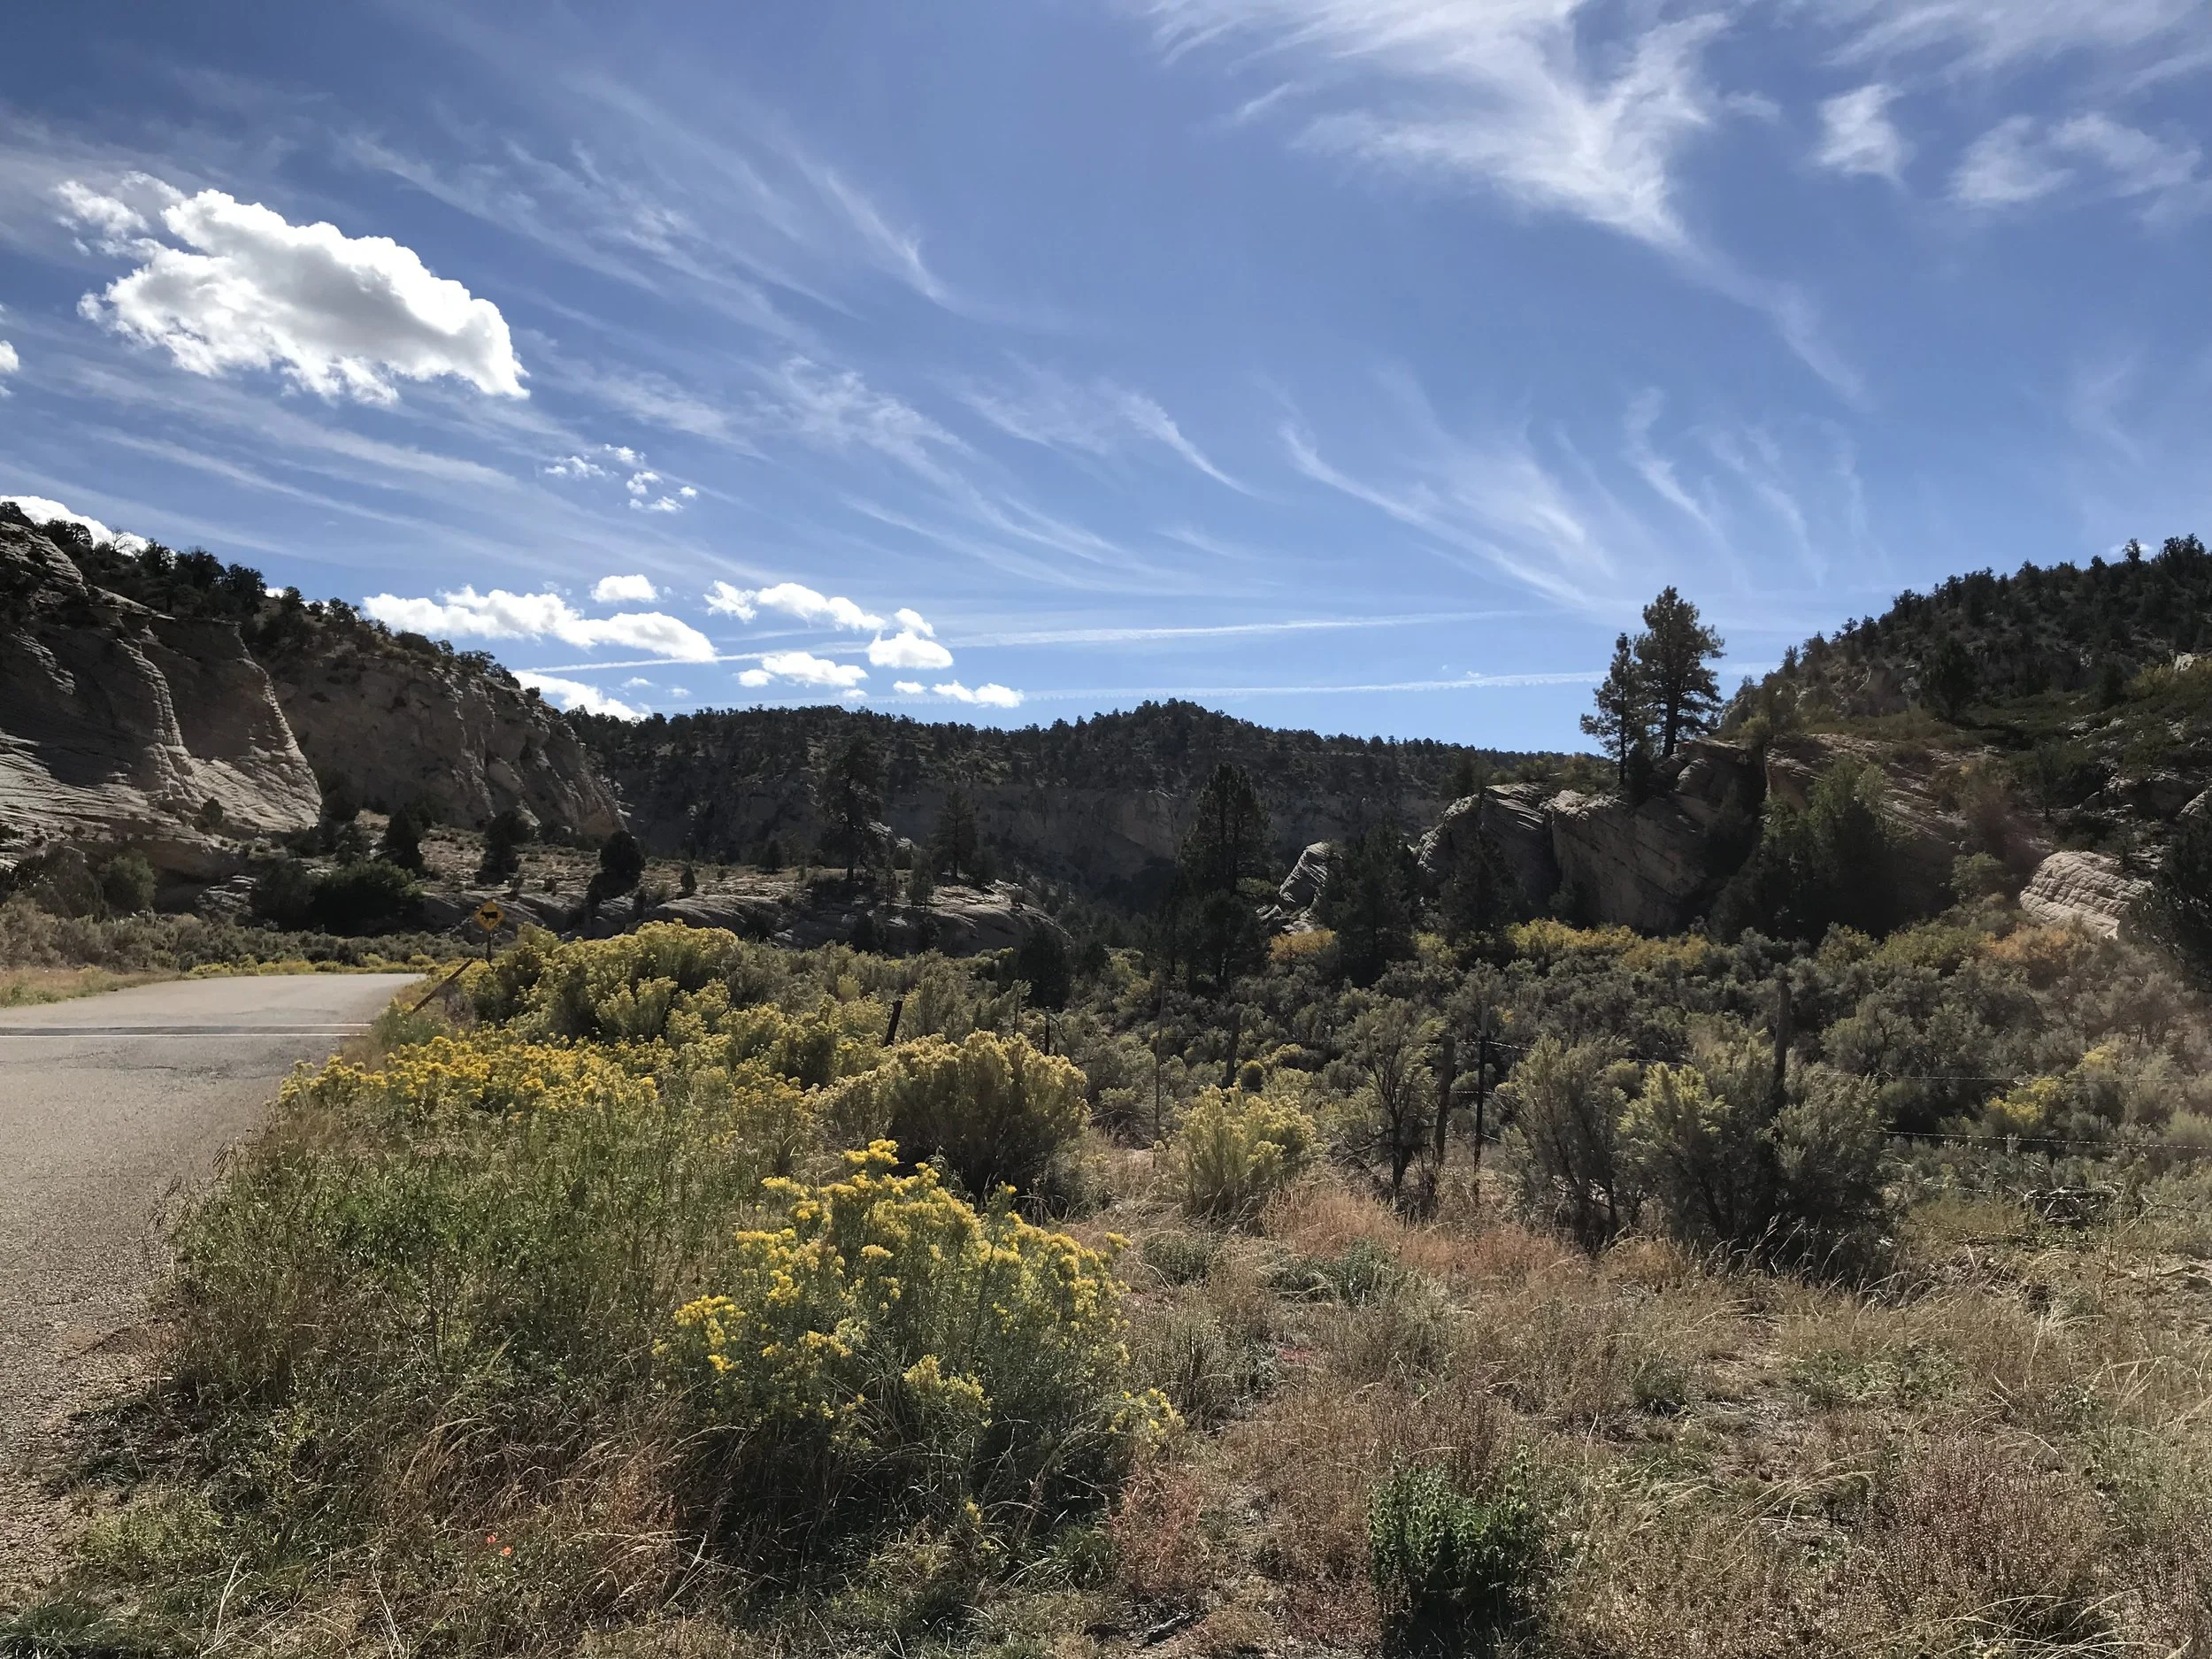
Riding Johnson Canyon Road (Utah) on a Gravel Bike
A solo dawn ride up Glendale Bench and Johnson Canyon Road near Kanab, Utah — a brutal 1,500-foot gravel climb rewarded with the backside of Bryce, Grand Staircase-Escalante, white canyon bluffs, and a Gunsmoke ghost town.
This post contains affiliate links. If you buy through our links, we earn a small commission at no extra cost to you. Thank you!
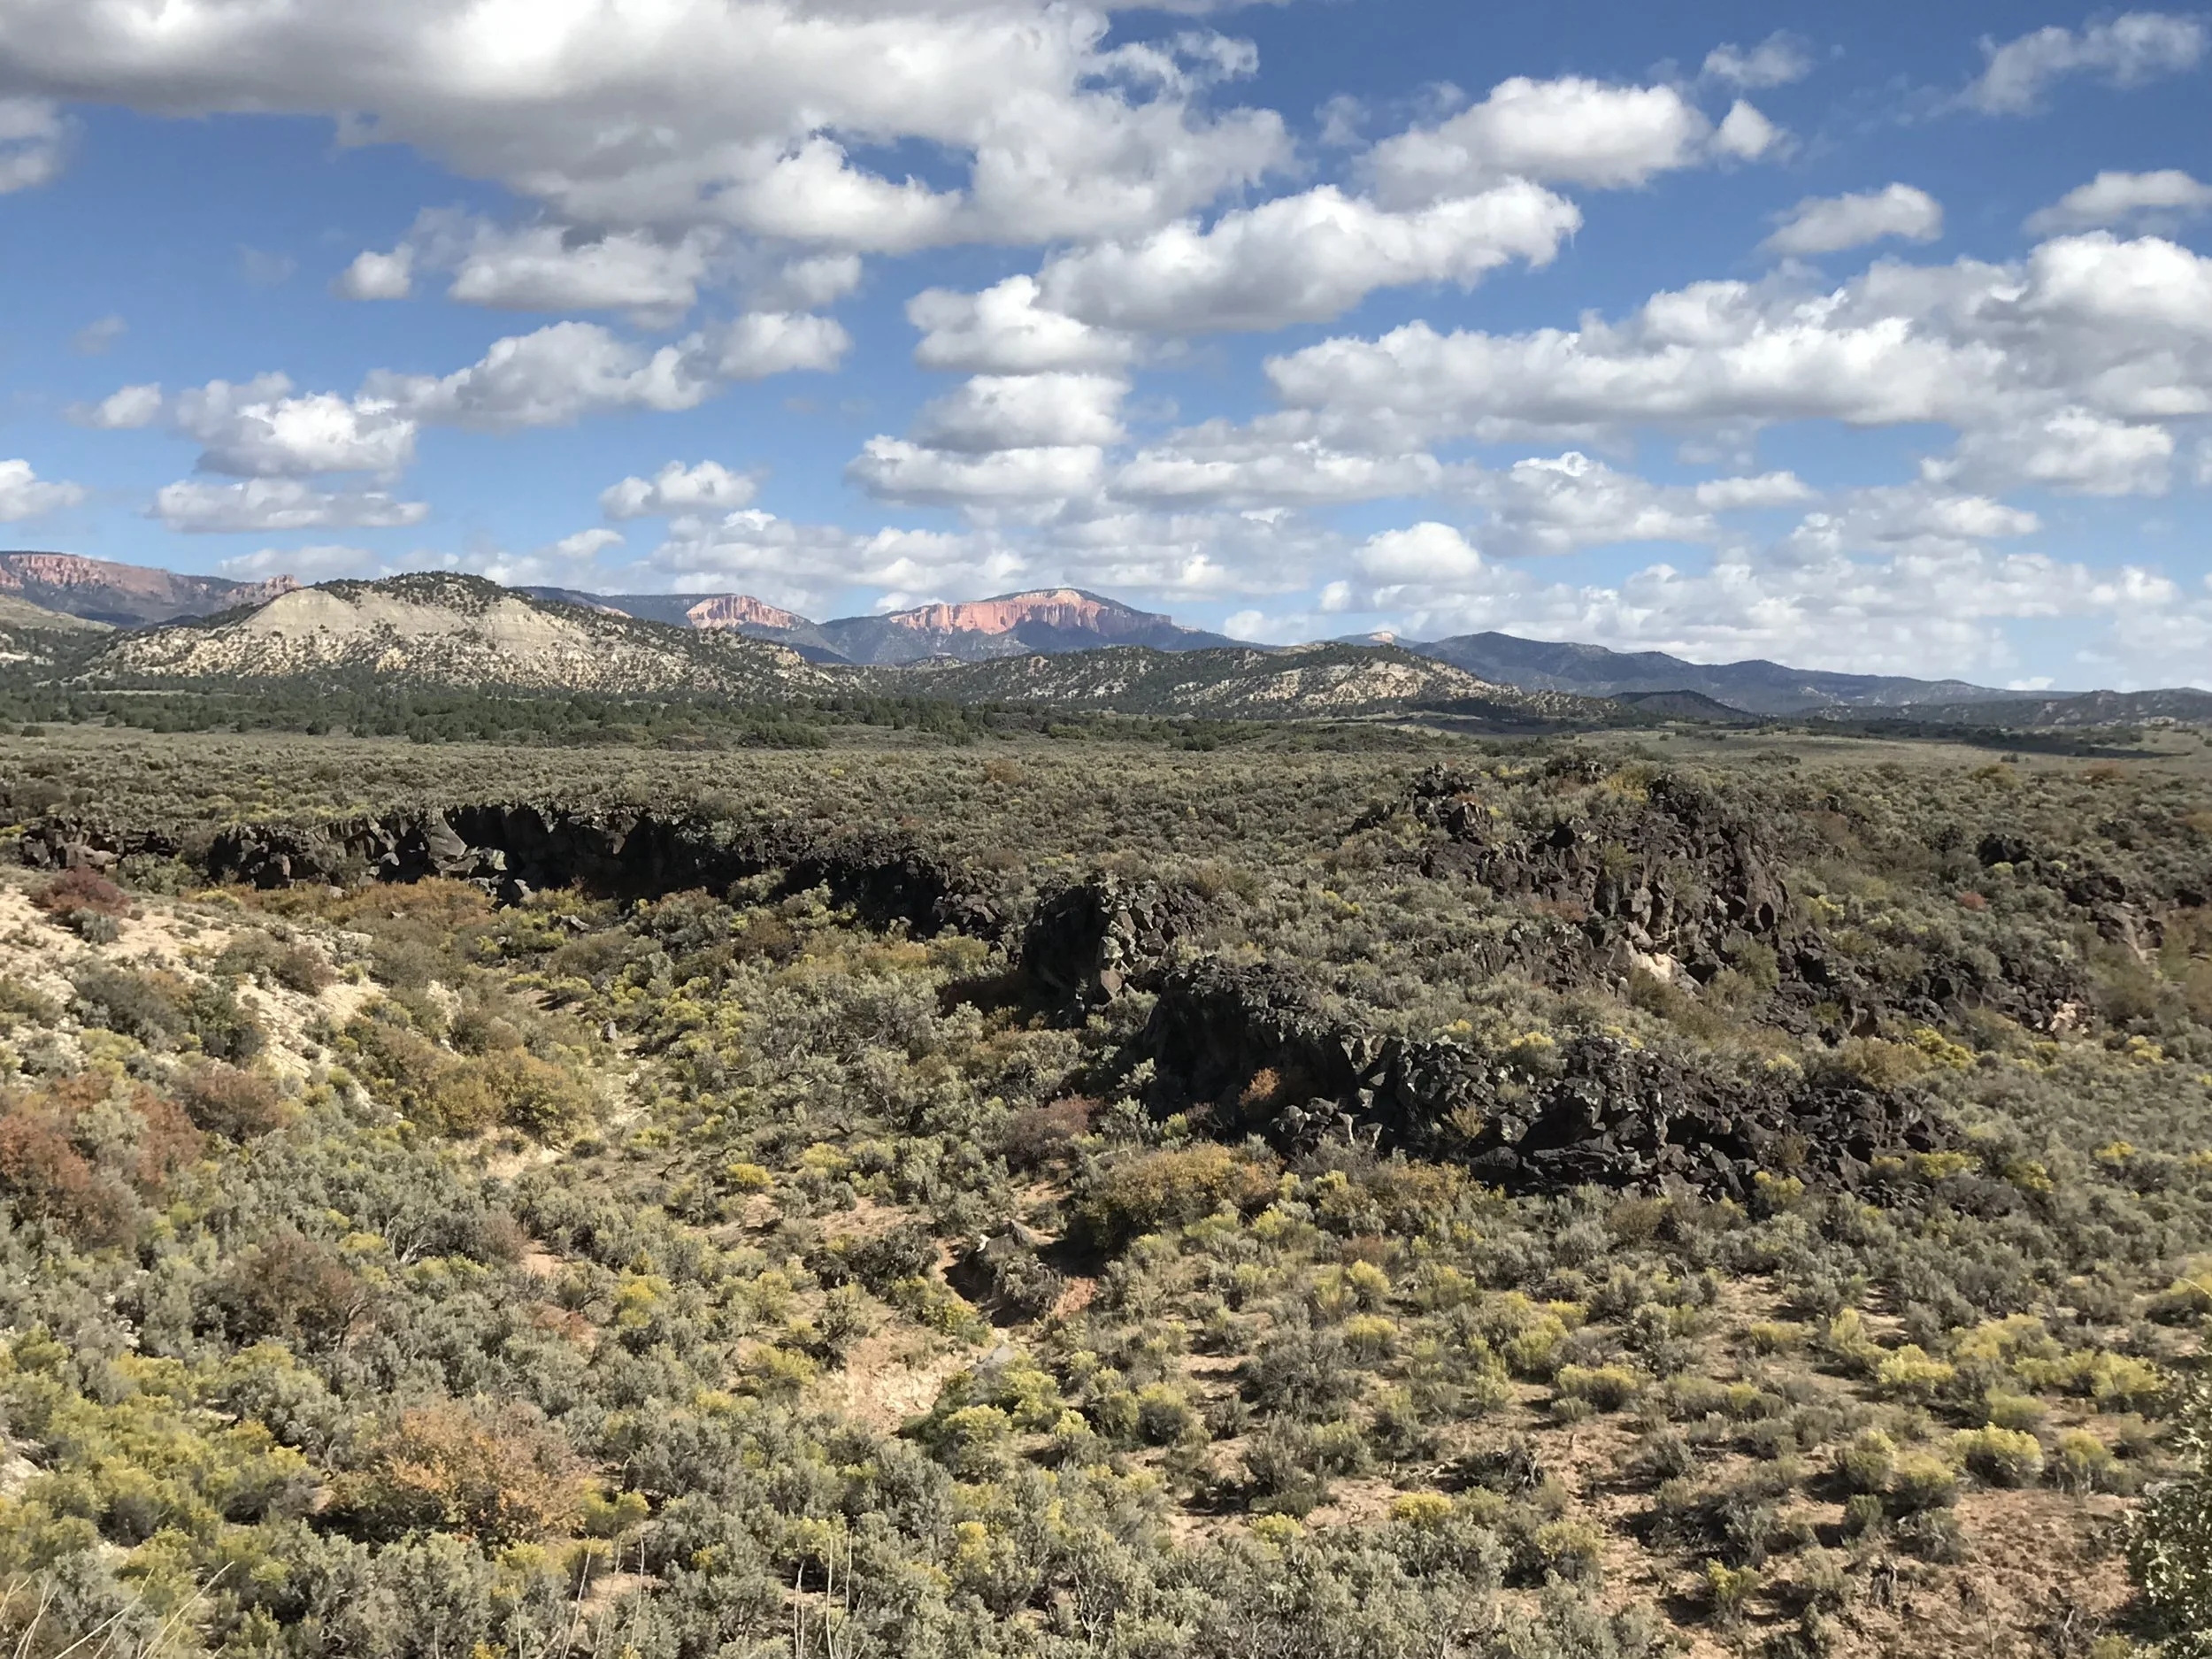
A brutal climb on chunky gravel led to expansive views.
When I was a kid, I used to look out at the odd road or random trail disappearing into the countryside as our family car passed on the highway and wonder… “where does that go?” As I got older and found myself with my own car, backpack, and bike, I realized I could finally explore some of those whims. With that delight, I also quickly learned that a little bit of a plan goes a long way — and that learning a route ahead of time, to plan food, water, and supplies, could keep the adventure going.
When Matt, our Dude, the pets, and I pulled into a campsite at Bauer’s Canyon Ranch RV Park in Glendale, Utah — north of Kanab — we delighted in the apple trees dropping fruit all around us in the old orchard. While walking the dogs morning and evening, one road kept grabbing my attention. On its west end it’s called Glendale Bench Road, and by the time it winds east, then south, it ends about 34 miles later on Highway 89, just east of Kanab.
It’s an unsuspecting-looking road, starting with nearly fist-sized gravel and heading straight up the “bench” from the town of Glendale. There wasn’t much written about it at the time, but I couldn’t resist — so I started googling it, looking at maps and satellite images, and decided I needed to ride this stretch on my bike.
I had no idea what I was in for.
On the day I departed, I left just as the sky was lightening. I packed my normal riding kit — water, food, energy chews, tools, and a flat-repair kit — but because it was remote, I also took a walkie-talkie (we didn’t have the Garmin inReach yet, and I definitely would have brought it on this ride), a headlamp, an external battery charger, an extra layer, and offline maps downloaded so I could access them without signal.
Matt and I made our plan: I’d head out and ride for a few hours, and he and Eric would have an easy morning and then take the truck up the same route to see when and where they’d catch me. I’m really glad we planned it this way, for two reasons. First, once I got a few miles out, I lost all cell signal and the walkie-talkies wouldn’t connect unless he was getting close. The second reason would come at the end of my ride.
Those first few miles were enough to make me question what in the world I was doing. In less than three miles, I climbed nearly 1,500 feet. I think I walked my bike as much as I rode it — the inclines were steep, followed by flatter sections, with plenty of “teaser” peaks: hills you climb hard thinking you’re almost there, only to reach a flat and see the next climb waiting. Ugh.
Once I finally reached the peak of the peak of the peak, the views opened up and I realized I was looking at the backside of Bryce Canyon National Park. The gravel at the start was brutal — huge chunky rocks that bounced everything and made it nearly impossible to ride in a straight line. But what I didn’t realize until I saw the sign was that I was about to ride straight into Grand Staircase–Escalante National Monument.
Almost instantly, the gravel got smaller, completely bearable, and a whole lot more fun. This section was beautiful, with vast stretches of views and small canyons starting to open up. At this point I was texting Matt to tell him to leave plenty of time to enjoy the drive — hoping the message would send if I picked up a whiff of cell signal.
This is clearly a popular area for off-road enthusiasts, too; many were packing up their ATVs, RVs, and campsites from the weekend and heading home as I rode past. But the beauty of this road wasn’t over.
The brownish-red colors began to morph into chalky white rock outcroppings: I was entering Johnson Canyon. It’s an underrated drive — well, maybe not underrated, but definitely not talked about enough. Not only are the swirling white craggy bluffs easy on the eyes, but as I wound through farmland farther down the canyon, I stopped the moment I saw the wooden sticks of a ghost town. By then I had cell signal, and while I still hadn’t heard from Matt, I knew they’d have started by now. I googled where I was to learn the ghost town’s name — only to find it was the old movie set for Gunsmoke. It’s on private land, off-limits to curious tourists, but easy enough to see and photograph from the road.
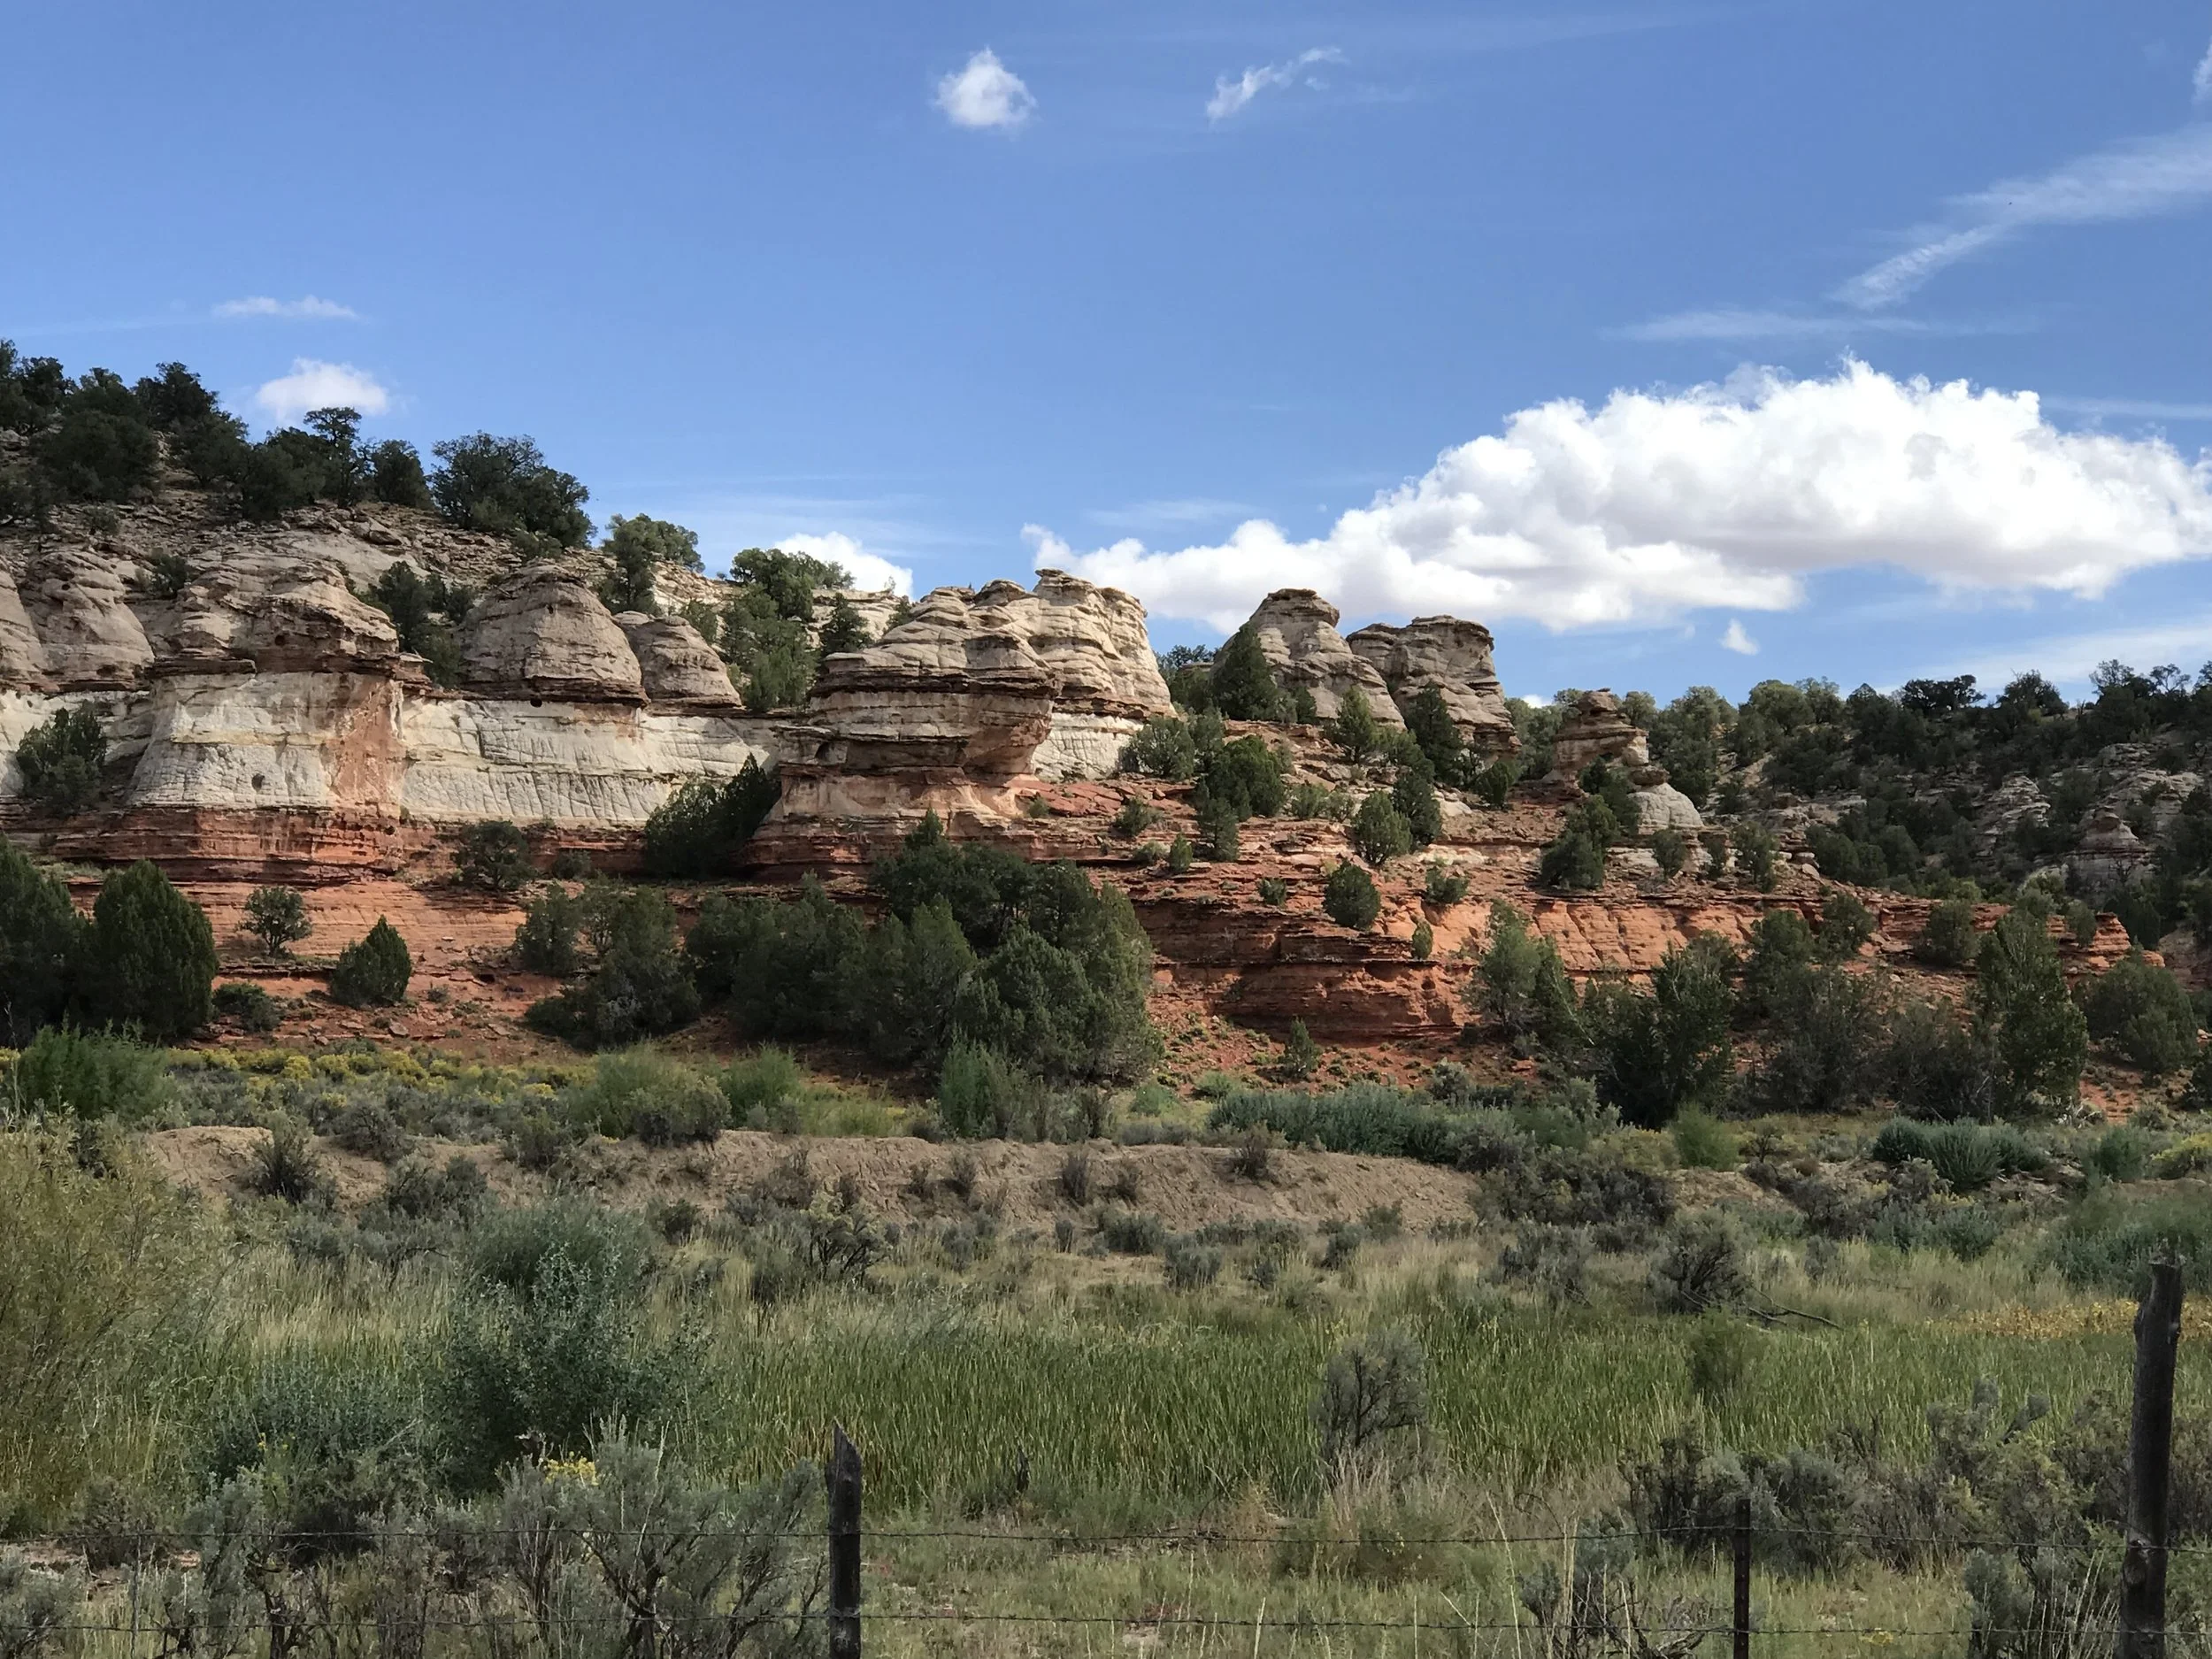
Now came the hot stretch. Officially out of the rocky canyon and committed to a hot, straight, flat run of pavement through farmland, I sweat through my shirt while soaking up the colors, cows, and speed. This was when I caught sight of Matt and Eric, and we planned where to meet at the end of my ride.
Here’s where my second reason for appreciating a plan — and being willing to change it — comes in. From where Johnson Canyon Road empties onto Highway 89, it’s only about four miles into town. I figured I’d just ride the highway shoulder in and meet them at Willow Canyon Outdoor (a gear shop AND a coffee shop — can it get any better?). But once I rode out into the open, away from the canyon and valley, the wind picked up dramatically. I didn’t even mind the building rain, but as I entered the highway shoulder that strong wind became a crosswind. Add semis passing at 80 mph, with the push and suction of their wind currents, and riding the shoulder got sketchy fast.
Fortunately, Matt read the situation from the truck and stopped about a mile up the highway on a pullout to wait for me. I was happy to call it a day rather than get beat up by wind and traffic after an already epic — and tough — ride.
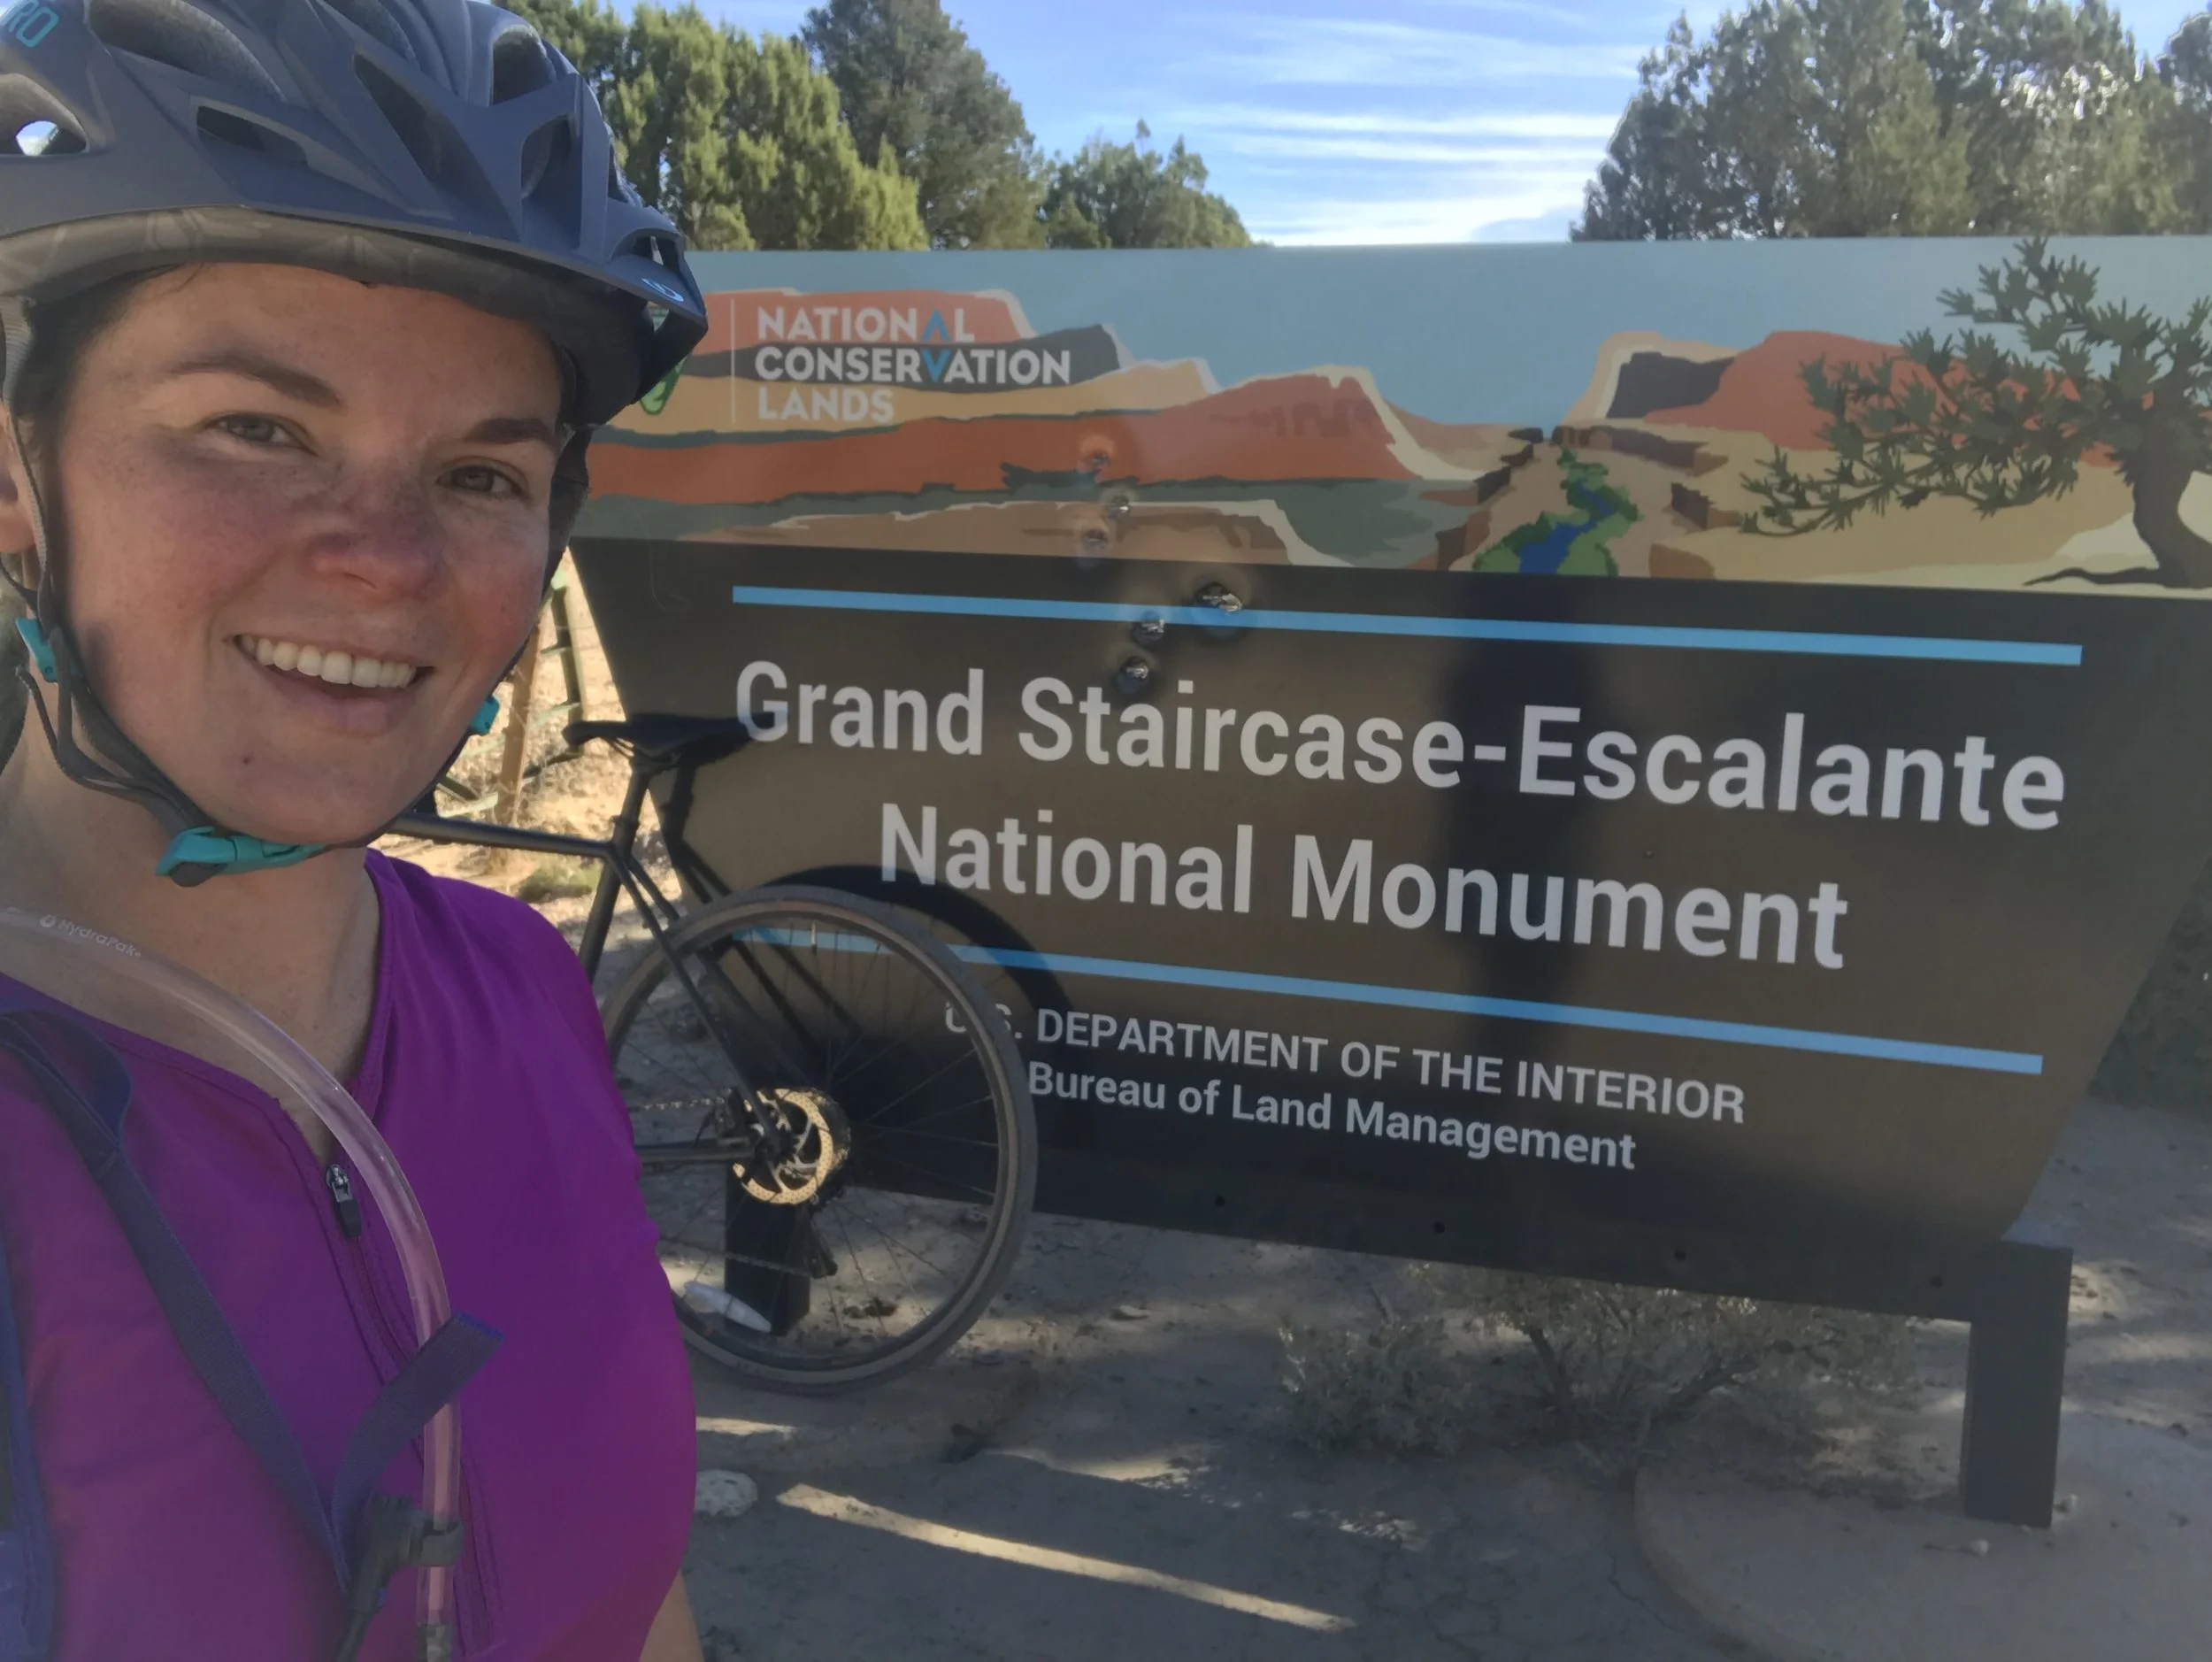
Would I do it again? If someone could drop me off after that first 1,400-plus-foot climb, you bet. Truly, though, this was a memorable, gorgeous backdrop for a gravel ride close to Kanab, with plenty of neat geology, public-land appreciation, wildlife, and history.
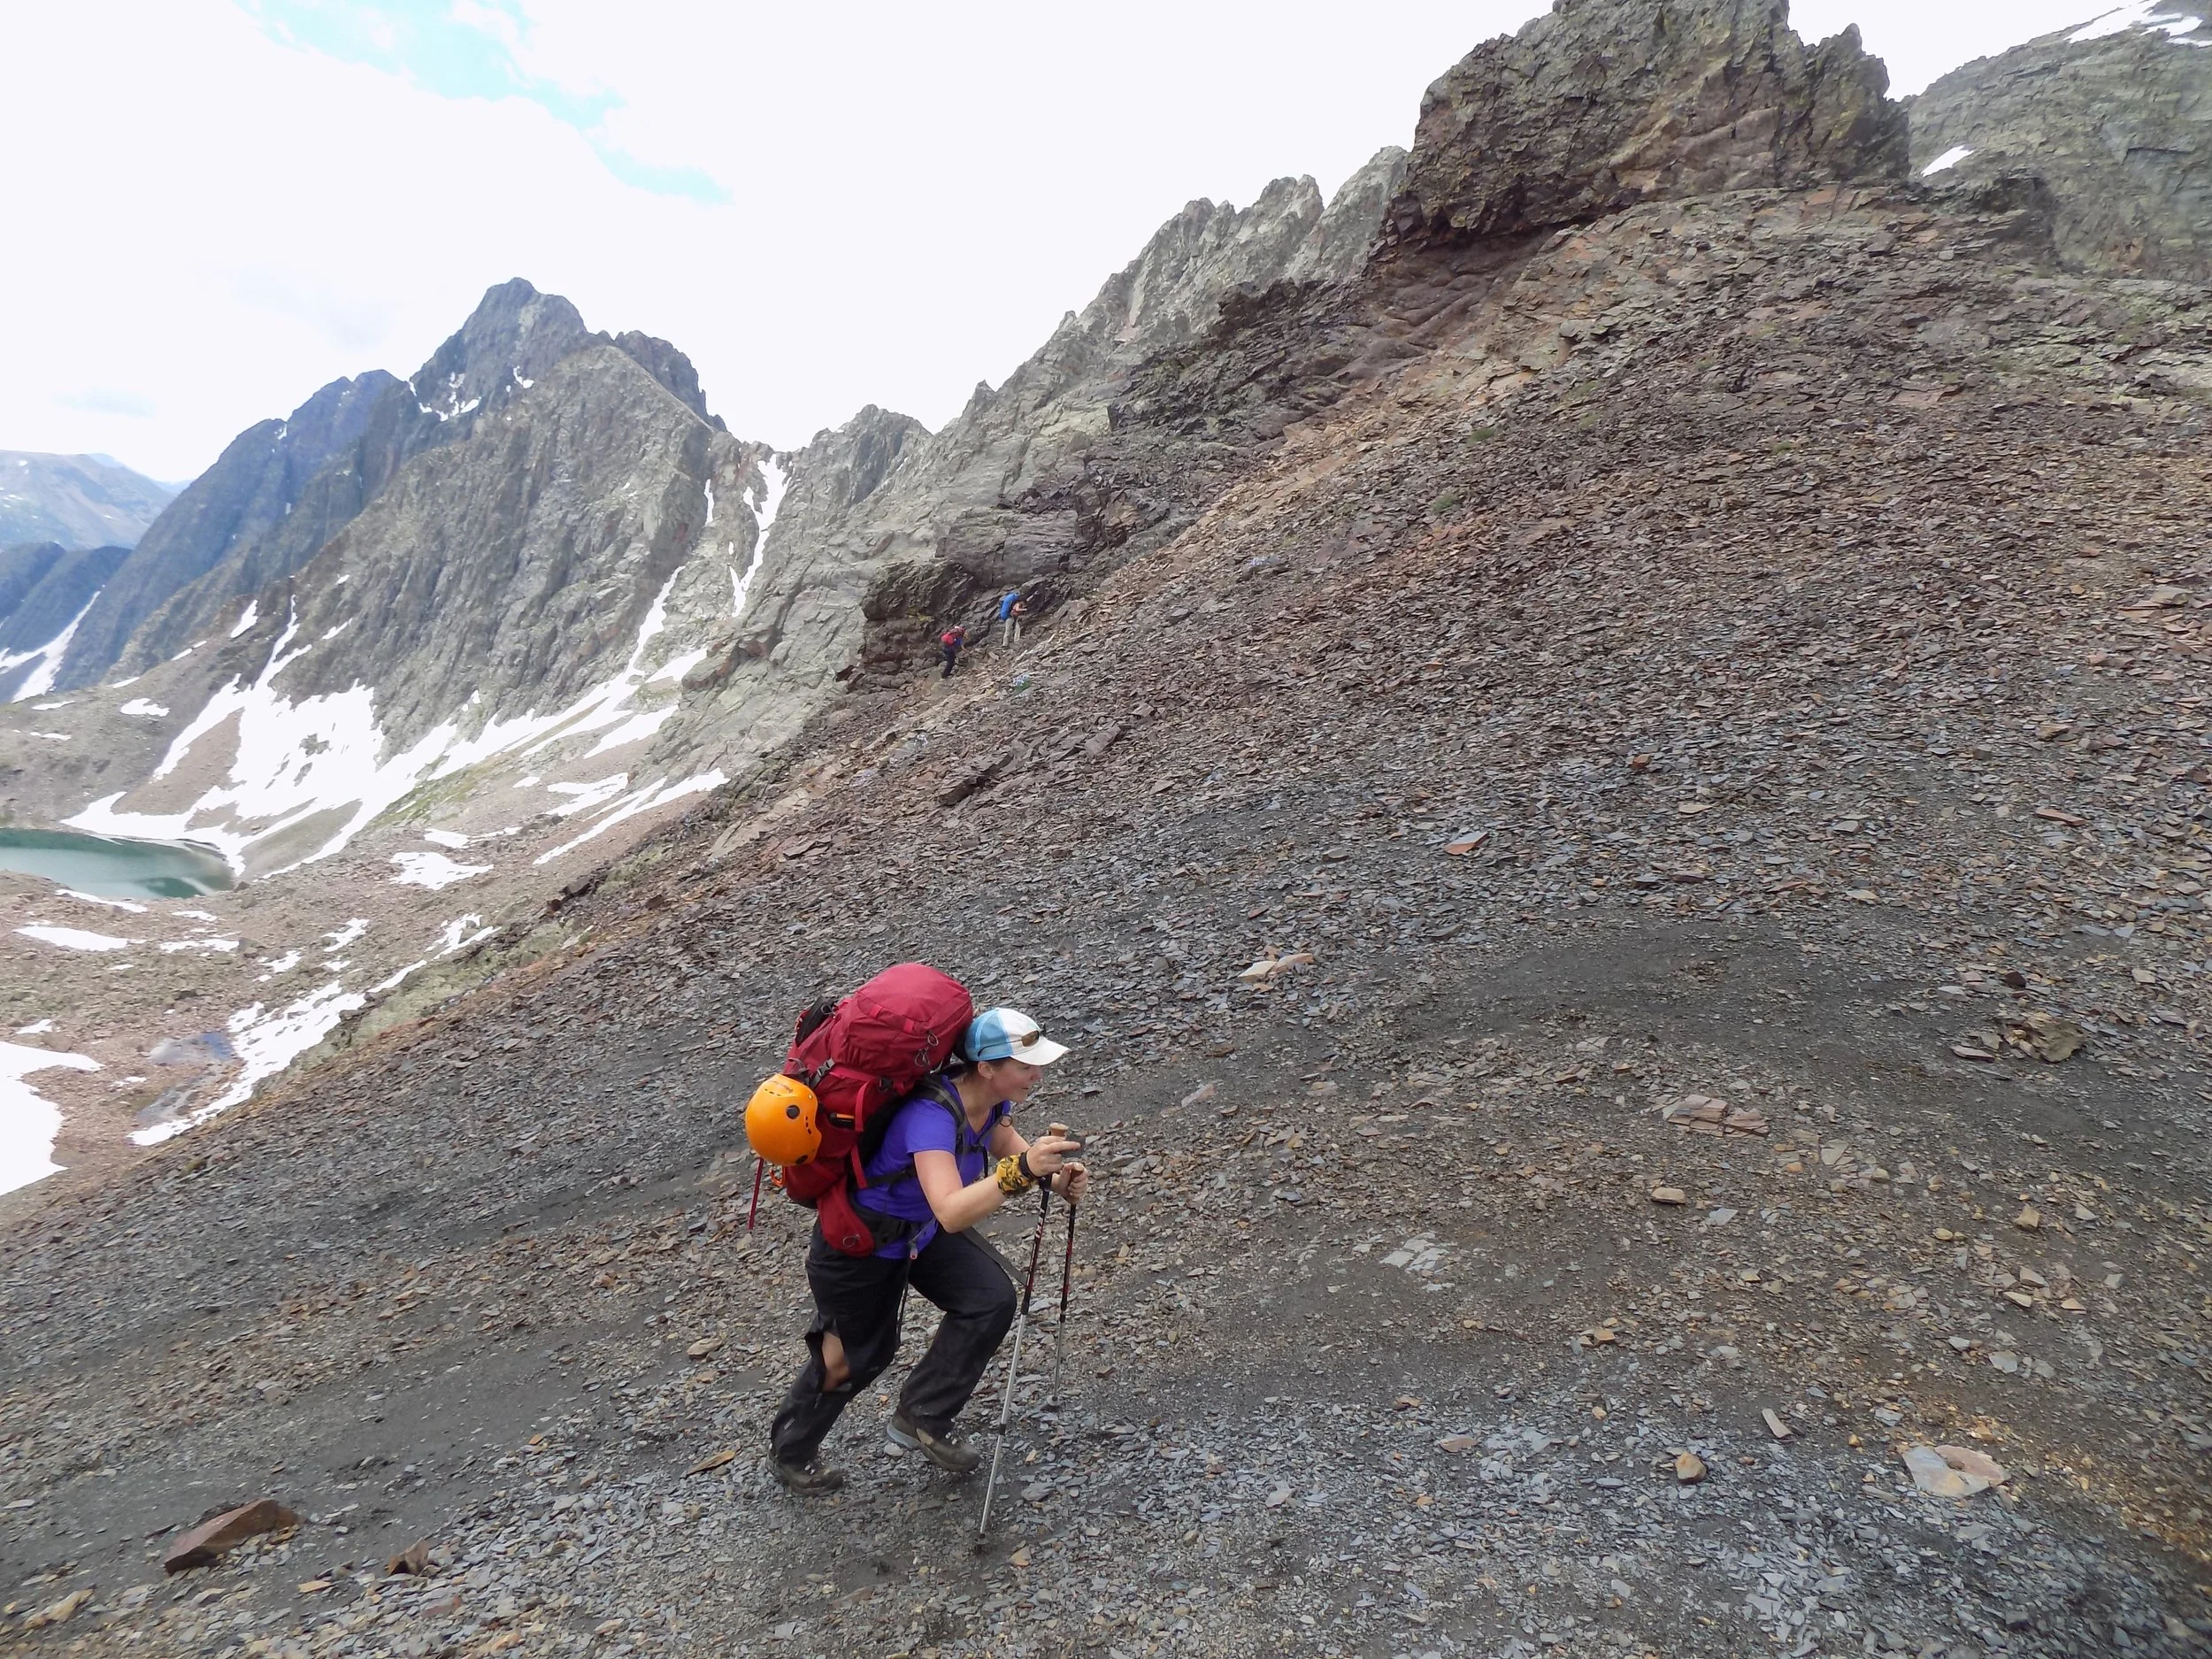
Overcoming Challenges to Getting Outdoors
The mindset and gear that get you past the “what ifs” — planning and navigation backups, dressing for a 20-degree swing, why quality synthetics and merino beat cotton, and how to fuel (and bribe) the whole crew.
Overcome the obstacles and tackle those goals!
One of the biggest obstacles we hear about when people dream and scheme about their adventures is simply how to get started. “What ifs” can quickly morph manageable challenges into exhausting barriers before the bag is even packed. Adaptation and perspective make the difference. Here we talk about getting started and dealing with the unexpected.
Some of the questions that come to mind: how to handle weather changes, equipment failures, fitness challenges, financial limits, time constraints, and general life balance.
Small steps toward big plans. The best answer is planning, plus proper equipment and clothing. Part of planning is learning about where you’re going and what you’d like to do. You might say, “but I want a spontaneous adventure.” That’s fine — but a fun spontaneous adventure is better for your group or family than one where everyone’s less than enthused about the next time out. The foundation is food, shelter, proper clothing, and an understanding of what you might find on your trip. We’re here to help.
Where are you going, and are you hiking, biking, kayaking, or sailing? We regularly head into the unknown, but we go with a map, a smartphone, and even a compass. Yes, your phone has many of these tools, but a few basic backups can be invaluable. Did you know your phone has a native GPS that works even without signal? Great apps like AllTrails and Trailforks really help when you’re hiking, and on the water, apps like Navionics can be lifesavers. They work even when your phone signal doesn’t, helping you explore — or just get home.
Good planning lets your group build fitness and confidence as you go, so you can be more adventurous in the future. But be prepared for the unexpected. Some say the adventure begins when the plan ends, and coaching yourself to embrace and adapt to challenges goes a long way. The mental side of adventure matters as much as the planning: adaptability to change — weather, or even turning back for some reason — lets you set a goal of going farther next time.
The gear for the conditions. Weather can be monitored easily with today’s technology, but as we all know, it can change in an instant — or just be plain wrong. Weather apps help, but nothing beats paying attention to conditions as they actually happen, especially at sea or in the mountains. Plan well and bring a packable jacket; plan for the temperature to swing 20 degrees. On a day forecast to be 75 and sunny that ends up 45 and raining, your jacket becomes essential gear. If it hits 95 instead, someone will be very glad for the added sun protection. Which brings us to clothing.
There’s a saying in the outdoors, often credited to Alfred Wainwright: “there’s no such thing as bad weather, only unsuitable clothing.” In short, if your gear is up to the task, you can have a good time in almost any condition with the right attitude. A set of waterproof rain gear for each person in your party is essential — getting cold and wet is one of the leading causes of “I am never doing that again,” and it can even lead to injury.
The body loses heat astonishingly fast when wet, and good rain gear easily prevents it. Lots of companies make great stuff; the key is finding something that matches what you’re trying to do. If the material doesn’t breathe, you can get just as wet and cold from your own sweat as from the rain. GORE-TEX is a brand name for a line of waterproof membranes that manufacturers use to make clothing waterproof and breathable. Quality waterproof products seal the seams and joints, cover the zippers, and keep Mother Nature out while still letting your body breathe and expel moisture.
Not all companies make the same quality of gear — that could be an entire post on its own. Attention to detail and materials can drive up the price of a garment, but they can also cut weight, add durability, and expand its range of use. Quality rain gear may cost more, but it can also last for many, many years, and in a lot of cases can be restored through the company’s warranty service or repair facilities if it gets damaged. That keeps the gear performing for a very long time.
Good gear is an investment, and that’s why we spend so much time on this topic — it can save your life in some situations, and the more you go out and enjoy using it, the better its value. Here’s an example: I once had a boss who said the most expensive shirt he ever bought was a $30 cotton t-shirt he wore only once a year. His best value was a $90 merino wool shirt he wore almost every day for three months while backpacking. It didn’t stink, didn’t hold moisture, reflected the sun on hot days, and became his base layer on cold ones. Compared by number of days worn, the pricier merino shirt was by far the better value.
Buy gear you can use in normal life and out on the trail or at sea, and you’ll make an investment with real value. Rant done. Wait — no: leave cotton at home. Really. It absorbs and holds moisture, stinks, dries very slowly, and can be a genuine pain. Synthetics and merino wool are your friends, from socks and undergarments to top layers and outerwear. You’ll pack less, stink less, and smile more.
Fuel the adventure. Food is where I allow the most flexibility, because it’s to taste (get it?). Really, eat to fuel the adventure: before hiking, carb-load on breads and pasta; during hikes, reach for power bars and gels; afterward, protein is your friend as you rebuild muscle. Comfort food at the end of a hike or ride — tacos, say — is something to look forward to and doubles as a rewarding time to relive the adventure you just shared.
And if you’re on the trail with kids, for the love of Pete, bring snacks! Kids burn through way more food than we ever realize, so snacks that keep them going are essential. Trail mix, gummy bears, suckers, granola bars, raisins — bring it. If you feed them, they’ll have more fun. Anytime you’re trying to create memories, adding another enjoyable sensation like food helps imprint that happy feeling and makes it stick. There you go — I’ve now taught you to hack your kid’s brain (and this works on your significant other, too). You’re welcome.
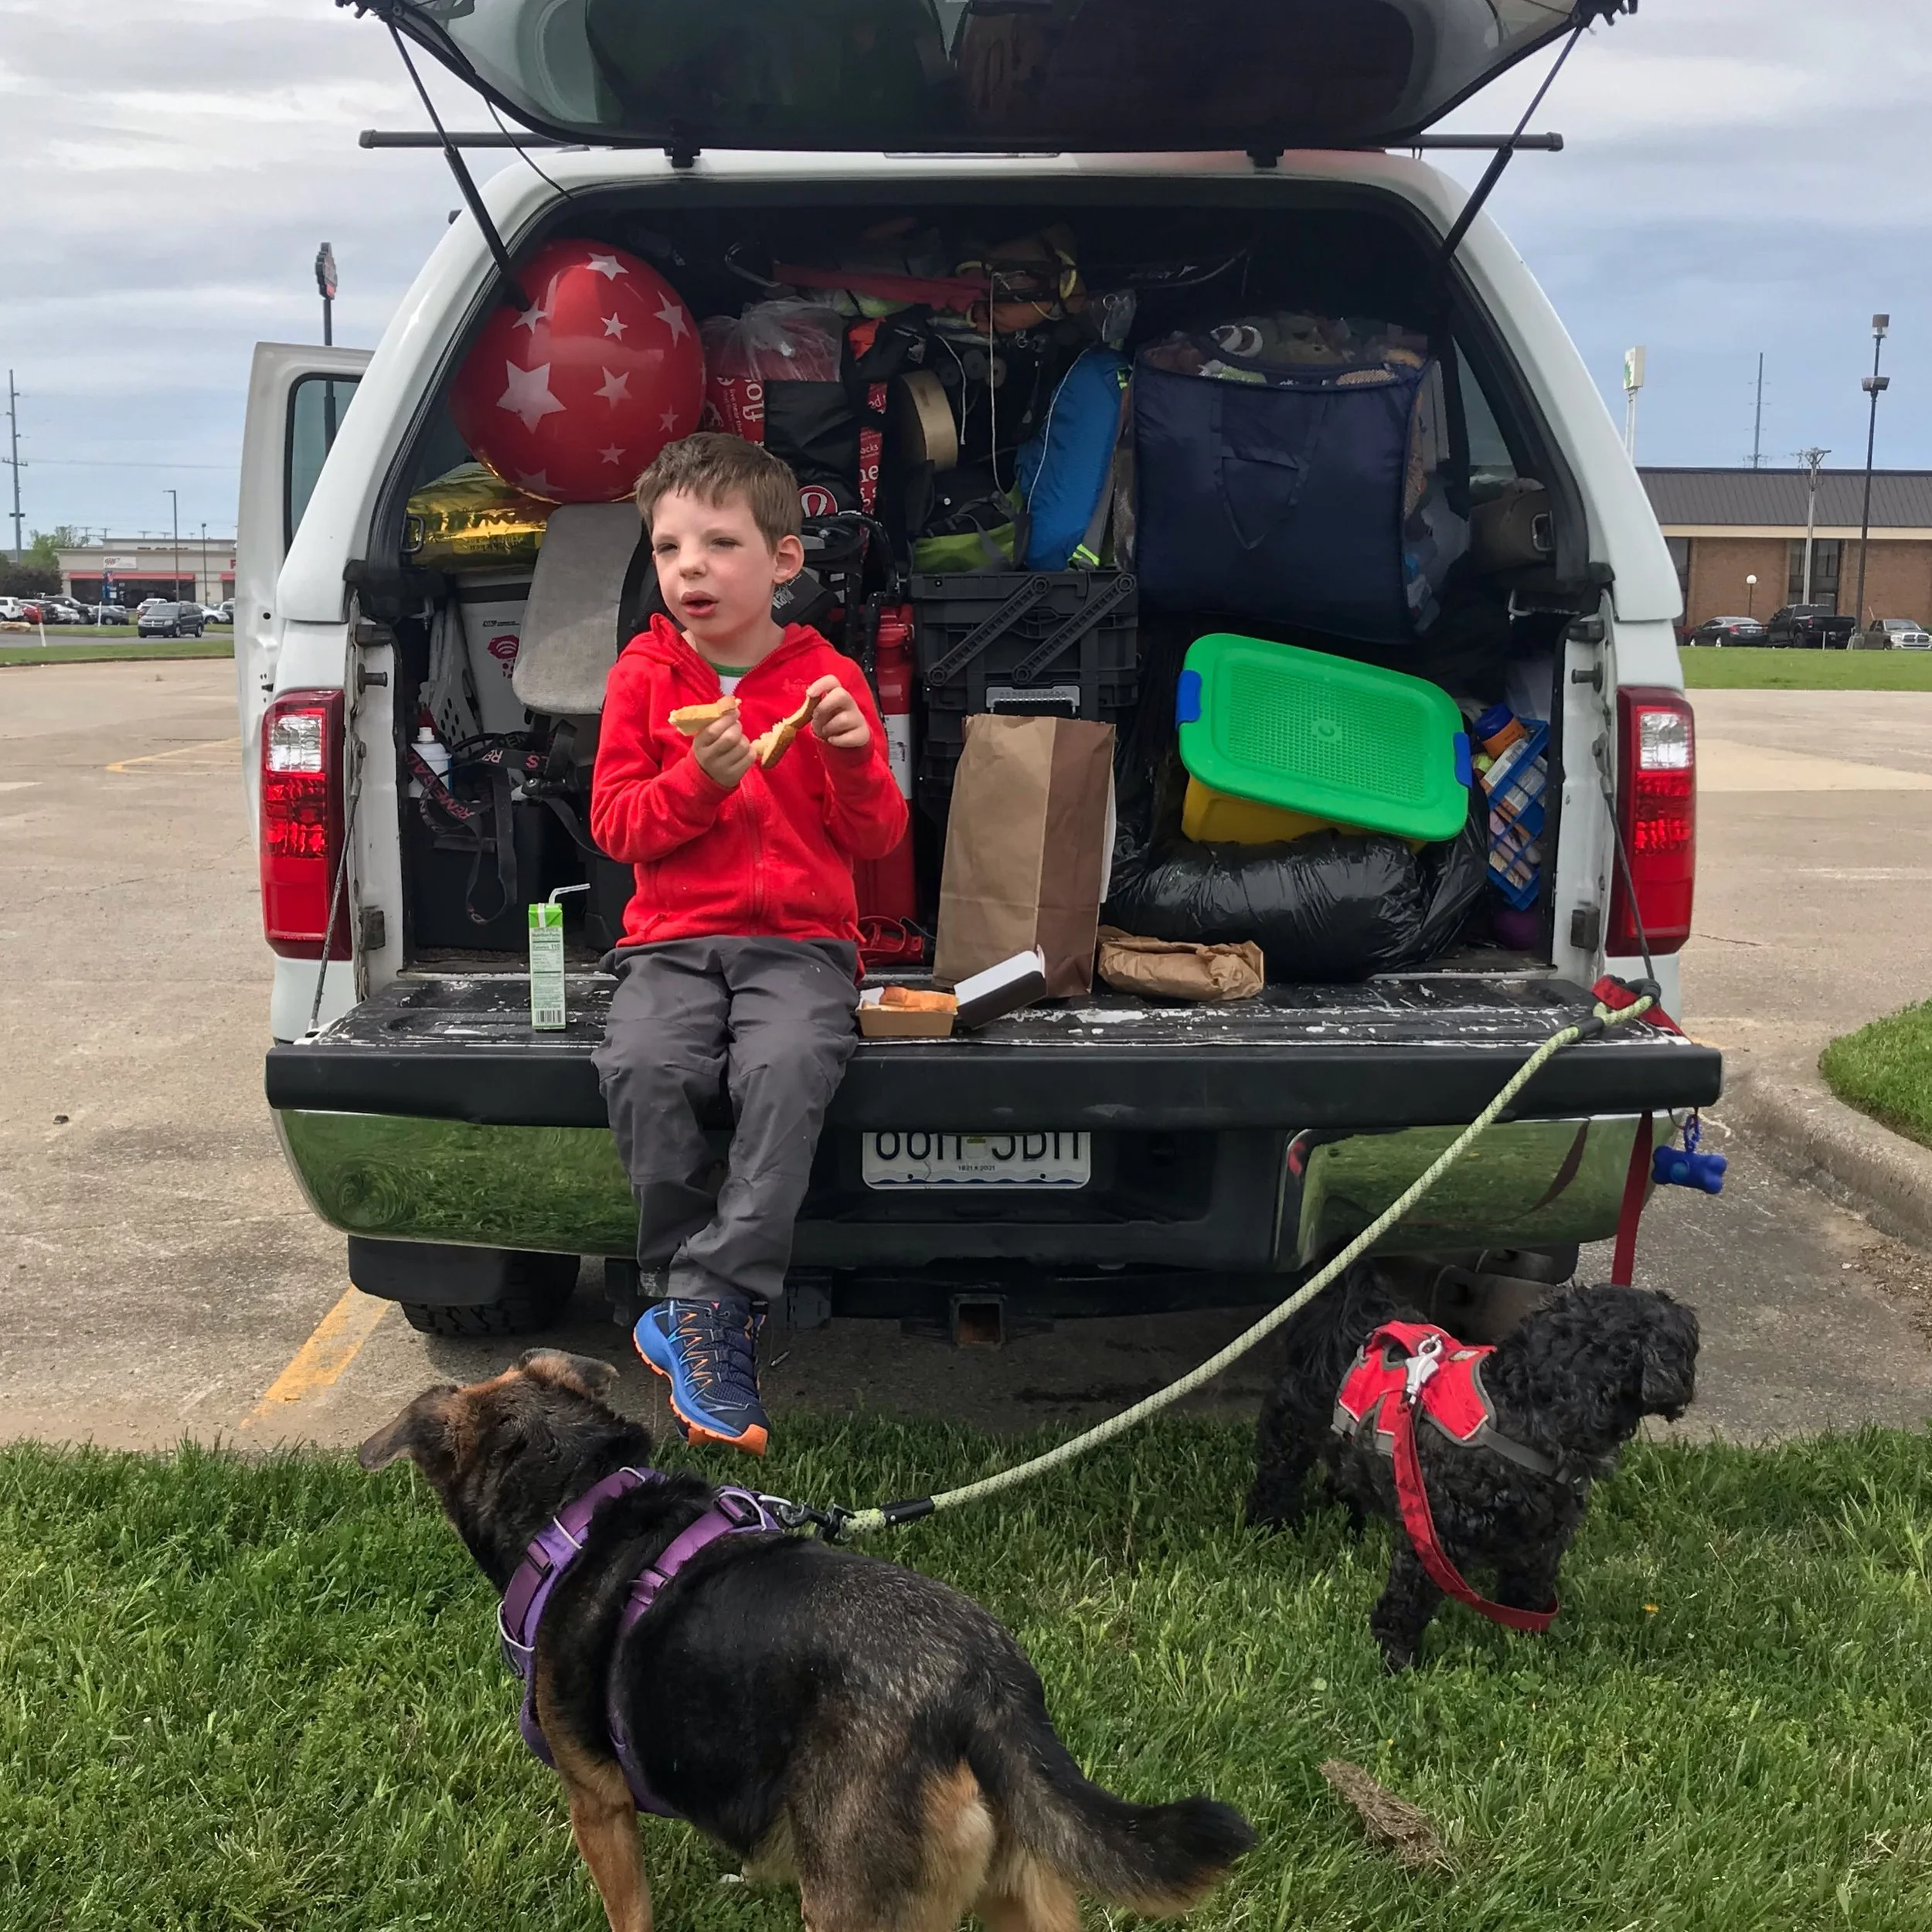
How to Help a Necessary Road Trip Not Suck
A road warrior’s take on making a long, necessary drive genuinely enjoyable — the coffee, snacks, water, and fuel basics that cut pit stops and fatigue — wrapped around a 13-hour day helping a friend pick up a car.
Quick answer: A good long road trip comes down to four essentials — quality coffee instead of a big meal, energy-steady snacks like trail mix or dried fruit, plenty of water to fight dehydration and handle breakdowns, and a full tank with an eye on your gauge and a roadside-assistance plan.
Yesterday I took a road trip to nowhere and it took 13 hours round-trip. A little backstory: a long-time friend needed a hand picking up a car in Minneapolis, and he lives in Kansas City. Okay, Minneapolis isn’t nowhere — but this trip was more about purpose than place. James and I have been paddling and adventure buddies for more than 15 years, and James is in a wheelchair. He’s perfectly able to drive with some minor modifications to a vehicle; the challenge is that a newly bought vehicle doesn’t have those modifications yet, so a helpful friend comes in handy. I didn’t have anything going on that particular Saturday, so I was more than happy to be that friend.
I drove to KC on Friday evening and stayed with James and his wonderful wife, Sarah, so we could leave very early the next morning. From James’s house, driving to Minneapolis takes about 6.5 hours, so up-and-back in one day runs roughly 13 hours on the road. James and I have been on many, many road trips over the years, so this is old hat for us — and since it had been a couple of years since our last long drive, it was a great chance to catch up.
On a good road trip, a few important elements matter, and they don’t necessarily have to be the destination. For some people it’s scenery (always a bonus). For others, a drive requires a solid playlist to help pass the miles. James and I usually skip the playlist in favor of plenty of time for conversation. And of course there are the basics: coffee, snacks, water, and fuel.
Coffee. No, it’s not for everyone… but for me it’s essential. Big road trips and big meals don’t go hand in hand, so what do you fuel your mind with in the early hours? A good old cup of joe. Pro tip: choose quality over quantity and you’ll cut down on pit stops. Big meals take energy to digest, so don’t load up before or during the trip or you’ll get sleepy on the road. No bueno.
Snacks. Choose wisely and they’ll keep you going for hours without an energy crash — and with fewer pit stops (less sugar helps). Also, go easy on the beef jerky (I can hear the comments now); heavy, spicy, greasy food will have you guzzling liquid and hunting for a rest stop far more often than anyone should. I recommend trail mix with peanuts and M&M’s — it doesn’t melt as fast and balances out the carb load. If you can’t do peanuts, my second favorite road-trip food is dehydrated fruit. You can buy it or make your own, and it’s great if you have kids. Bring on the bananas!
Water. Carrying water seems like a no-brainer, but I’m often shocked by how many people don’t. Breakdowns happen, and usually when it’s blisteringly hot. Even when it’s not saving your life, water helps battle the drying effect of running your A/C — those systems dry you out, and dehydration makes you tired. Soda (and I do love a cold Coke once in a while) only dehydrates you faster and brings the dreaded sugar crash, so stick with water and you’ll be much happier.
Fuel. Obviously, fuel is necessary to run a vehicle, whether it’s electric, unleaded, or diesel. Don’t forget to top off the tank, and keep an eye on your gauge and mileage. Knowing roughly how far you can go on a tank makes you a veteran road warrior if your gauge suddenly decides it’s done working mid-drive. Many people carry a service like AAA for exactly this reason — and a lot of insurance companies include roadside assistance as a perk, so check with yours.
What are your must-haves for a good, long road trip? Is there a trip that stands out most for you? At the end of the day, we ended up right back in KC as planned (with a slick new ride for James), and with this simple preparation it was just a fun day in the car catching up with a friend and seeing a new city.